
An in-depth look at the Huawei P9 smartphone's imaging system
Plenty has been made of Huawei P9's camera - especially since it's co-engineered with Leica. But how does it actually perform? We put one to the test to find out!
Note: This article was first published on 28th May 2016.
Introduction
There’s been a lot of talk about the camera unit on the Huawei P9, especially since it’s been largely advertised as being "co-engineered by Leica". That’s perhaps prompted a large amount of undue expectation on the camera unit as some early reviews were quite happy to jump the gun and call the camera “garbage”.
Call it the cost of tying up with a giant in the camera world perhaps. However, read the quoted article and you’ll find that the reviewer actually felt that “Huawei P9 put up a good fight, nearly tying with Samsung in the daylight, portrait and selfie rounds”. So how exactly does the phone with dual cameras perform? We got our hands on a unit following the official launch in Bali, and duly put it through our testing to find out.
Design and Handling

The P9 is certainly slim and elegant.
As we mentioned in our first looks here, the Huawei P9 is extremely slim at just 6.95mm, and that’s accentuated even further by the fact that both cameras are flush with the body. Overall the P9 measures 145 x 70.9 x 6.95 mm, and weighs just 144g, so it will sit nicely in your pocket. The 5.2-inch Full HD 1080p (1,920 x 1,080 pixels resolution) screen isn't anywhere near the Xperia Z5 Premium that packs a 4K screen, but it certainly offers plenty enough resolution (423 ppi) for most purposes.
While the design isn’t the most unique by far, the rounded edges of the P9 make it easy to grip. That’s important for stability, and further to that point, the P9 offers three different ways of triggering the shutter. You can either use the on-screen button, the volume down button, or set the fingerprint sensor to take a picture when it reads your finger when the phone is in camera mode.
That last option works better than we thought it would, as the placement of the fingerprint sensor is just high enough to reach for comfortably. The ridges of the sensor make it easy to find by feel, and this allows you to get a good grip on the phone with your entire hand. It does take a bit of time to read your finger though, so this option probably doesn’t work that well for quick snaps. However, the fact that the P9 offers three different ways of triggering the shutter means that you should always be able to find a way to stabilize the phone and take a picture, which can sometimes be difficult with smartphones.

The P9 has two cameras that sit nicely flush with the body, and a dual tone flash that also works as a fill light.
In terms of specifications, the Huawei P9 is powered by their own 64-bit Octa-core (four 2.5GHz A72 + four 1.8GHz A53 ARM based cores) Kirin 955 processor and comes with 3GB RAM and 32GB of onboard storage by default. It supports Global Dual Sim, but one of the SIM slots is also used as the microSD slot, so you’ll probably have to choose between connectivity and memory expansion options.
Both the main cameras have 12MP sensors, and feature 27mm f/2.2 lenses. These have been given the Summarit ASPH designation by Leica which means the lens contains at least one aspherical lens, and has an aperture of about f/2.5. Meanwhile, the front camera has an f/2.4 lens, and 8MP resolution, which should be plenty for selfies. Finally, there’s a Dual-Tone flash right beside the front cameras, and this can be set to work as a fill light too.
The Leica touch

Starting the camera app for the first time brings up a tutorial style walk-through.
Moving on to the camera app, the first thing that catches you is how the fonts and icons pretty much spell Leica. If you take a look at the interface shots from our hands-on with the Leica T here, you’ll get exactly what we mean.
The first time you start the app, it takes you through the basics of the interface, which consists of three parts. Swiping right from the left gets you a list of camera modes – of which there are plenty- and swiping left from the right side brings up all the settings, which are numerous too.
As you can see from the screen captures below, the Huawei P9 has no less than 14 shooting modes that you can put it in, with the more unique ones being light painting, watermark and of course beauty video mode. Light painting essentially puts the camera in long exposure mode with slight adjustments applied to accentuate the intended mode.

So many options, it doesn't even fit in one screen.
\

Light painting mode offers you three options.
The settings panel pulls up a bunch of helpful features you can enable, like the assistive grid, horizontal level, and also film modes, which give you a choice between Standard, Vivid colors, and Smooth colors. There’s also the option to capture to RAW (in Adobe .dng format), but that only appears when you slide up in the camera to activate PRO mode.
That allows you to adjust your metering mode, ISO sensitivity, shutter speed, focusing mode and white balance. There’s also an option to add in EV compensation which means that, other than setting the aperture value, practically every camera control is up for adjustment from a single screen.

The PRO mode is easily activated, and gives you a whole range of options.

All your shooting info at a glance, complete with histogram.
Another nice touch is how you can call up the shooting information when reviewing images by simply tapping on the “i” icon. Just like with DSLRs, this gives you a histogram display, and all the pertinent shooting information from the shot.
Photo settings with a twist

There are some pretty interesting options available for the P9.
Personally we thought the more interesting settings were towards the bottom of the list – where you’ll find the option for Audio control (Saying “Cheese” snaps the photo), Capture smiles (takes the photo when it detects smiles), Object tracking, and Ultra snapshot. Ultra snapshot is basically a universal short cut that you can set to activate the camera and take a shot even when the screen is locked, simply by double-pressing the volume down key. This can be turned off or set to just open the camera app, but allows you the option to take a photo almost immediately; without having the delay of first having to open an app or even unlock the screen.
The volume button can be configured to act as a shutter, activate (digital) zoom or to adjust focus, allowing you to affect more camera settings by physical controls. There certainly is no shortage of DSLR-style camera options as far as the app goes, and in general they work as advertised, though obviously you can’t expect the same level of performance from a smartphone given the difference in processing power and sensor capability.
Shooting experience
When it comes to basic photography, the camera works much like any other camera app out there, with the exception of two features.

This mode really gives you control over focus and exposure.
In Photo (both Pro and Basic), Monochrome, Beauty and HDR modes, tapping and holding on the screen will not only focus on that point, but also displays an exposure icon that you can shift around to select a point by which to calculate your exposure. That lets you get precise control of focus and also lets you see the exposure changes in real time so you don’t even need to rely on the in-camera meter. For the photography buffs out there, it means you can basically look for the 30% grey in your scene and get exposure just the way you want it (with real-time feedback no less). Very handy!

Aperture mode lets you adjust focus and depth-of-field after the shot.
The other noteworthy feature is the Aperture mode. This basically lets you change not only the focus point, but also the depth of field of the image after it has been shot. In this mode, zooming is disabled, and the changes you made are saved as different copies each time. The effect reminds you of what Lytro does, and is likely only possible because of the dual-camera set-up.
In general, focusing is fast and accurate, even in low light, and the colors you get straight out of camera are very good. The Leica color modes really do make a significant difference, and we found ourselves using the Vivid color mode most of the time. The 12MP sensor is definitely capable of getting images with good detail, particularly if you use the Monochrome camera, but we do think it could do a better job on handling hair detail in particular as it certainly seems to tackle everything else decent.
Exposure and auto white balance seem to be fairly accurate overall, as we didn’t notice any obvious color biases. Again, the option of PRO mode and the option to shift metering point and focus point independently mean it’s incredibly easy to get exposure just as you want it.

f/2.2 at 4mm, 1/20s, ISO 640 (Huawei P9)

f/2.2 at 4mm, 1/17s, ISO 160 (iPhone 6 Plus)
In terms of low light performance, the P9 seems to do quite well in terms of getting good overall exposure. As you can see in the two shots above, it shifts up to a higher ISO setting to get a more even exposure for the scene whereas my iPhone 6 Plus sticks with a lower ISO of 160 to keep highlights from blowing out. Surprisingly though, despite the obvious noise reduction applied, the P9 seems to hold detail better. For example, you can still make out some of the accessories on the dancers with the P9 whereas with the shot from the iPhone 6 Plus, it’s completely gone to mush.

f/2.2 at 4mm, 1/35s, ISO 320 (Huawei P9)

100% crop (Huawei P9)

f/2.2 at 4mm, 1/17s, ISO50 (iPhone 6 Plus)

100% crop (IPhone 6 Plus)
Oddly enough, that doesn’t carry over to situations where extreme flare occurs. If you look at the two pictures above, the image taken by the iPhone 6 Plus retains better detail with less noise reduction applied, something that's more obvious when you look at the exposed skin. The inclusion of optical image stabilization in the iPhone 6 Plus allows it to use a much lower ISO setting, and you can clearly see more details in this image.
Image Samples
The images below have been with the Huawei P9. They have not been post-processed and are copyright to SPH Magazines. They are provided for your reference only and we ask that you do not reproduce them elsewhere. Click for the full-resolution images.

4mm at f/2.2, 1/35s, ISO 125

100% crop.

4mm at f/2.2, 1/50s, ISO 160

100% crop.
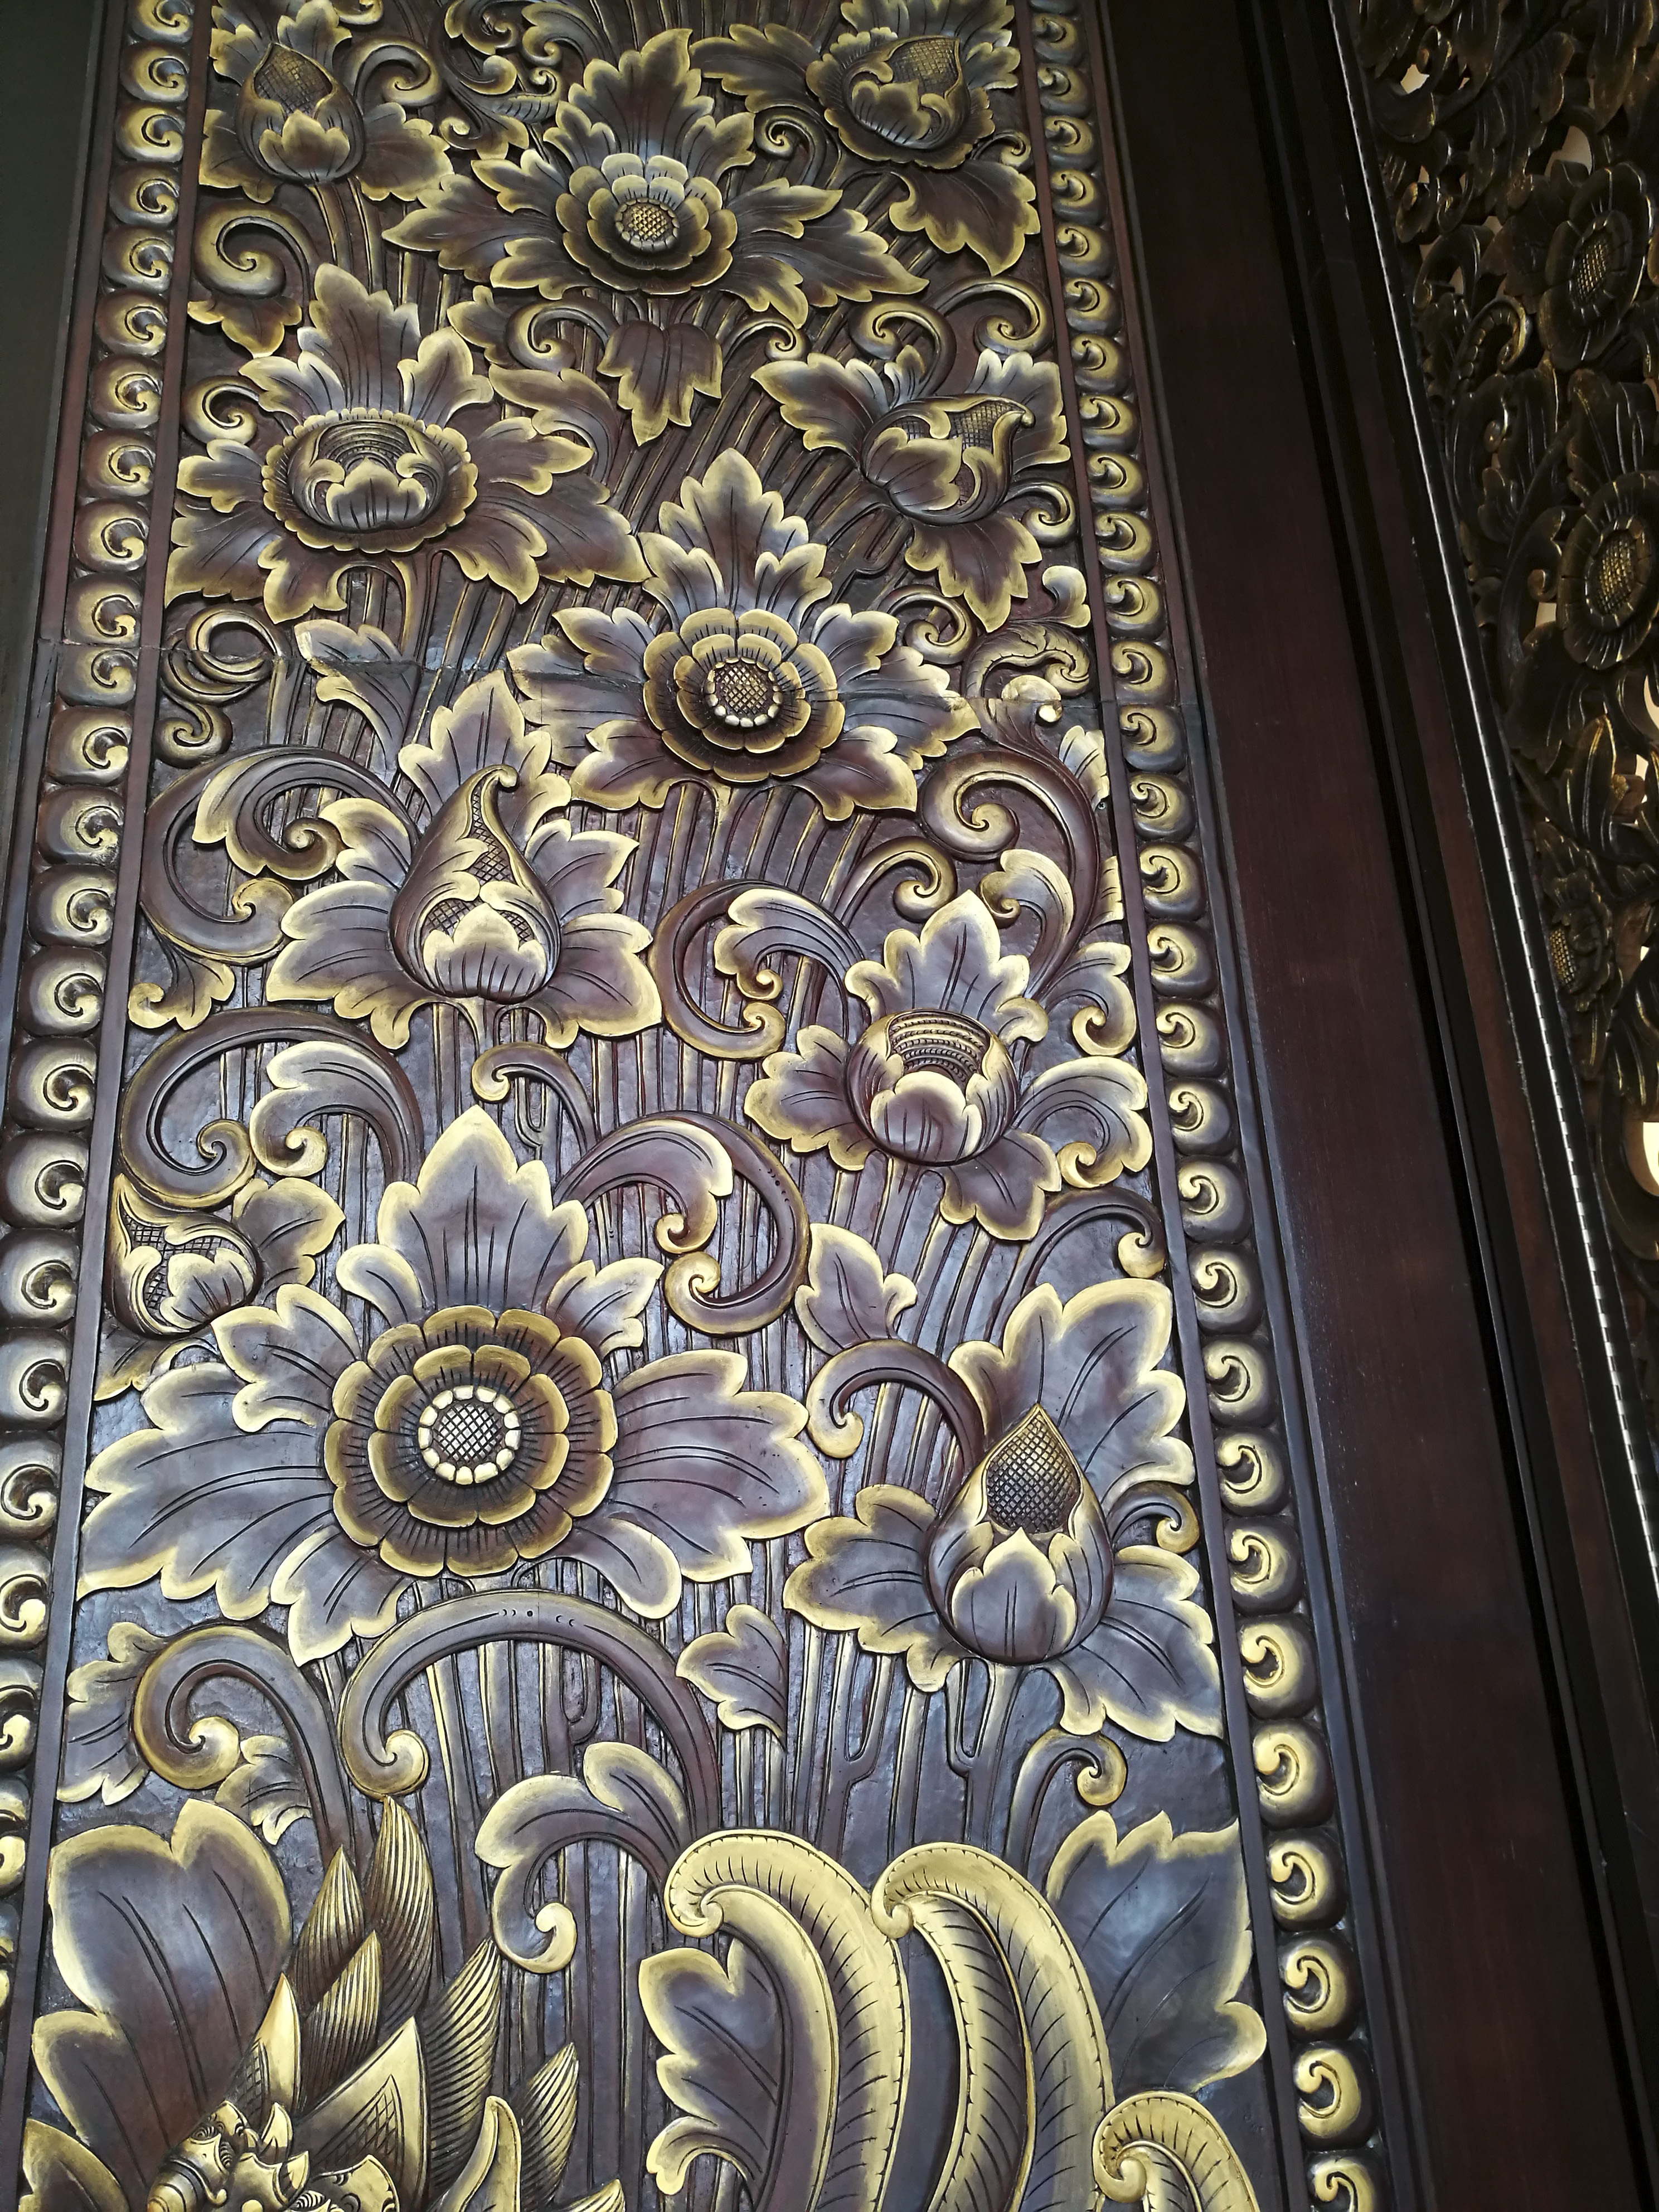
4mm at f/2.2, 1/50s, ISO 125

100% crop.
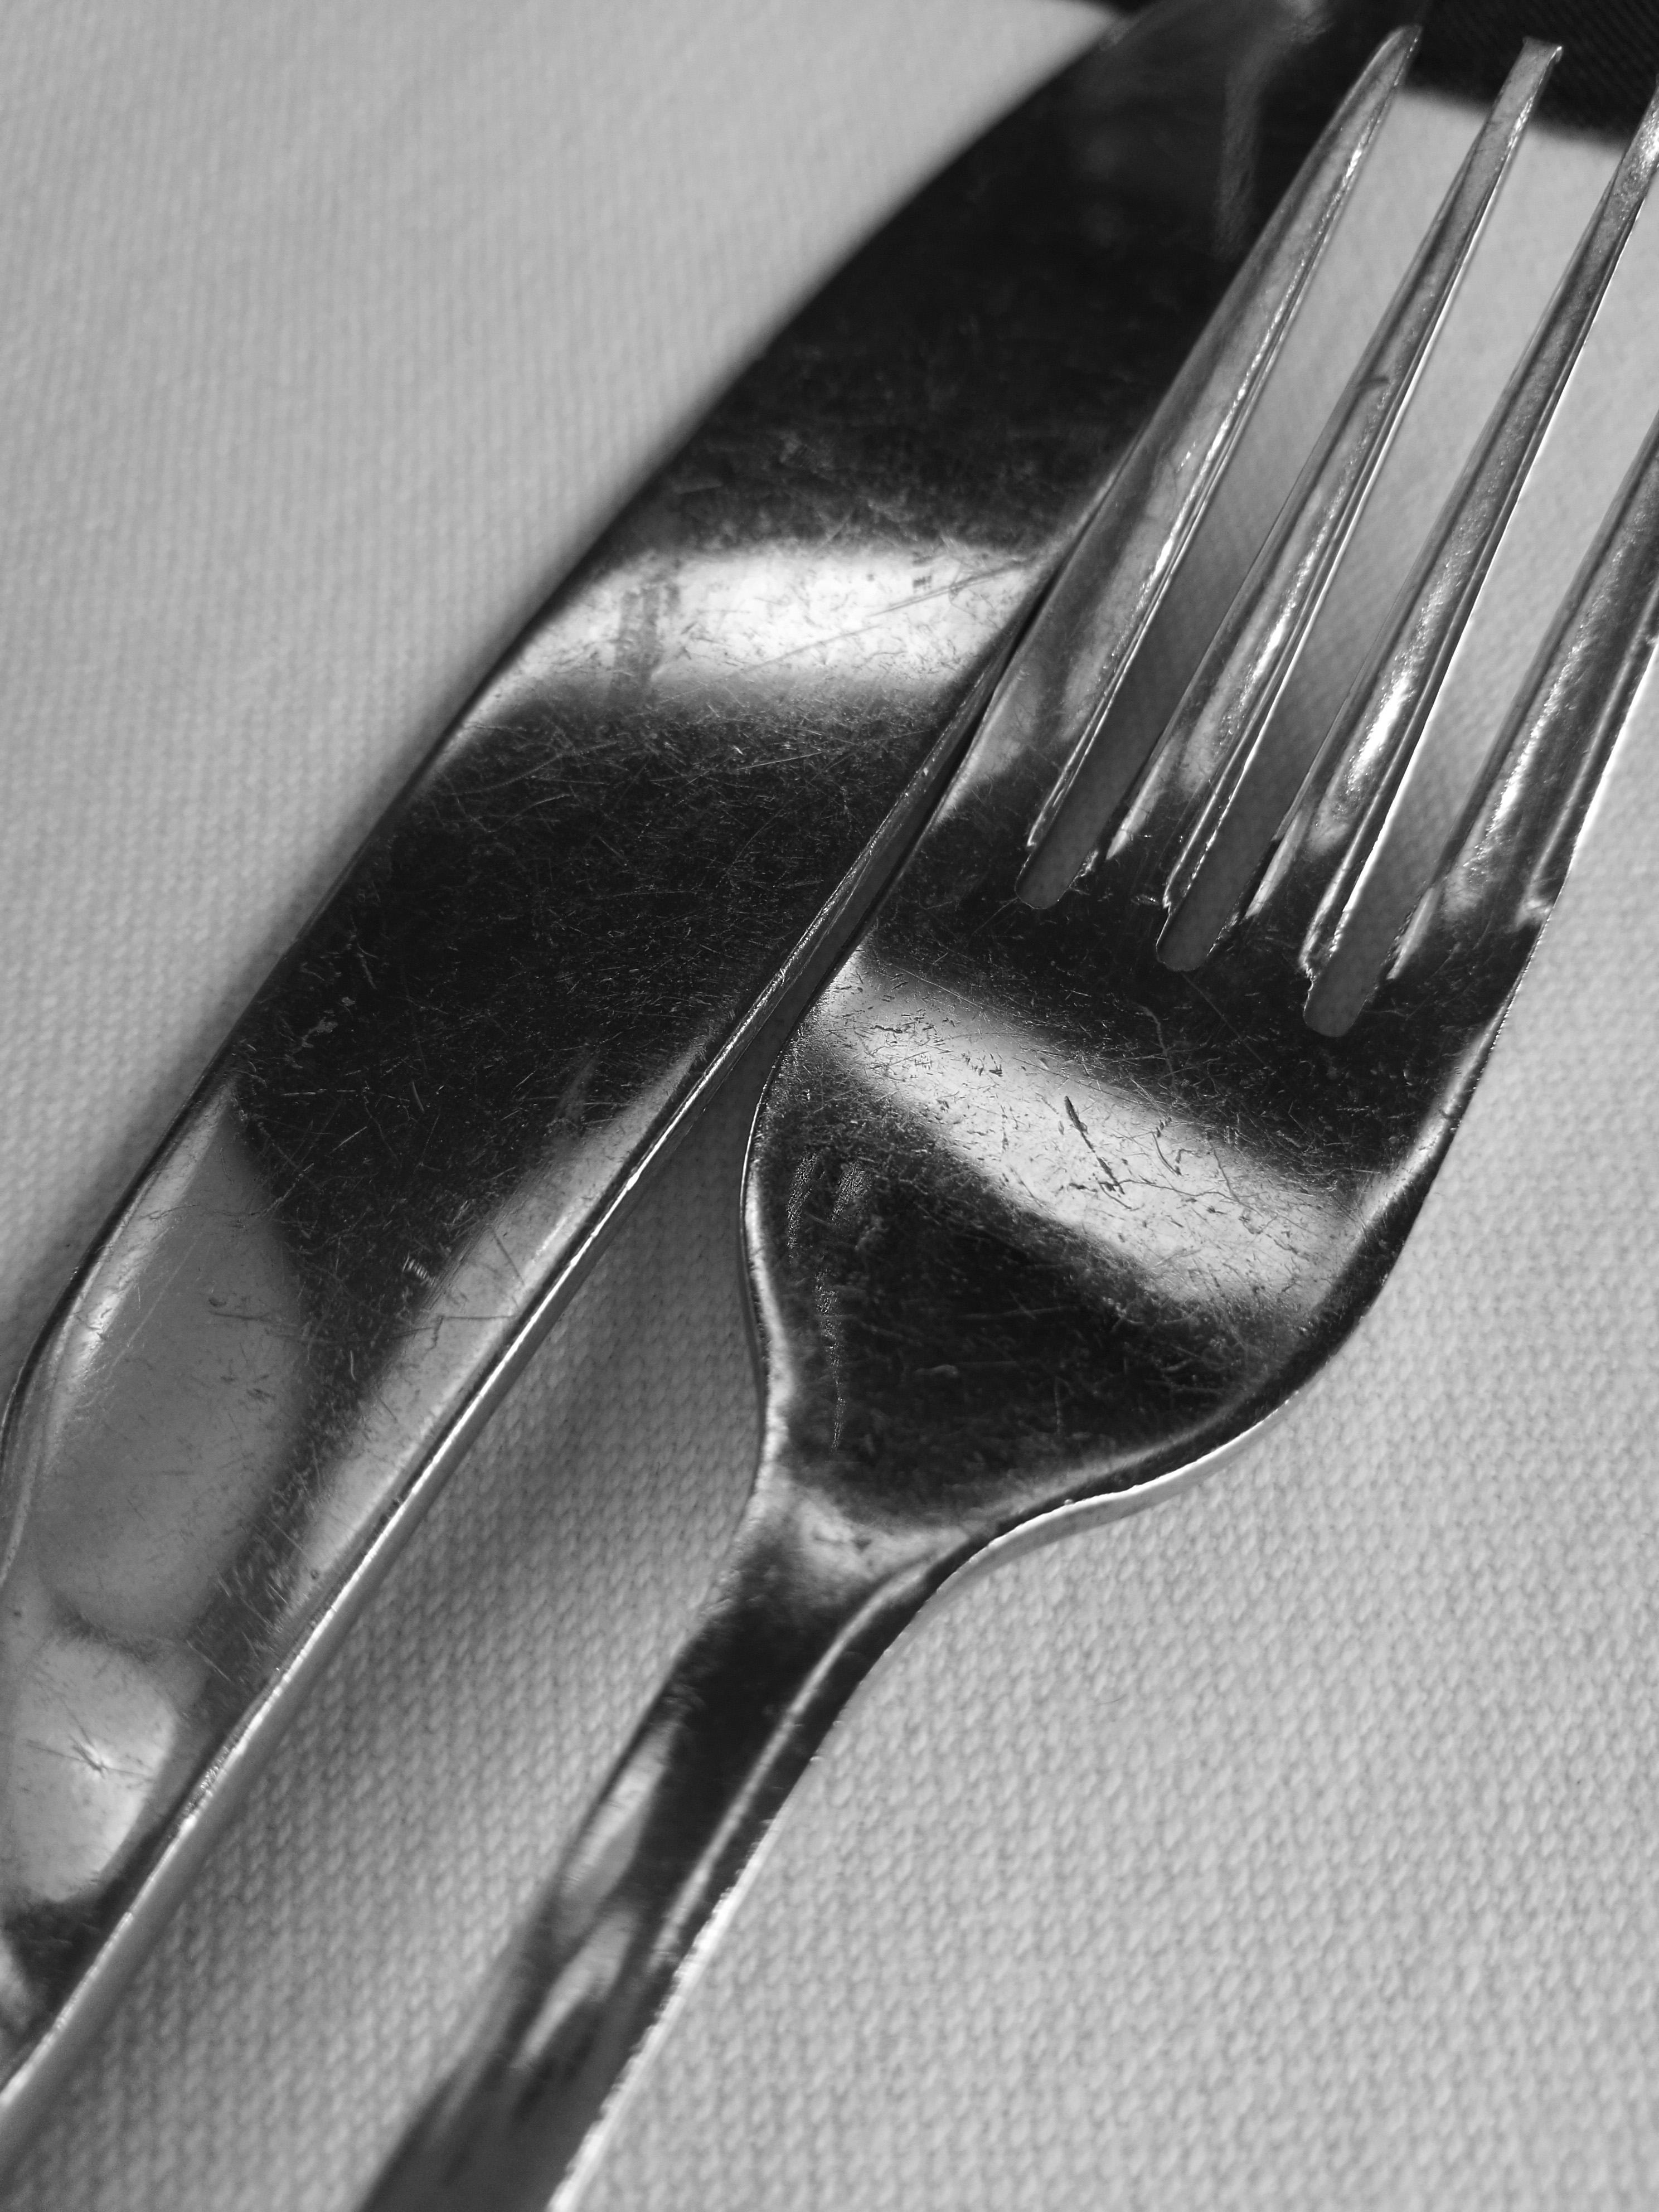
4mm at f/2.2, 1/50s, ISO 160

100% crop.

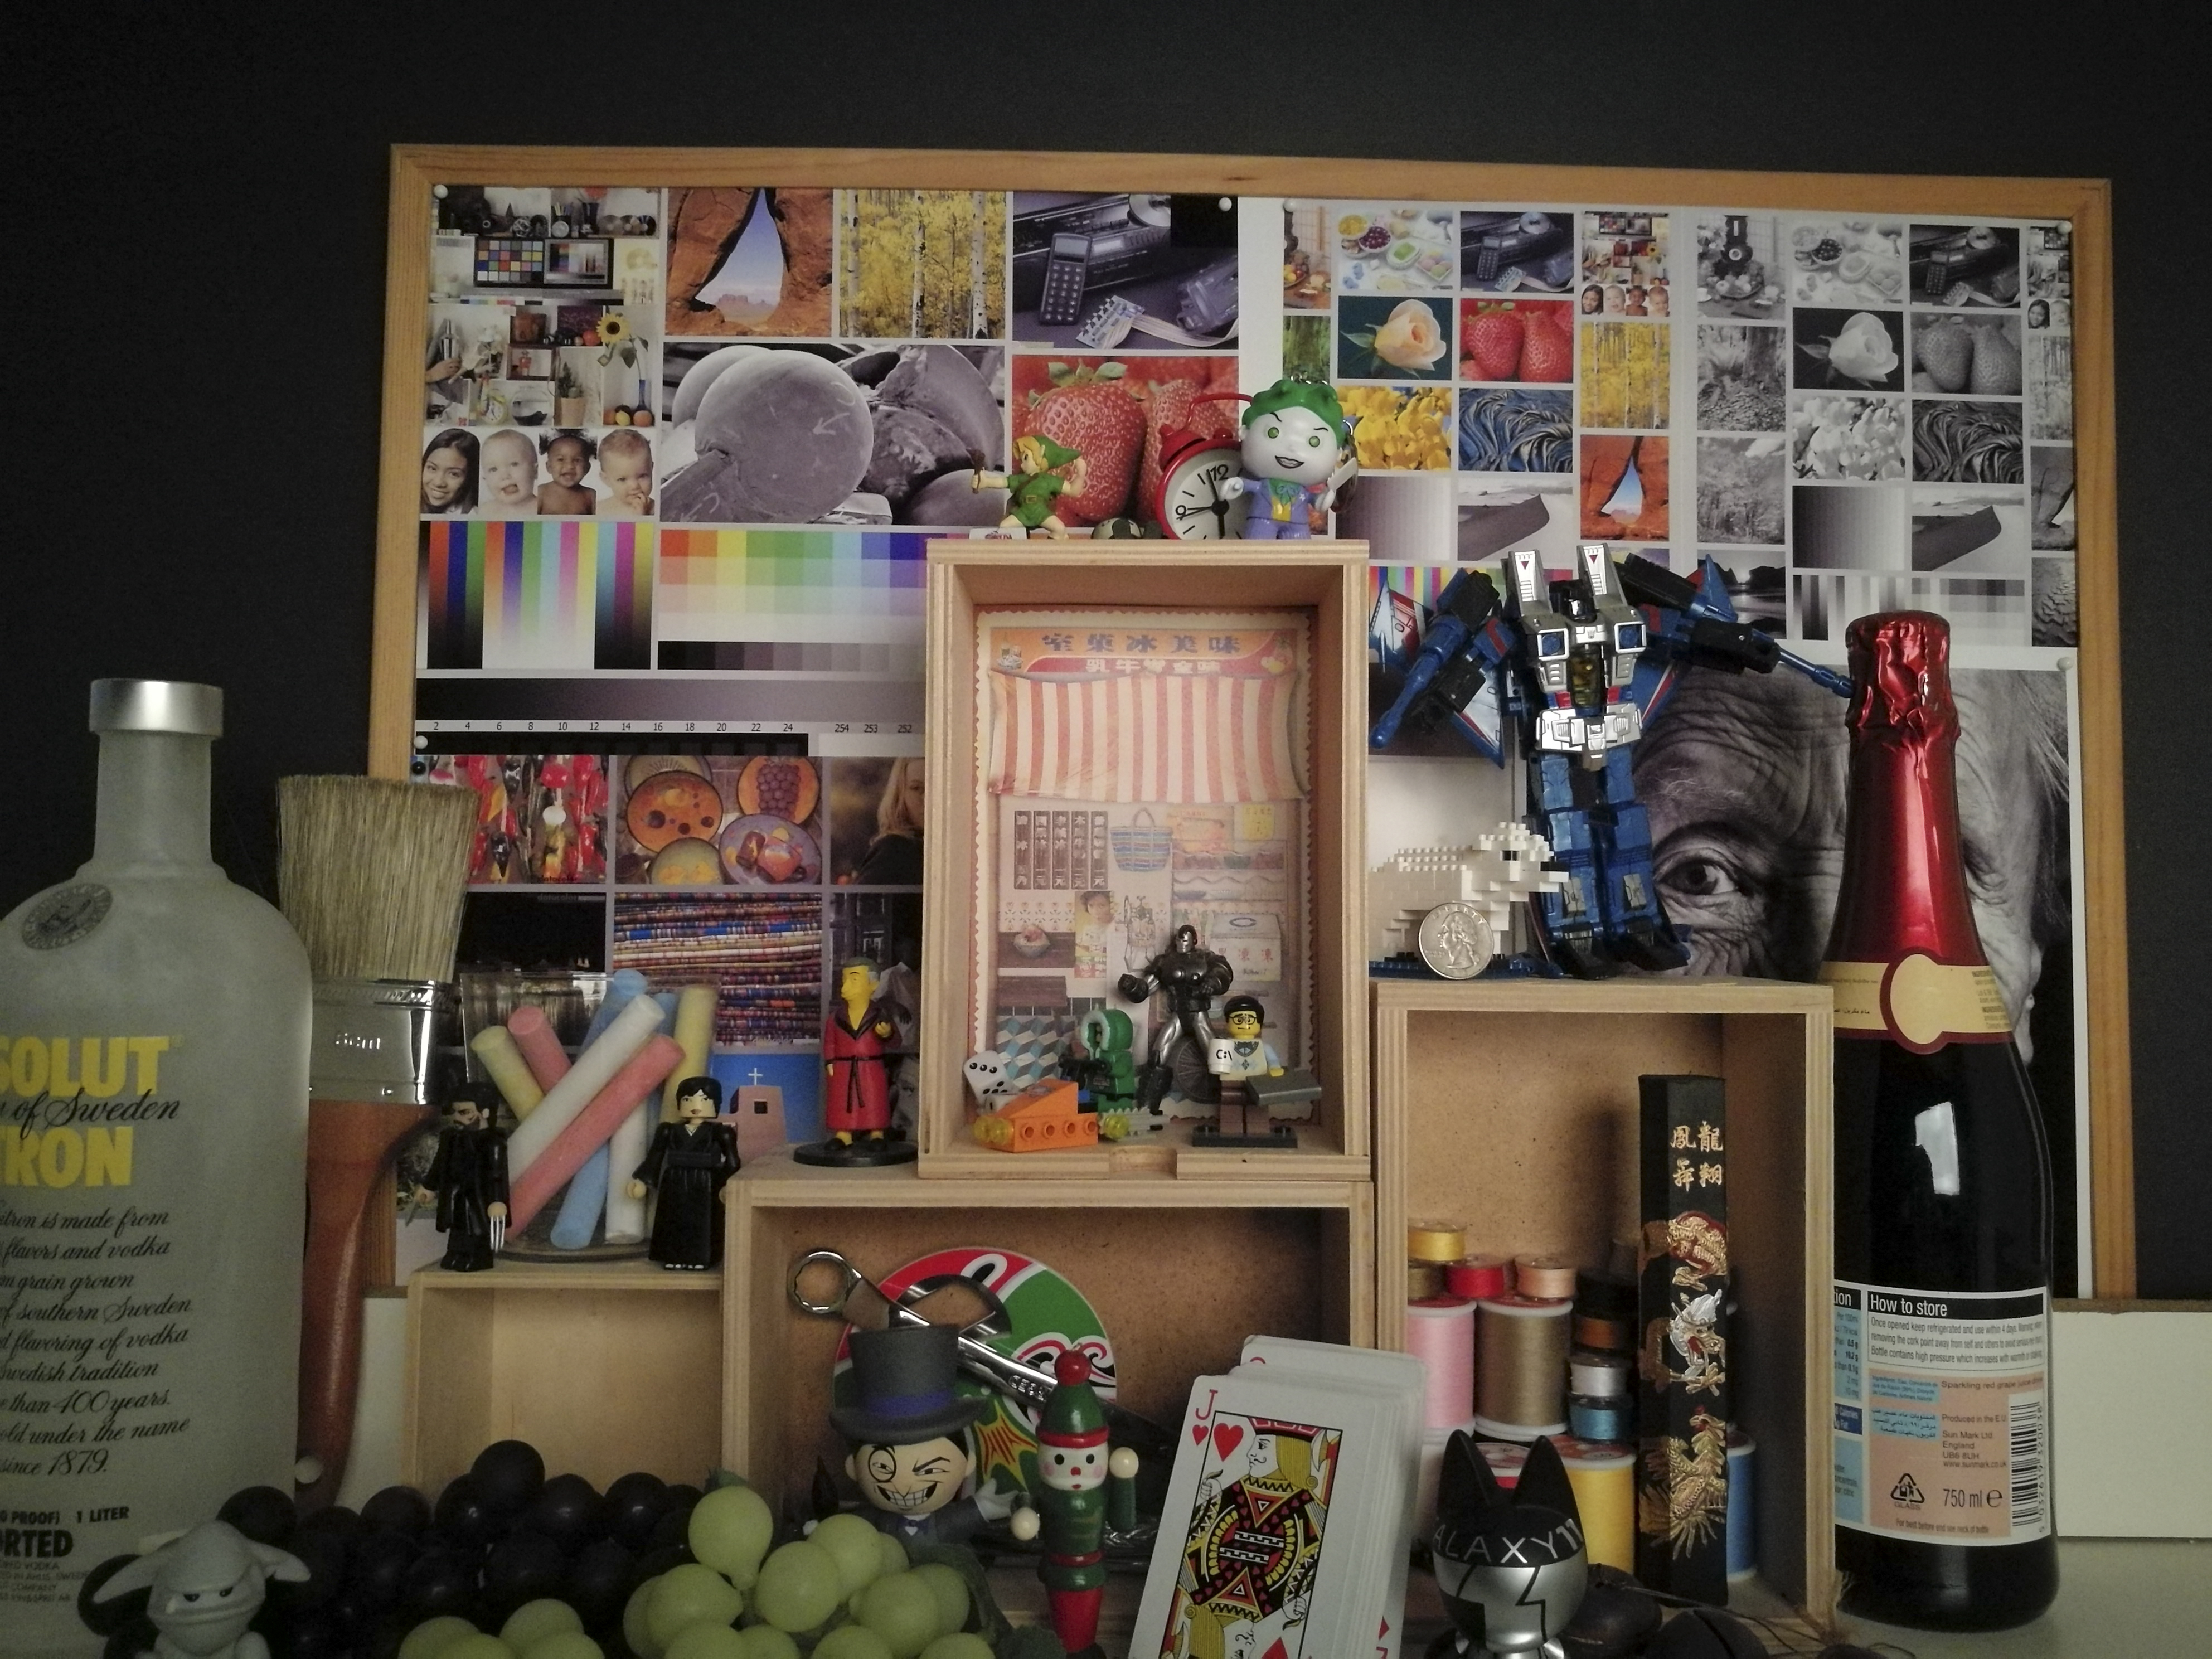
4mm at f/2.2, 1/35s, ISO 400

100% crop.

4mm at f/2.2, 1/690s, ISO 50

100% crop.
4mm at f/2,2, 1/470s, ISO 1600

100% crop.
Conclusion
It seems the sharpness of Huawei P9’s cameras can vary quite widely depending on the situation. Our own studio tests show that it is capable of clean images with good detail at ISO settings as high as ISO 1600; which is very impressive for a smart phone, especially if you compare it against the results of last year's LG G4 vs Samsung Galaxy S6 shootout. However this performance doesn’t always translate to real world situations consistently, and we do believe it’s partly because the lenses seem to be optimized for close-up performance (for which it excels very well).
Looking at our test results in general, the images taken at shorter distances seem to have much better sharpness, though we’ve seen prints made from the camera and in all honesty, we think the camera provides acceptable sharpness overall. Colors are on the whole rich and vibrant, and there certainly seems to be no reason why you can’t get images worth keeping with the camera.
Certainly, taking photos with the P9’s camera app has been one of the most enjoyable experiences we’ve had on a smartphone camera. We hardly experienced any lag, and the range of options available makes using the P9 one of the more complete photography experiences we’ve had on a smartphone, so it’s certainly something we wouldn’t hesitate to reach for, especially with the entry point of just S$768.