
SilverStone Sugo SG09 Casing - A Well Cooled SFF
The SilverStone Sugo SG09 casing is designed to break the mold of a conventional small form factor casing. This has resulted in a case with room to fit high-end components, and cools them well. Find out if the designers' efforts are worth their while!

Sizing Up the SilverStone Sugo SG09
The SilverStone Sugo SG09 casing is small form factor (SFF) chassis that's primarily designed for mini-ITX motherboards, but has the capability to take in a micro-ATX board too. According to the company's interpretation of a SFF PC chassis, its volume capacity shouldn't exceed 23 liters. As such, the Sugo SG09 was designed with this capacity in mind and yet accommodate up to a pair of full-sized graphics cards, as well as a large CPU cooler. With these design parameters, it's obvious that high performance in a small volume was casing's key goal. With ever more integrated features on processors and motherboards, there's an increased interest for customized SFF systems that occupy less space and can better integrate into small rooms or apartments with ease. Cramming high performance parts in a small space requires good cooling capabilities and this case seems to have that aspect considered as well. As a result, the SIlverstone Sugo SG09 SFF chassis is one that has defied the typical conventions with its unique interior layout.
On the onset, the SilverStone Sugo SG09 seems to have the right ingredients of a modern case to meet today's DIY PC user's need, but will it win our vote? Read on as we uncover more about this case.

The SilverStone Sugo SG09 is a small form factor chassis with a unique interior layout. It boasts of a 23-liter volume capacity, and is able to fit a pair of 13.3-inch graphics cards for a high performance compact gaming system.
Exterior Design
The Sugo SG09 sports a plastic front panel and a steel body, with an empty weight of 5.3kg. The front panel is actually made from plastic; however, it has been cleverly treated to make it look like brushed aluminum.
At first glance, we noticed that there is a glaring absence of 5.25-inch drive bays, while the front fan vent of the chassis gives it the semblance of a stout portable air-conditioning unit. Having said that, if you look carefully, you''ll notice there's an option to install a slim slot-based optical drive. Below the slot, is the prominent air vent with its removable front filter (careful as it's easy to dismount it). Now brace yourself - this air vent is the system's power supply air intake vent. Yes, you read that right. The PSU is actually mounted in the front of the Sugo SG09 chassis. To get a better understanding of the casing's interior design, we'll soon show you what to expect on the following pages.
The forward facing I/O options on the case consists of a pair of USB 3.0 ports. For audio, there is a microphone jack and another for speakers. The power button is to the left of the USB 3.0 ports, and the reset button is on the far right.

The front panel of the Silverstone Sugo SG09 looks like it is made of brushed aluminum, but it is actually plastic.
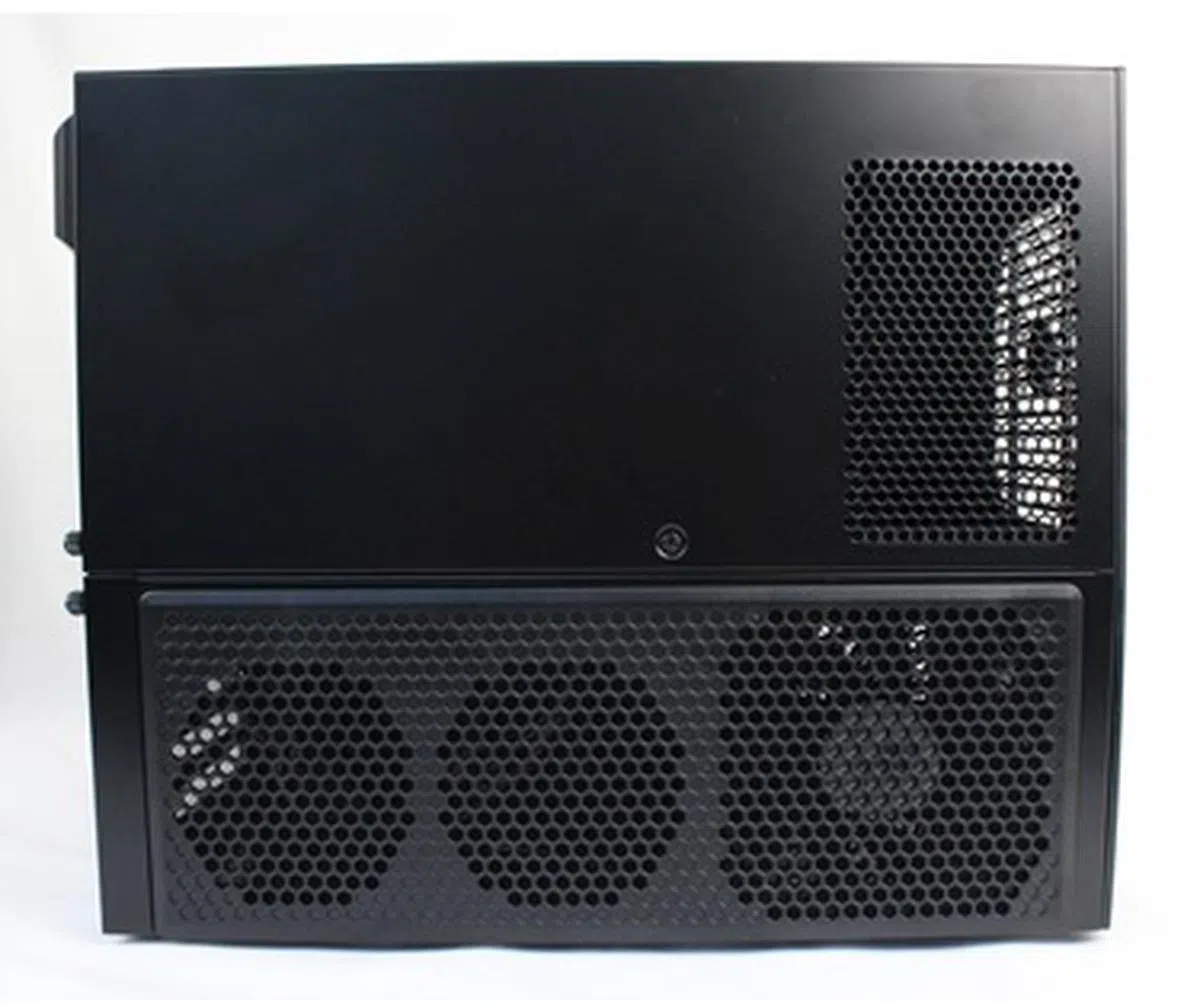
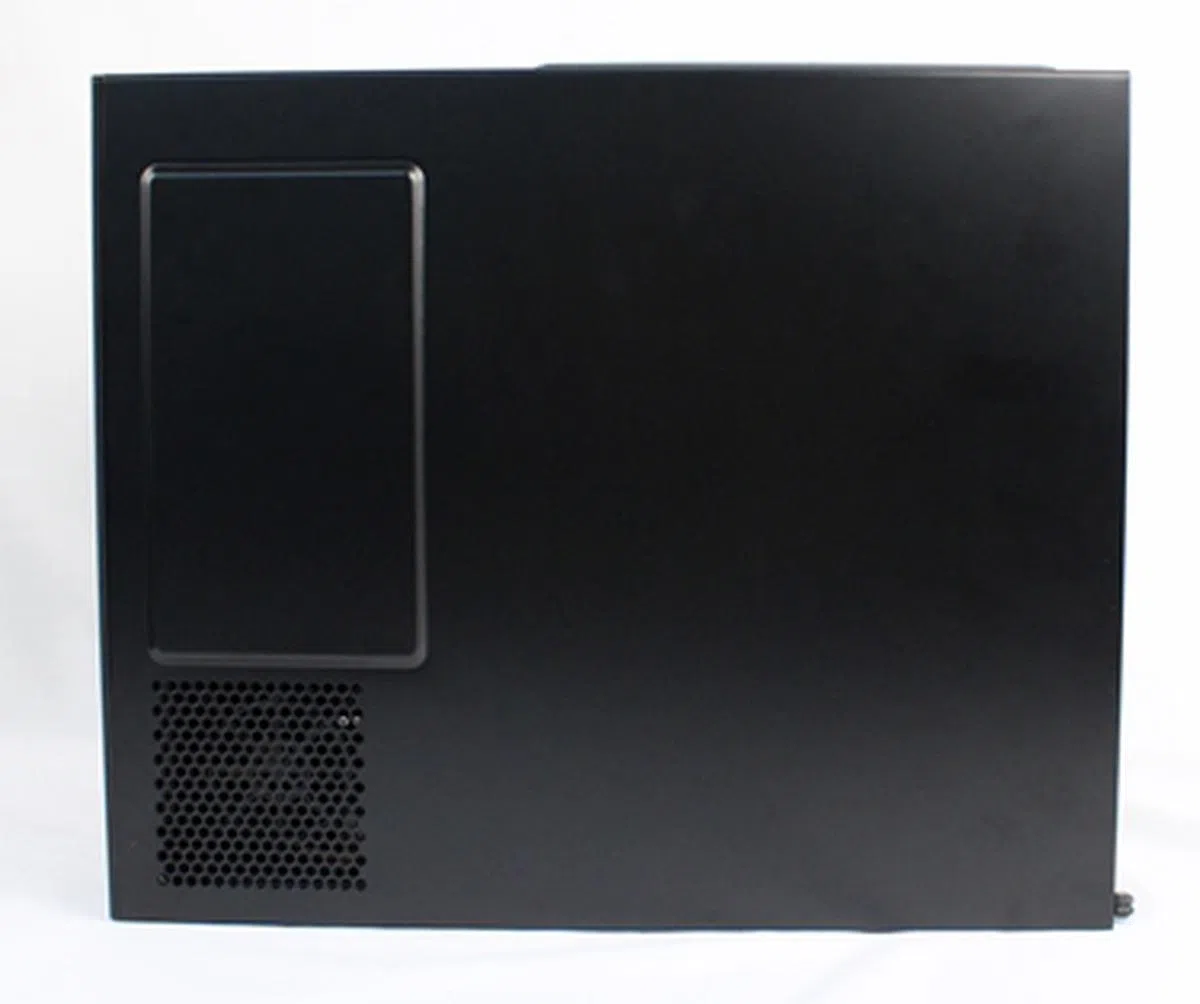
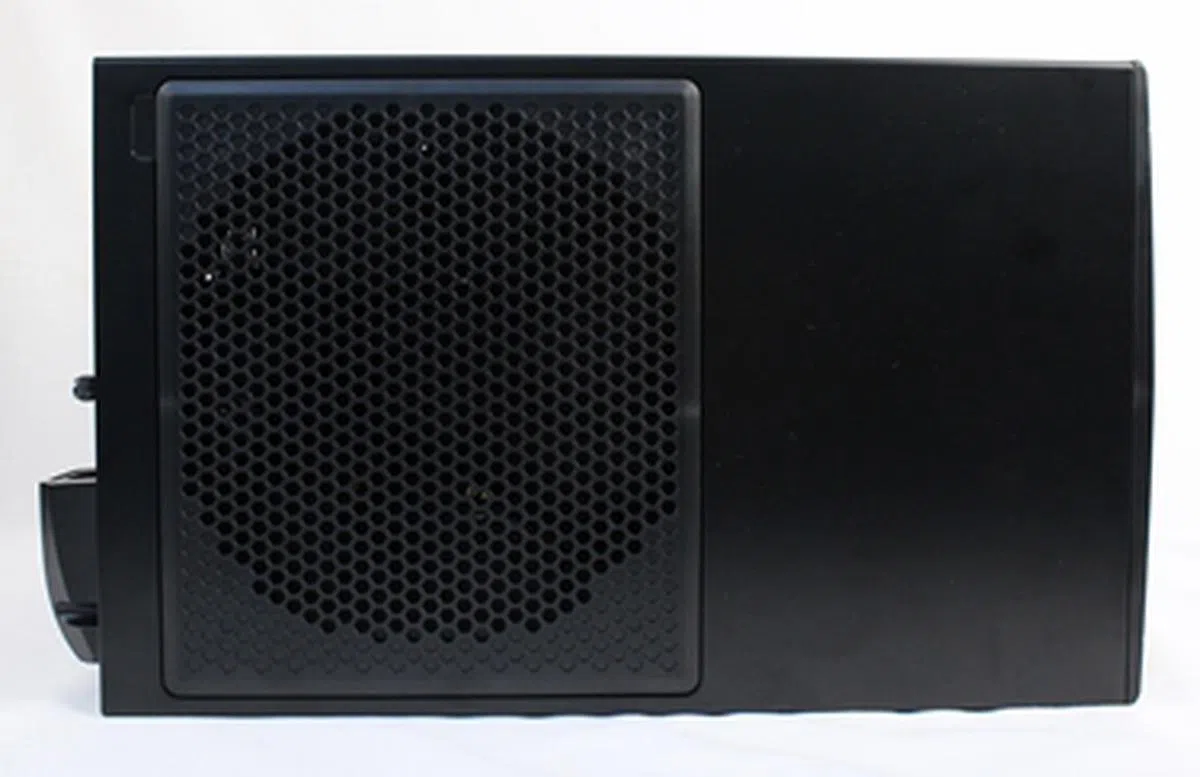
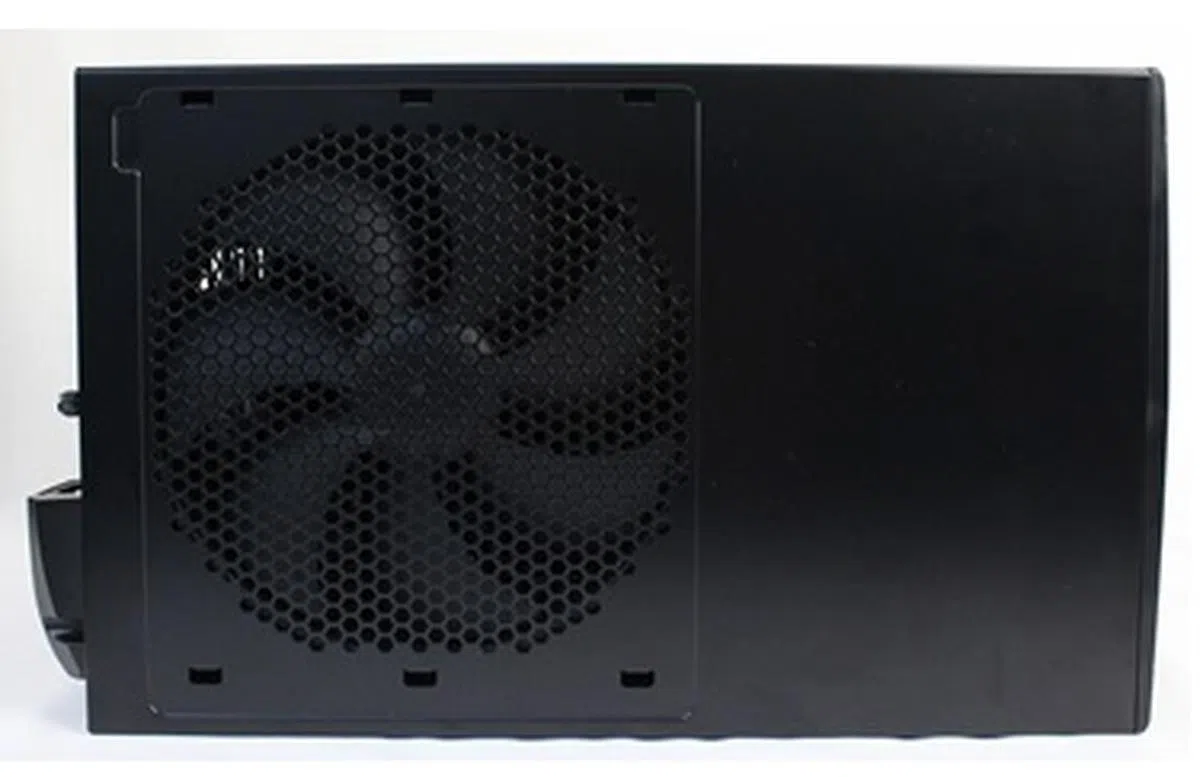
The case sports numerous cooling options and a generous bundle of cooling fans. On its left, there are options to mount up to three intake cooling fans to tame a multi-GPU setup. It can accommodate a 120mm cooling fan (provided), and a pair of smaller 80- to 92mm fan units. Right above this row of fan vents, you'll find a rectangular air vent which is reserved for the power supply unit's exhaust. Meanwhile on the right-hand side of the chassis, you'll also find an option to mount an 80mm exhaust cooling fan to help improve air flow across the case.
 |  |
At the top of the chassis, there is a removable fan filter for its bundled 180mm fan called the Air Penetrator. This will provide the compact system with plenty of fresh air intake. This also means one shouldn't be stacking anything on the system.
 |  |
Since the PSU is mounted towards the front of the case, there needs to be a viable method to connect it to your wall socket's power outlet. For this, SilverStone routed a power cable internally and presents an angled A/C electrical plug connector at the rear of the case. This sits over the air vent of its bundled 120mm rear exhaust fan. Also note from the photo below that there's a simple fan speed switch to toggle the 180mm Air Penetrator to either the "Low" or "High" setting. Last but not least, you'll also find four mesh slot covers for your expansion cards.

Note the electrical plug outlet is thoughtfully angled at 90 degrees to the side. Since a power cord’s plug head is inflexible, this naturally adds to the minimum space clearance required at the rear of the system. As such, this angled connector reduces that distance required.
Interior Design (Part I)
The top cover of the Sugo SG09 is held in place by three rear thumbscrews and a screw by the side.We peeled it away to reveal its unique interior layout; however, the GPU fan bracket needs to be removed separately as well to gain full unrestricted access within.

After removing the top panel, the GPU fan bracket still remains on its own. This has to be removed separately in order to have an unobstructed view of its interior.

The GPU fan bracket has a bundled 120mm intake fan, with the option of installing another pair of 80- or 92mm fans.
The GPU fan bracket is held in place by a pair of rear thumbscrews and a screw at the bottom. Dismantling it, we finally had an unobstructed view of its interior layout. The dangling power cord that is joined with the rear outlet will eventually connect to the PSU that will be installed at the front of the chassis. Notice the absence drive bays?

The interior of the Sugo SG09 reveals the unique option of mounting a ATX PSU at its front.
We turned to the other side of the chassis to reveal the drive mounting options. Notice the horizontal black metal plate below the 180mm Air Penetrator? This is the mounting panel for a pair of 3.5-inch hard drives. Below that are options to mount dual 2.5-inch drives.

We see the options for mounting dual 3.5-inch and dual 2.5-inch drives in this view.
We proceed to the top to check out the slot optical drive mounting option, as well as the 180mm Air Penetrator. The chassis can fit an optical drive up to 12.5mm in height and the mounting of the drive will require the bundled optical drive bracket. If the drive is 9.5mm in height, it needs to be propped up from the bottom with the bundled rubber bracket pads.

The huge 180mm Air Penetrator fan and optical drive mounting options in front of it.

Before the installation of the slot optical drive, this supplied optical drive bracket is required to be attached to its side.
Interior Design (Part II)
As mentioned in our introduction, the SilverStone Sugo SG09 can fit mATX, mini-ITX and DTX motherboards. However, in order to accommodate the first type of mATX boards, an optional mATX mount has to be purchased separately.
Update as of 5th July: While SilverStone hasn't provided any clear graphical representations, we were misinformed by its manual's presentation where an optional micro-ATX mount had to be acquired. Further scrutinizing the case and clearing up the air with SilverStone directly, we've found that the case does support mATX boards natively, but it is a tight fit. Here's a photo representation:-

Here we have the latest mATX board from the ASUS - the Gryphon Z87. Notice the extra tight fit as just after the board ends, you can see it meets the PSU holder and the optional exhaust fan below it. So yes, the case can take in a mATX board natively, but be ready to wrestle with some cables.
The rest of the article is as published originally:-
We evaluated the case by installing an ECS HDC-I/E-240 mini-ITX motherboard. The rest of our components included the usual 3.5-inch HDD, a standard 10.5-inch graphics card, and the PS2 ATX power supply unit (PSU). Here's how the system appears after installation of these components:-

Take note that the power switch of the PSU has to be switched on after its installation as well as connect the internal power cord of the Sugo SG09 to the PSU too. Failing which, you might be scratching your head as to why the system fails to power up.
While the photo above shows the completely installed system, we share a few notes from the installation process for your consideration. The standoffs for the mini-ITX board were already installed, so securing the motherboard was a simple affair with the bundled screws and a screwdriver. Installing the graphics card and PSU were trouble-free too. However, take note of a couple of extra steps involved with the PSU like connecting internal the power cord from the chassis and to turn on the PSU's power switch. This is because the switch will be not accessible after casing's top panel is in place.
The installation of the 3.5-inch hard drive was slightly more tedious as we had to remove the 3.5-inch drive bracket from the chassis before we could mount the HDD on it. Following which, we put the bracket back in its place, and secured it with its mounting screws. As a one-time affair, that doesn't sound like a problem. However if you fiddle with your system internals often, then the process would be chore as it involves no less than dealing with eight mounting screws (you could use less screws, but that might compromise the system integrity).

We had to secure the 3.5-inch HDD to the drive bracket before mounting the bracket within the chassis.

We had to fasten a total of eight mounting screws to get our lone 3.5-inch HDD in its place.
The other item on our laundry list was managing the power cables from our modular PSU. It was quite a squeeze during our cable management exercise, and the squeeze was also felt when trying to hook up the SATA power cable to our mounted 3.5-inch HDD. In fact, we had to flex the plastic mounting bracket for the 2.5-inch drives (that was below the 3.5-inch drive mounting space) in order to attach power connector to our test hard drive. If 2.5-inch drives aren't required, we would recommend removing their plastic mounting brackets to avoid the problem we faced.

The SATA power connector was pushing against the plastic mounting bracket of the 2.5-inch drive below.
According to its specifications, the chassis is able to accommodate up to four 2.5-inch drives. We decided to mount a pair of such drives to see how they would fit. First, we needed to remove the 2.5-inch drive brackets from the chassis. Following which, we had to mount the 2.5-inch drives one above the other, before screwing both drive brackets.

We had to stack the 2.5-inch drives, one on top of the other, before securing the brackets on both sides.
After that, we attached the drives, together with their mounted brackets, below our 3.5-inch HDD. We connected their SATA power cables to determine how tight the anticipated squeeze would be. As witnessed below, the cables of the SATA power connectors had to be bent in order to attach the connectors to the respective drives. Hence, we do advise against cramming four 2.5-inch drives into the chassis as this will create a lot of difficulty attaching the drives' power and data connectors securely.

The cables of the SATA power connectors had to be bent in order for the power connectors to be attached to the respective drives.

We installed the top panel only after more cable management efforts.

Fortunately, the installation of the GPU fan bracket was a much easier affair.
Updated as of 5th July: SilverStone's chassis manual and web information weren't very clear on its native support for micro-ATX boards and we initially concluded it to be optional due to the presentation within the manual. Further scrutiny of the case and discussion with Silverstone confirmed that it can support micro-ATX boards without any optional mounts. We've updated all relevant comments in the updated conclusion and updated its ratings.
Conclusion
The SilverStone Sugo S09 chassis is an adequate chassis that can accommodate mini-ITX, DTX and even micro-ATX motherboards, making it a versatile case. Our previous experience with a small form factor chassis was the BitFenix Prodigy and its design restricted it to only mini-ITX boards. Even so, we would like to point out that installation of micro-ATX boards is rather tight and we recommend some patience and good cable management to get the interior tidied and well connected.

The SilverStone Sugo S09 small form factor chassis boasts of excellent cooling capabilites. With its strong resemblance to a portable air conditioning unit, we wonder if this is a deliberate effort by the designers to get their message across?
As the SilverStone Sugo SG09 was designed to be a performance-class SFF chassis in as small a size as possible, it had to to forgo conventional interior designs. However, the unique design interior did call for some careful reading the installation manual and we would highly recommend it for this chassis. As such, this isn't your average ready-to-build chassis that you might expect. Inside, there's just about enough room for the most important components, leaving very little room for all the internal cables from a management perspective. The lack of traditional 5.25-inch drive bays is another point to note as the chassis can only accommodate a slim slot-based optical drive up to 12.5mm in height. If sourcing for one of these is difficult, you can opt for an an external optical USB-based drive.
In terms of appearances, we like the faux brushed aluminum front panel but the the front vents make the chassis resemble an old-school portable air conditioning unit. That bring us to the point of cooling options, for which the company is extremely generous with its bundled cooling fans, as well as its optional cooling choices. Perhaps the look of the chassis is in-line with the unspoken design mantra, that the chassis has excellent cooling capabilities for the system builder's high-end components. At S$149, the chassis is slightly more expensive than the BitFenix Prodigy; however, it can mount mATX boards. At the same time, the extra premium can be seen as paying for the extra bundled cooling options.
The SilverStone Sugo S09 is a well-engineered chassis, albeit in an unconventional way. On the part of the system builder, it calls for careful planning of components to be installed. During the installation procedure, the instructions of the manual should be read carefully as there is little room for error. If you can get past the squeeze, handling lots of screws and its unconventional looks, the SilverStone Sugo S09 should be right in line to help you fulfill building a power packed SFF system.
Our articles may contain affiliate links. If you buy through these links, we may earn a small commission.