
NZXT Phantom 630 Ultra Tower Chassis - Tall, Grey and Handsome
The NZXT Phantom 630 full tower casing is the first from the company's new NZXT 600 series. Positioned as an 'ultra tower' chassis, this casing is a step up from the full tower NZXT 500 series. With its larger than life presence, let us delve deeper to see what lies beneath the Phantom 630.

The New Phantom Sans Chiseled Look
Just three years ago, in 2010, NZXT launched their Phantom series of PC casings. With its chiseled facade and hefty presence, the casing cut a cool look above the rest of the full tower competitors. It also featured a generous bundle of cooling options. NZXT have gone from strength to strength, by introducing new interpretations of design concept behind the Phantom series. We managed to review the first incarnation of the Phantom and we walked away impressed with its avant-garde appearance and the designer's attention to details.

The NZXT Phantom 630 is the new ultra tower chassis from the company. With its updated facade that removed the angled looks of the old Phantom, it also features a revamped interior.
Fast forward to the present, we are presented with the ultra tower Phantom 630 that measures 630mm in height. It towers over the first Phantom by 87mm! We approached NZXT to ask them about the exact difference, besides the physical dimensions, between a "full" and an "ultra" tower chassis. They replied they were the first to coin the term "ultra casing", to differentiate these larger casings from the standard sized full tower ones. NZXT also pointed out their 600 series casings are marketed as "ultra" casings while the 800 series are termed as "ultra plus" casings. Whether such naming conventions would catch on is anyone's guess, but yes, the casing is a bit larger than a standard full tower chassis.
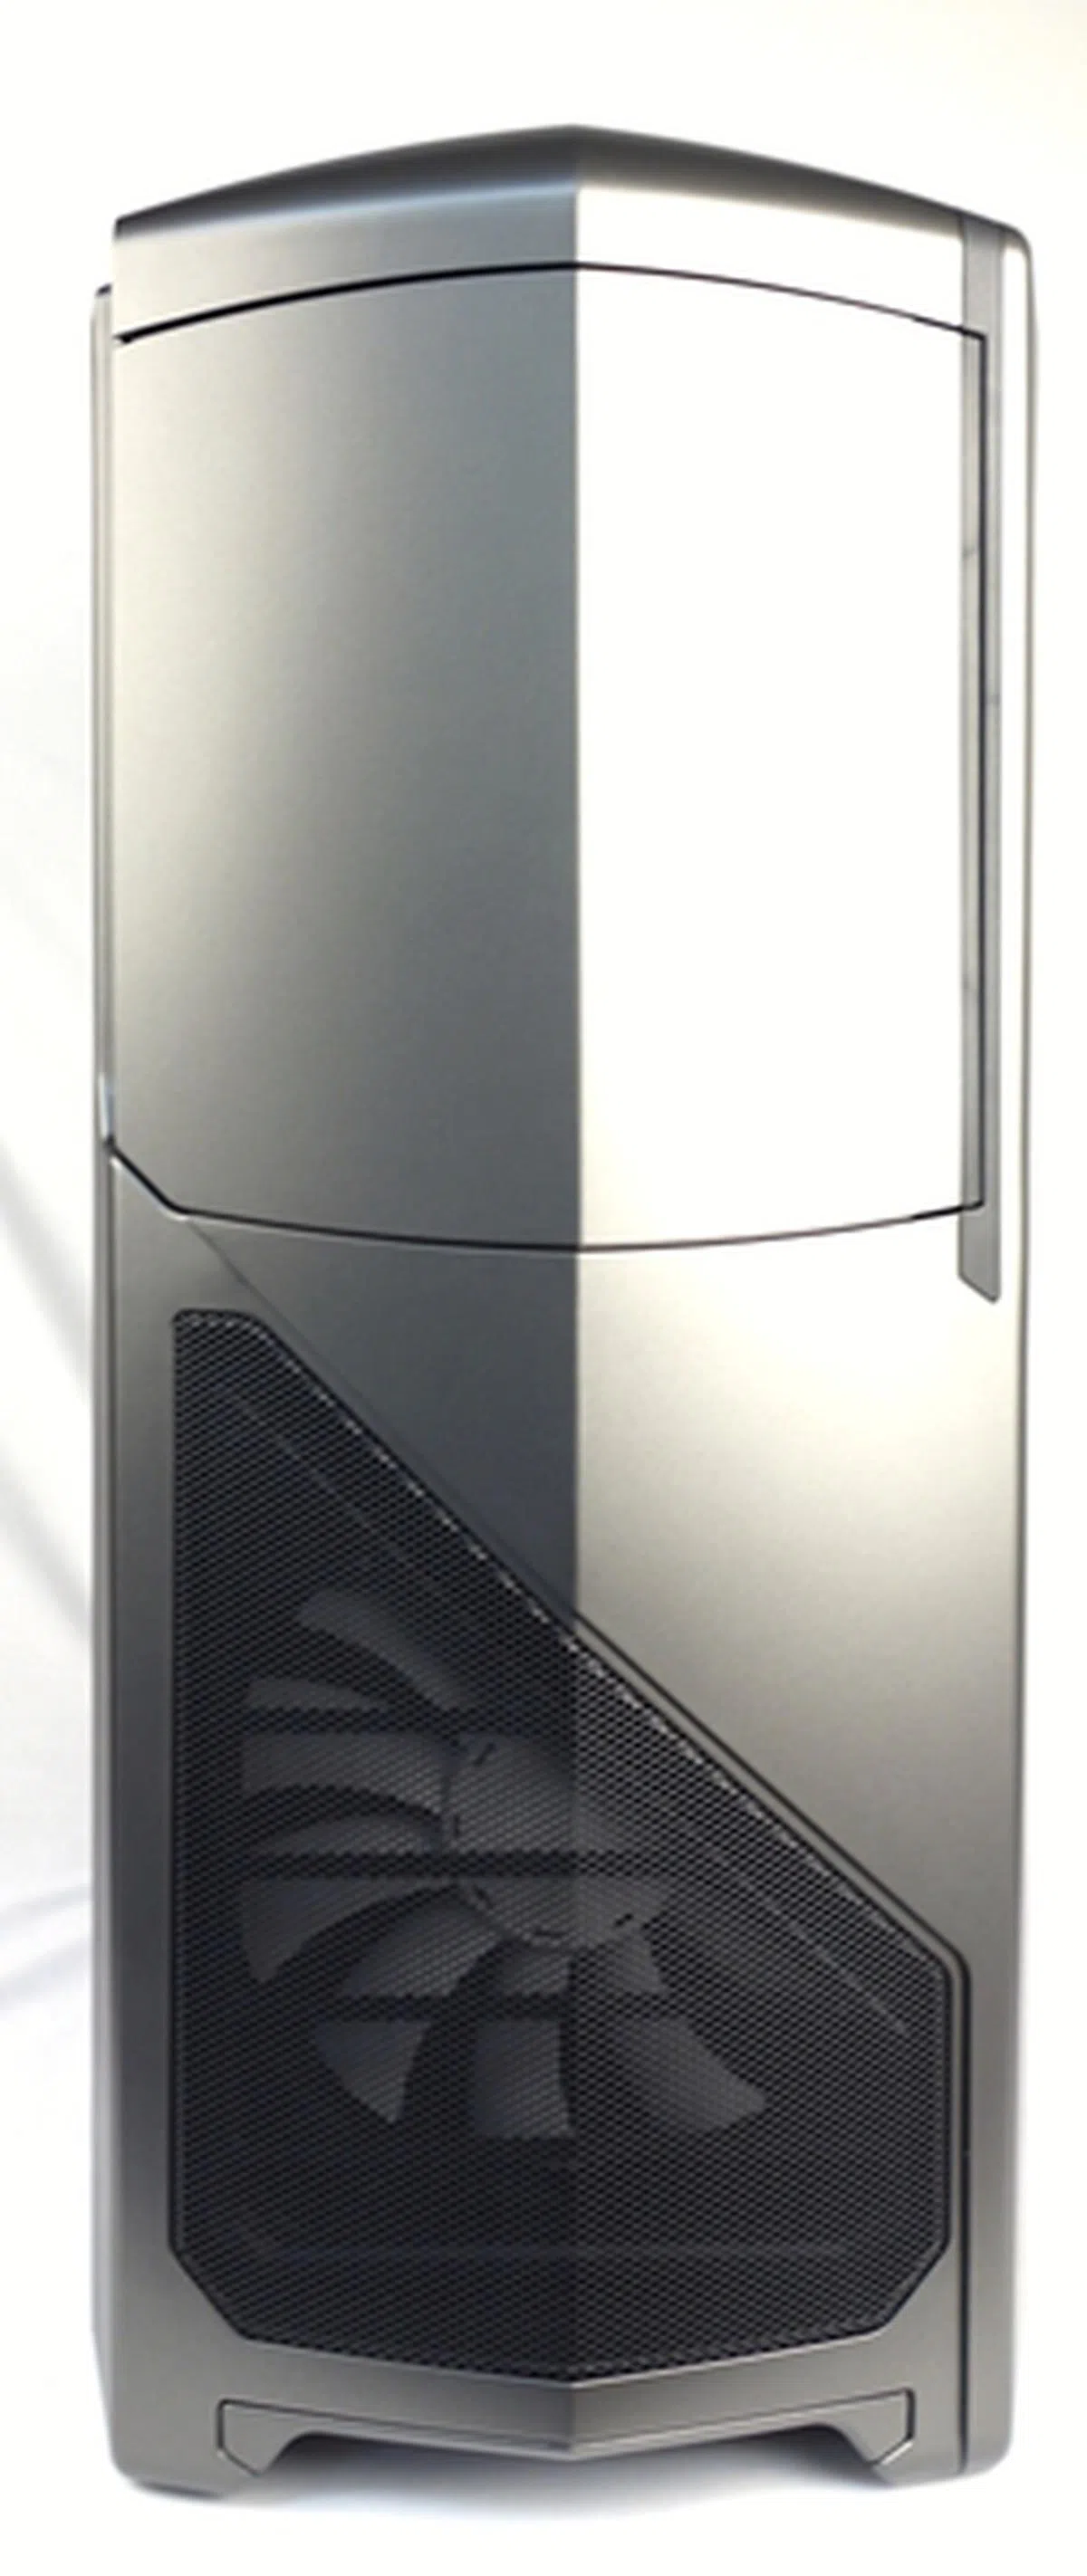
Regardless of the size, we managed to get our hands on the Gunmetal Phantom 630, and at first glance, the chassis sports a subtle angular look, with a pleasant smooth look. We can also see its bundled white cooling fans clearly through its black metal mesh coverings. Read on as we delve deeper into the Phantom 630.
Exterior Design
In terms of its construct, the casing is made up of SECC steel and ABS plastic. SECC steel is galvanized steel that is electroplated with paint for a smooth and even finish. As such, we can see that the casing already boasts of quality composite materials with good finishing. The empty chassis weighs in at 12.3kg and has the following dimensions; 245mm (width) x 627mm (height) x 600mm (depth).

The top view of the Phantom 630. There is a bundled 200mm cooling fan, behind the wire mesh of the top panel.
With the casing's large proportions, the cooling capacity built-in to the case is equally impressive - there are no less than three 200mm fans that are strategically placed on the casing's front, top and side panels respectively. The next point of interest is the casing's top control panel with an array of I/O ports:-

There are two flushed buttons, of the same gunmetal color as the chassis. The larger one is the power button, and the smaller one is the reset button. There is a small rubber button to control the LED lights of the rear I/O ports, and the larger rubber switch controls the fan speeds. The pictured fan speed notification with its LED lighting shows the fans at medium speed.

The LED lights are controlled by the button at the top control panel. They may be useful in low-light conditions when you need to scrutinize the rear I/O ports, or the ports of your expansion cards. It's a handy frill when you're likely to place the case under a desk.
A large rubber switch on the control panel toggles the speed of the fans through three settings: low, medium and high. Just next to it is a fan speed display that would indicate the fan speed settings. In terms of front panel I/O connectivity, there are a total of four USB ports (twin USB 3.0 and USB 2.0 connections respectively, headphone and microphone input ports.

We see a pair of blue USB 3.0 ports and two black USB 2.0 ones. The headphone and mic ports follow accordingly.
But enough of us parading its top face as the front facade is probably what makes or breaks your casing purchase decision half of the time.With the below photos, you can better notice the subtle, and yet strong lines that define its facade. You can also notice the bundled front 200mm intake fan while its front panel door gives access to four 5.25-inch drive bays and an SD card reader.


Behind the front panel door lies four 5.25-inch drive bays. We need not bash out any mesh covers as the drive bay cover is easily removed with a quick push of its rubber release catch. Note the SD card reader above the bays which supports SDHC and SDXC card types.
Next, we moved to the bottom of the chassis where we removed the two filters for a clearer look at the cooling options.The vents at the rear are for the bottom-mounted power supply unit (PSU). Nearer to the front of the chassis, there are options to mount up to a pair of intake 120- or 140mm fans.

The removable bottom filters feature a fine plastic mesh and it felt firm to the touch. The front bottom fan filter can be easily removed, perhaps a little too easily as we accidentally removed it while shifting the chassis. The rear fan filter prevents dust from being sucked into the casing through the PSU's intake fan since the the PSU is mounted at the bottom of the case.

This is the front rear filter that covers the optional bottom intake cooling fans.

The rear bottom filter serves the cooling fan of the bottom-mounted PSU.
Interior Design (Part I)
Next, we removed the side steel panels and the ABS plastic ones in order to have an unobstructed view of the interior of the Phantom 630. The casing can fit up to an XL-ATX sized motherboard (such as this and this). For graphics cards, it can accommodate those with lengths up to 12.7-inch. As the chassis features removable 3.5-inch drive cages, the chassis can actually fit cards that are also much longer than that!

The interior room is spacious and it is able to accommodate XL-ATX boards and graphics cards with a maximum length of 325mm, or 12.7-inch (and even longer if you give up one of the drive cages).
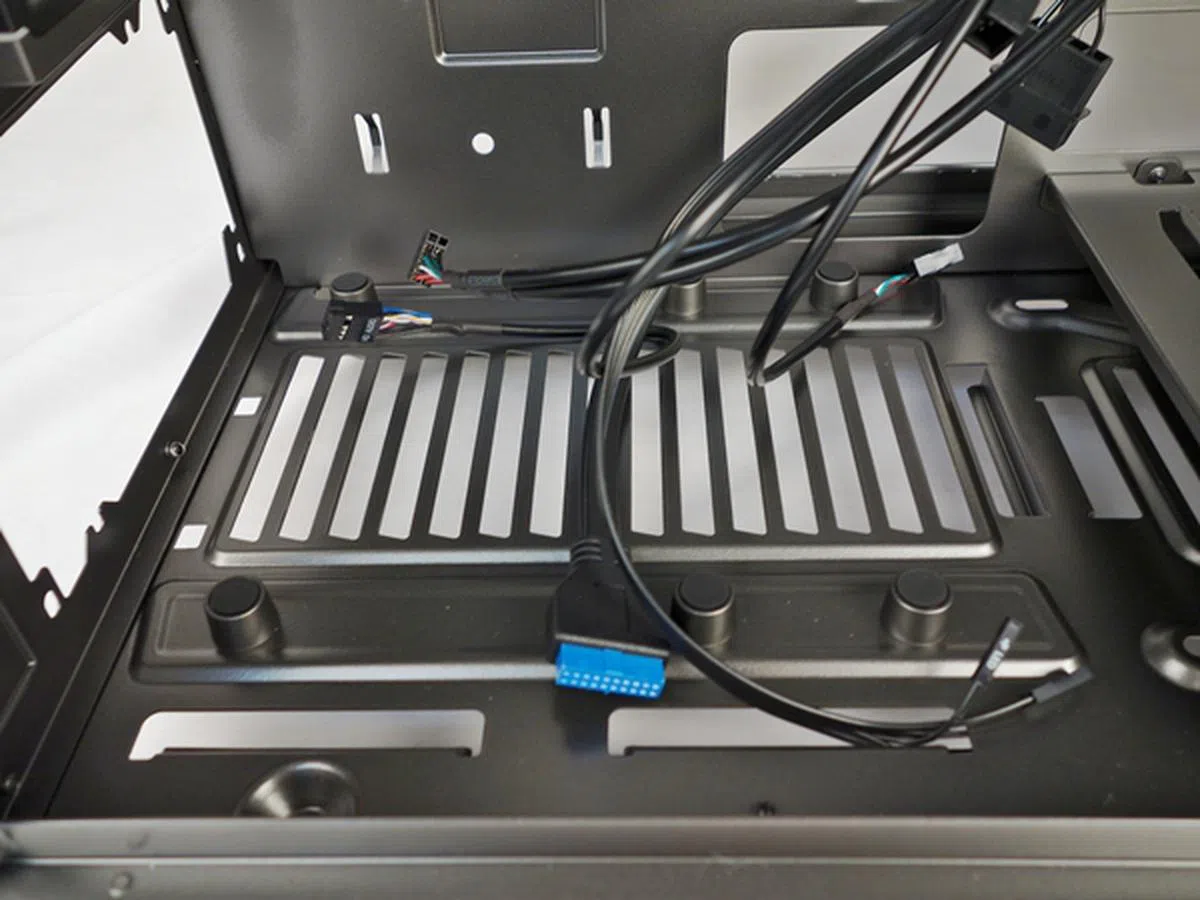
On the other side of the chassis, we see a large cut-out on the motherboard tray to facilitate high-end CPU cooler back plate installations, and the rubber grommets that cover the cut-outs set aside for internal cable management purposes. Also, notice the two removable 2.5-inch drive mounting trays located below the motherboard tray cut-out? Since this side of the casing will service the connectivity of the storage bays, we figure that NZXT thought it would be apt to maximize further drive mounting options. It's not a bad idea considering it's designed for mounting SSD drives.

At the edge of the motherboard tray's cut-out, there is a fan connector circuit board. It is linked to the fan speed control switch, which is located at the top control panel of the casing. As a result, any cooling fan that is connected to this circuit board, will have its speed centrally controlled by the fan speed switch. Up to a total of ten cooling fans can be connected to the circuit board.

The fan connector circuit board that serves to link the cooling fans to the fan speed control switch.
Next, we focus on the rear and bottom of the Phantom 630, but from the interior this time round:-

The casing's motherboard tray has some of the commonly used standoffs pre-installed. There are even markings to indicate which of the mounting holes are in use for the various board form factors.

The motherboard tray comes with pre-installed standoffs for easy mounting of the board. It also has indications of which mounting hole can fit the commonly supported motherboard form factors.

The legend is also etched on the motherboard tray to quickly decipher what letter of the alphabet represents the form factor of the motherboard supported.
For storage matters, the NZXT Phantom 630 comes with three removable 3.5-inch drive enclosures (1x large, 1x medium, 1x small) and they can be stacked according to the requirements of the system builder for a grand total of six 3.5-inch internal drives. They feature plastic trays for a tool-free installation experience of each 3.5-inch drive. Some of these 3.5-inch drive enclosures can be removed to make way for a massively long graphics card, but we doubt the need will arise given the size of the casing and that most conform to standard lengths.

The plastic drive trays within each drive enclosure may seem flimsy, while some even looked bent out of shape. However, they felt sturdy to the touch and offer an easy installation experience.
Located above the 3.5-inch drive enclosures are the 5.25-inch drive bays that feature latching mechanisms for installation convenience. On the other side of each slot, there are two screw holes for using the bundled 6-23 screws, which can be used for additional fastening of the installed 5.25-inch drive.

The black metal latch makes the installation of a 5.25-inch drive a breeze.
Next, we stripped the casing's front and top to see what's really underneath. On the front, we see the supplied 200mm intake fan. While that should more than suffice, the front mount is able to accommodate a pair of 140mm intake cooling fans for more direct drive ventilation.

Stripping the casing's front, you can clearly see the bundled 200mm intake fan, which you can swap out for dual 140mm ones (but at your own cost).
Similarly on the top, there's a cooling fan that measures 200mm that can be swapped out for a pair of 140mm outlet fans or a triplet of 120mm ones. Take note that the filters would have to be removed if you are installing the alternative fans as they are meant for the 200mm fans. In this regard, it's quite likely that the optional mounting option were more for installation of respective water cooling radiators from underneath the top panel rather than replacing the 200mm fans.

With its top plastic panel removed, we can see the 200mm exhaust cooling fan. There are two removable filters, each with a fine plastic mesh.
There is yet another huge 200mm cooling fan located on one of its side metal panel with the same plastic mesh filter. You can extend the fan's power connector to the fan connector circuit board, and once connected, the cooling fan can be centrally controlled too.

The 200mm intake fan that is attached to the one of the side metal panels.
As a note to our readers, the instruction manual of the Phantom 630 also details the installation instructions for the possible configurations of liquid cooling solutions. This is one of the unique features of this chassis, the flexibility of the supported cooling configurations, on top of their generous bundle of cooling fans.
Interior Design (Part II)
After examining the interior of the chassis and its cooling options, we proceeded to install our test components. We started with the 3.5-inch HDD as we wanted to examine the three removable 3.5-inch drive enclosures. We removed all of them from the chassis; the largest one is able to fit up to three drives, and it comes with the option to install a 140mm cooling fan, pivoted to the enclosure. As expected, this enclosure comes with three drive trays slotted inside for your usage.

The largest of the 3.5-inch drive enclosures fits up to three such drives.
Next, we examined the other two smaller drive enclosures; there is one that fits two drives, and the smallest, only one. After that, we configured them in a way such that the Phantom 630 could accommodate a graphics card that is longer than what's allowed in its default configuration (12.7 inches long). For this, we had to dislodge one of the drive enclosures from the neat single vertical stack seen on the previous page. Thankfully unlike cheaper casings that might require you to forgo some of the drive expansion options, the Phantom 630 has made provisions to house the extracted drive enclosure and still use it effectively.

The other two 3.5-inch drive enclosures; the one on the left only can fit one drive, while the 2-drive enclosure is on the right.
There is a raised platform at the bottom of the casing which can be removed to fit a pair of optional 120mm intake fans, or to hold the drive bays securely. If you notice in the photo below, there are grooves that will allow the enclosures to slide into place. Clearly, everything has been rather well thought in this spacious casing.

At the bottom of the chassis, there is a raised platform, with its grooves to secure the 3.5-inch drive enclosures in a different configuration.
To test out the alternate configuration, we installed the two smaller 3.5-inch drive enclosures onto the raised platform. After that, we secured them with the thumbscrews on the other side of the chassis. It appears that only the 1-drive 3.5-inch drive enclosure can be placed on the left of the raised platform due to the cut-out that can accommodate such (view photos below).

The 1- and 2-drive 3.5-inch drive enclosures are secured on the raised platform by sliding them into the grooves of the platform.

Looking at the opposite side, you can notice that we secured the drive enclosures with thumbscrews. Notice the cut-out on the right only accommodates the 1-drive 3.5-inch drive enclosure.
We took out one of the trays to install our 3.5-inch HDD. It was a straightforward task as we just need to pry the tray slightly, before fitting the drive. The tray gripped the drive tightly, with its aluminum rivets slipping into the drive's screw holes. The tray is also able to fit a 2.5-inch drive and we installed our SSD, after fastening the drive to the tray to it with four screws.

The 3.5-inch drive tray that is made from plastic.

The tray hugged our 3.5-inch HDD tightly, and with the rivets in place, the installed drive felt secure.

The tray can also accommodate 2.5-inch drives.

Our SSD was secured with four mounting screws from the bottom of the tray.
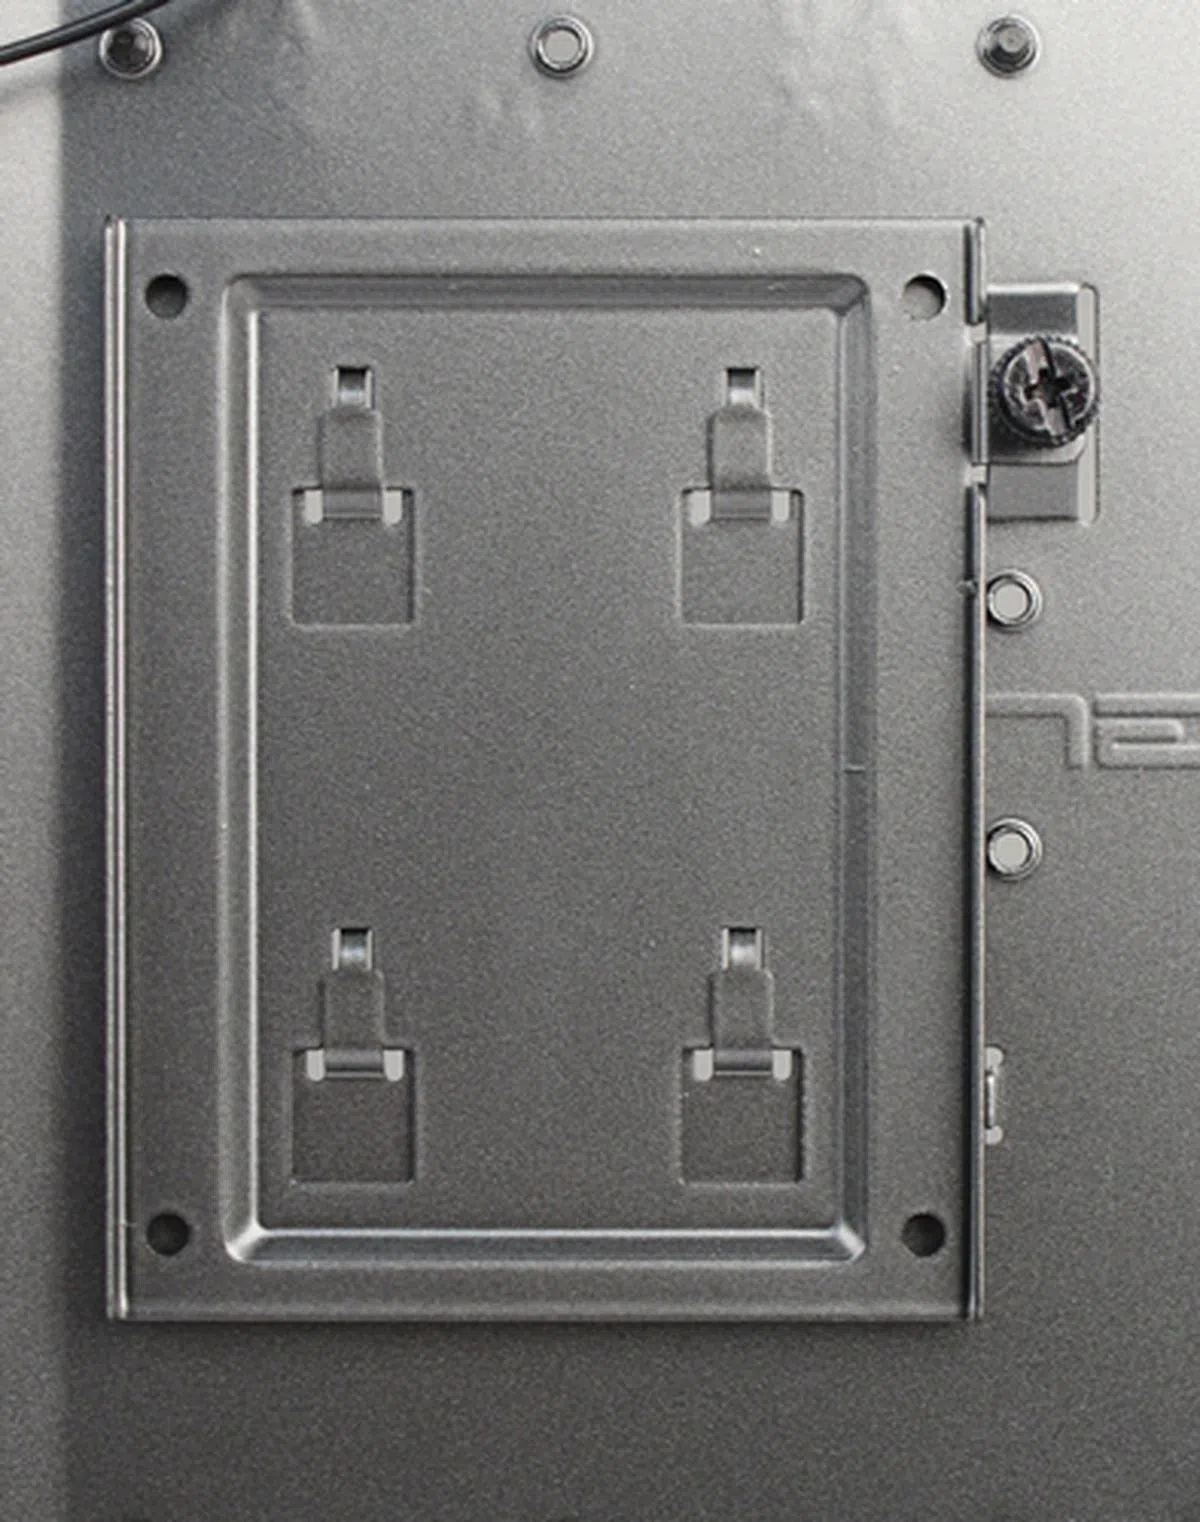
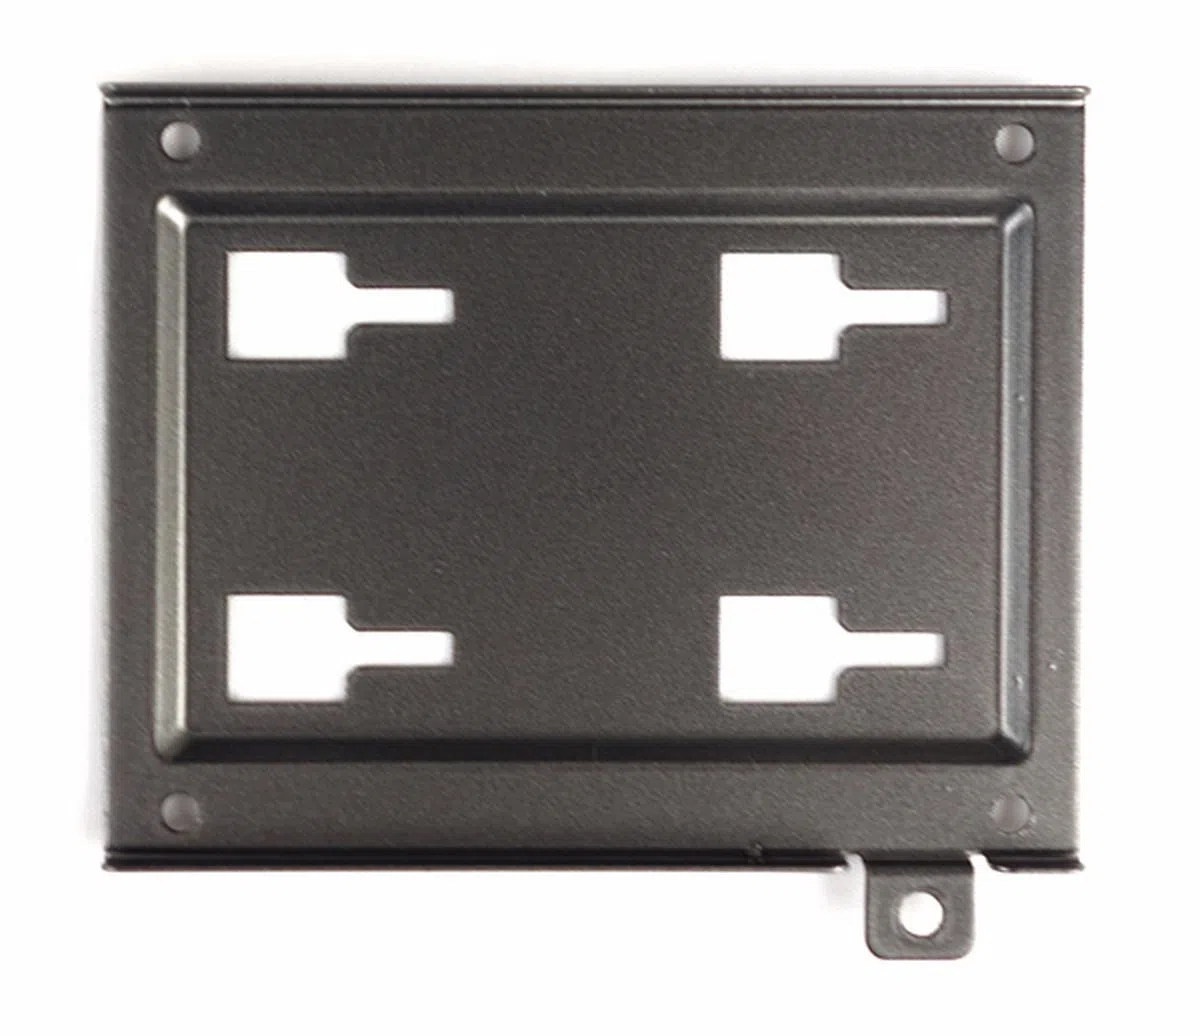
There is another way to install 2.5-inch drives. As shown on the previous page, there are two removable 2.5-inch drive trays located near the cut-out of the motherboard tray. They are secured with a thumbscrew. The tray is easily removed, and we installed our SSD by sliding it into place, and secured it to the tray with four bottom-mounted screws. After that, we put the tray back in its place and secured it with the thumb screw.
We then proceeded with the installation of our 3.5-inch HDD, followed by our motherboard, PSU and graphics card. It was an almost tool-free affair, except when we had to remove two of the expansion slot covers, where we needed our screwdriver to remove their retaining screws.

The installation was simple and straightforward. The only time we need to bring out our screwdriver was for the removal of the expansion slot covers.

On the other side of the motherboard tray, we can see how the cable and wire management system panned out, to make everything neat and tidy.
Conclusion
The Phantom 630 ultra tower casing left quite an impression on us. From its modular 3.5-inch drive enclosure system to its configurable cooling options, the designers of the chassis clearly had a vision to come out with a chassis that is able to meet the cooling requirements of serious system builders. Besides the cooling fans, the chassis has many vents to allow for good air flow, with a total of five easily serviceable filters to prevent excessive dust accumulation inside. It is evident that the case designers have paid attention to the miniscule details. For example, even their mounting screws came in resealable plastic bags that are clearly labeled.

The Phantom 630 ultra tower chassis boasts of high quality construct. Its roomy interior, with modular 3.5-inch drive enclosures, and a generous bundle of cooling fans with accompanying dust filters, a control hub and easy installation makes it hard to fault.
If there are any grouses, they are minor ones, especially if we are to complain about the location of the control panel as well as the I/O ports. If a proud enthusiast wants to place the imposing Phantom 630 on his/her desk, it would be difficult to reach the top of the chassis for the relevant controls. This isn't an issue if the casing is placed on the floor. Another nitpick is the placement and definition of the control buttons as it can be difficult to just feel your way to activating the required control. Elsewhere, because of the casing's electrostatic coating finish on its exterior metal panels, the side panels picked up a lot of our fingerprints. Yet another nitpick is the weight of the casing as it tips the scales with an empty weight of 12.3kg, and with our installed components, we estimated its weight to be almost 16kg. It is quite a task to move the system, and coupled with the precarious position of the bottom front filter; there is a possibility of dropping the casing when moving it to another location. Perhaps the inclusion of bottom-mounted wheels with locks would make such a task less back breaking, should be in order?
In conclusion, the Phantom 630 marks an improvement from the original Phantom, with its redesigned interior and a slightly updated exterior. Fortunately, all of this is achieved without losing track of its main emphasis of providing excellent cooling capabilities to the system. The chassis is available locally for S$288, and at this price tag, it is about S$80 more expensive than your high-end full tower casings like the Corsair Obsidian Series 550D that retails at S$209. Compared to a similar "ultra tower casing" like the Cooler Master HAF X, which is available for S$259, paying an additional S$29 for the newer Phantom 630, doesn't seem too extravagant after all. Hence, if you are on the lookout for a casing that is larger than a standard full tower one, and want to have the option of upgrading to liquid cooling systems in the future with plenty of expansion options and space to expand without any sacrifice, we would definitely recommend the NZXT Phantom 630.
Our articles may contain affiliate links. If you buy through these links, we may earn a small commission.