
Budget Casing Shootout - Affordable PC Housing
When building a new system, don't neglect your casing. Here, we check out six of the most popular budget, entry-level casings from Antec, Cooler Master, Gigabyte, Ikonik, NZXT and Thermaltake to see which is best.
Picking the Right Casing
It's a scenario that we have seen too many times. A user assembling a new system willingly forks out thousands for a high-end CPU, storage, memory and graphics cards, and then scrimps on the casing. Many a times, casings are overlooked and deemed unimportant when one builds a new system. And too often have we heard people commenting that “just any good-looking casing” will do. It most certainly will not, and looks aside, there are other things worth considering when getting a casing.
One of the most important considerations is size. While the old saying “bigger is better” is mostly true, much of it also depends on how the internals of the casing is configured. A hard drive cage that is placed few millimeters too close to the motherboard tray can spell disaster for those intending to use large graphics cards; likewise, an ill-placed railing can also prevent you from installing that spanking new 1500W PSU that you just invested.

A good casing can enhance a system's capabilities, and size alone is not the only consideration when shopping for one.
On top of sheer size, one must also ensure that the casing has ample room for future upgrades. The more HDD drive bays, the better; as is a larger motherboard tray area to accommodate future graphics card upgrades.
And then there's the issue of thermal management. With more powerful CPUs and graphics cards, comes more heat, and therefore the casing must also provide adequate ventilation to ensure heat doesn't build up within the casing and damage your components.
Clearly, not just any “good-looking casing” will do, and today, we are rounding up six affordable casings, costing around S$100 (about US$60 to US$70), from some of the most illustrious names in the market to see which offers the most proverbial bang for buck. We'll be judging the casings based on design, features such as IO ports and expandability options, space, and ease-of-installation. Our contenders are as follows:-
- Antec Two Hundred
- Cooler Master Centurion 5 II
- Gigabyte Luxo M1000
- Ikonik EN2-WB
- NZXT M-59
- Thermaltake WingRS 301
So without further ado, head over to the next page to check out their specs and our evaluation of the six casings.
Casing Specifications
Here's an overview of how the casings stack up against one another. As you can, the specifications are fairly similar for these entry-level products.
Specifications / Casings | Antec Two Hundred
| Cooler Master Centurion 5 II
| Gigabyte Luxo M1000
 |
Casing Dimensions |
|
|
|
Drive Bays &Expansion Slots |
|
|
|
Case Cooling |
|
|
|
Power Supply |
|
|
|
Specifications / Casings | Ikonik EN2-WB | NZXTM-59 | Thermaltake WingRS301 |
Casing Dimensions |
|
|
|
Drive Bays &Expansion Slots |
|
|
|
Case Cooling |
|
|
|
Power Supply |
|
|
|
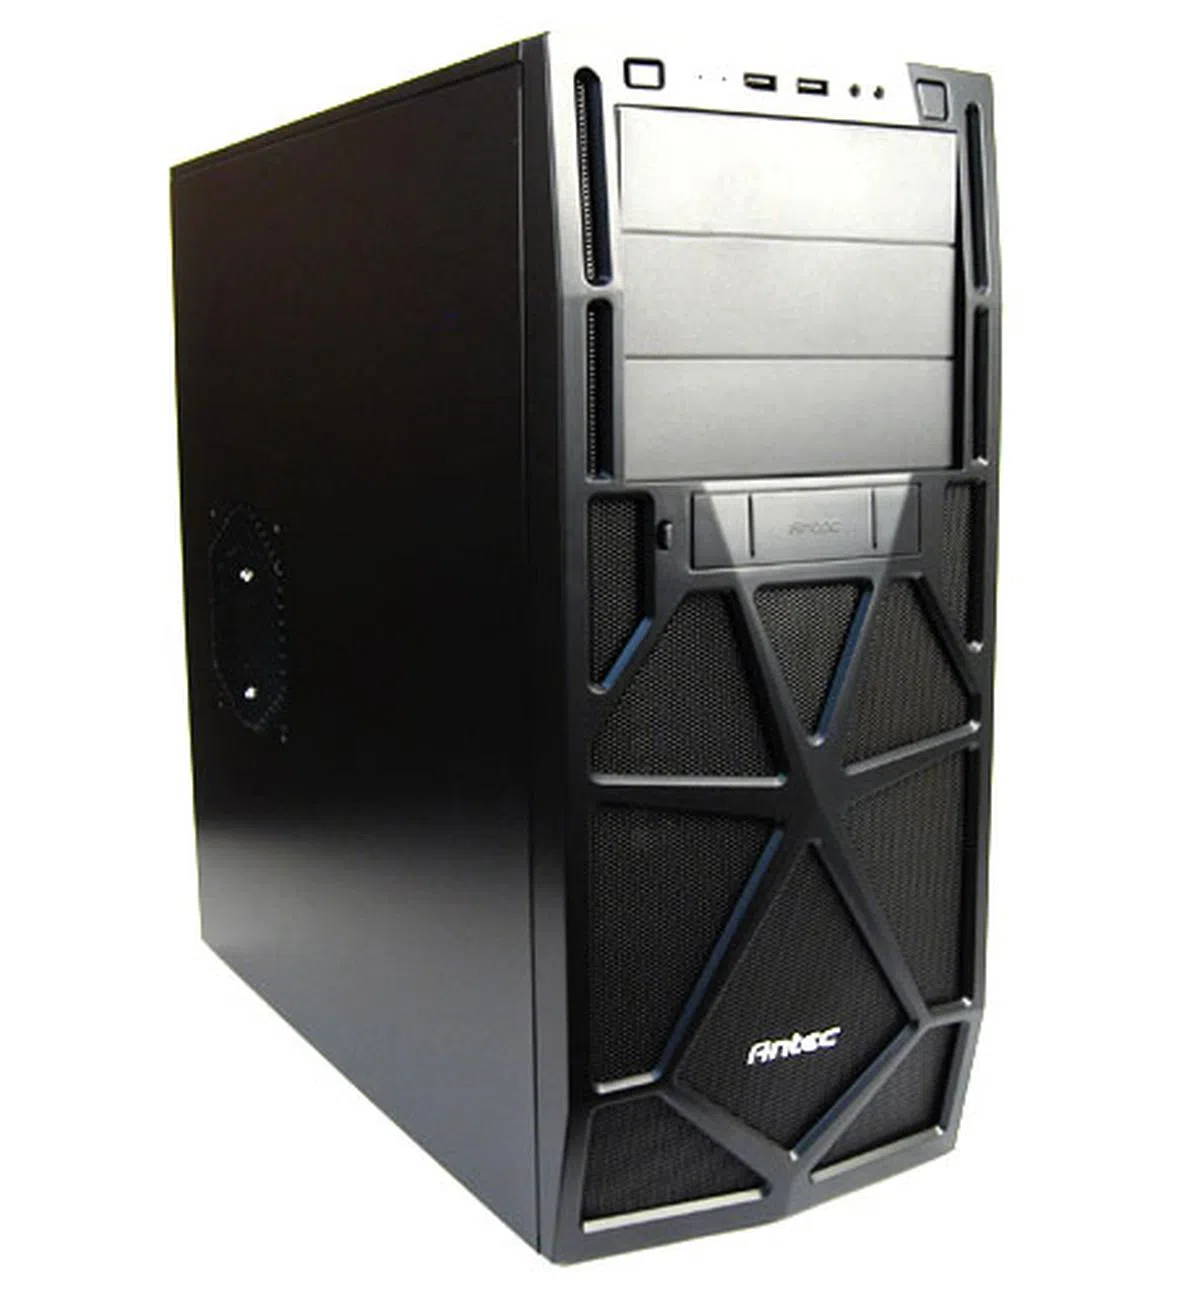
The Antec Two Hundred

The spiderweb design on the front panel is a decent attempt by Antec to make things a little more interesting.
Antec is a veteran in the computer chassis market, having been designing and manufacturing computer casings for over 25 years. Apart from casings, their business now also includes computer power supply units and cooling solutions.
The Antec Two Hundred we have here is one of the company's most basic gaming-class casings. It's meant to be a simple and no-frills way for users on a tight budget to get a system up and running. As such, it looks decidedly basic with its plain all-black theme. However, we can see that Antec has tried to spice things up a little by including a spiderweb-like design on their front panel.
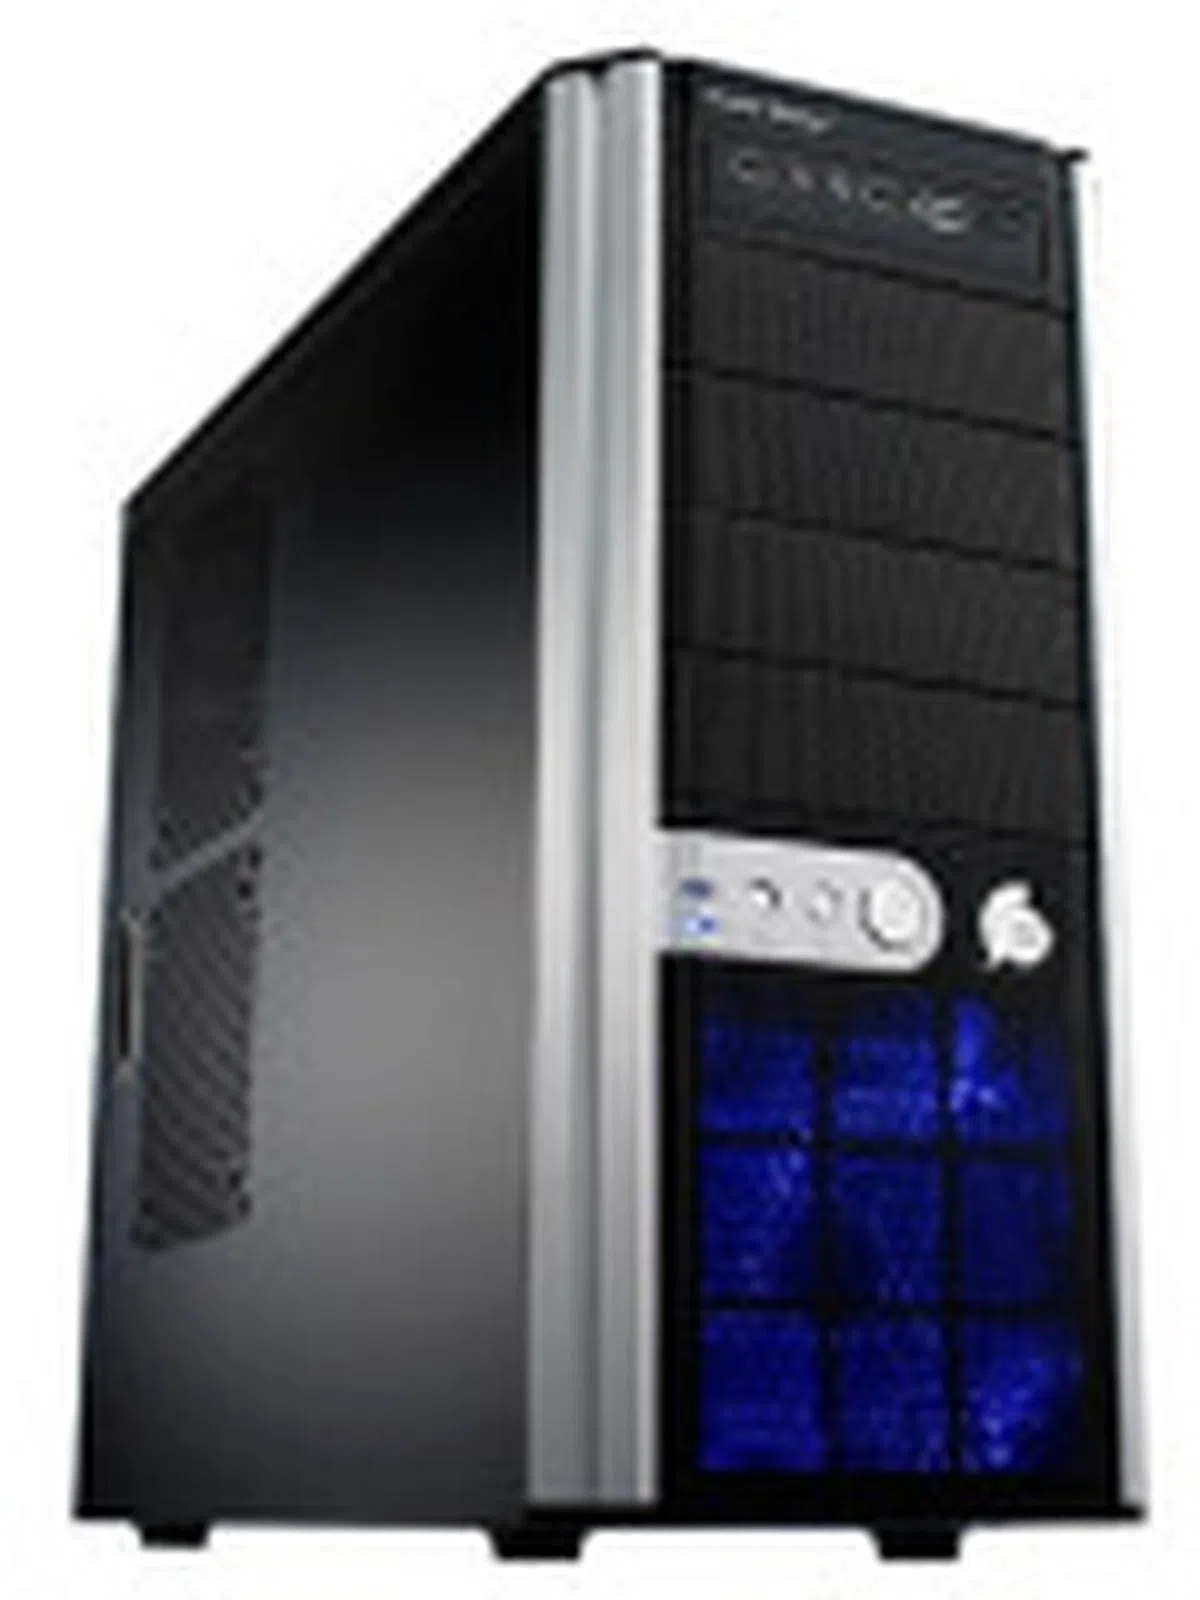
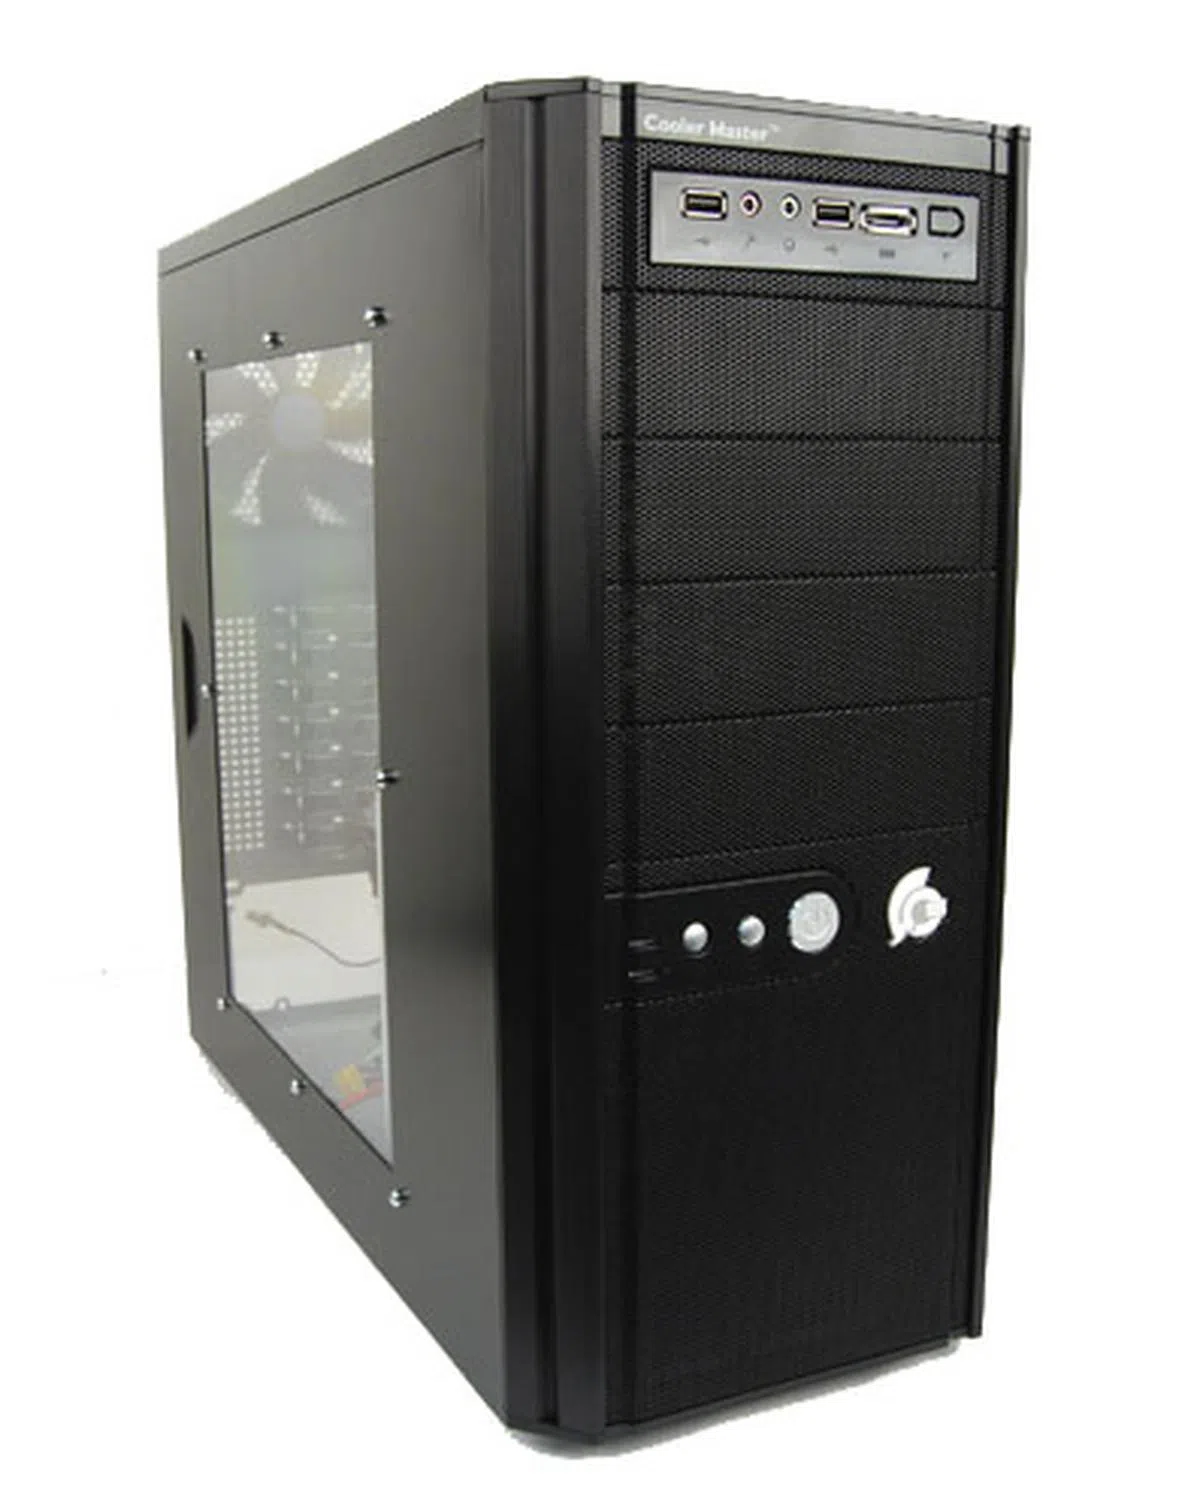
The Cooler Master Centurion 5 II

The new Cooler Master Centurion 5 II shares much of the same design cues from the earlier Mk I model, which means it's as plain as white paper.
Think of computer casings and one of the names that springs to mind is Cooler Master. Having been around since the early 90s, Cooler Master is one of the most popular brands for system builders.
The Centurion 5 has been Cooler Master's foremost budget mid-tower chassis for some time now and it's high time for a revision, hence the new Centurion 5 II. The Centurion 5 II looks mostly similar to the older Centurion 5 so it's not going make you double take, much less win any beauty contests. Having a front blue LED fan is a nice touch though. Much like the other casings here, it is a basic affair designed for one purpose only, and that is to house your PC components. Simple and functional.
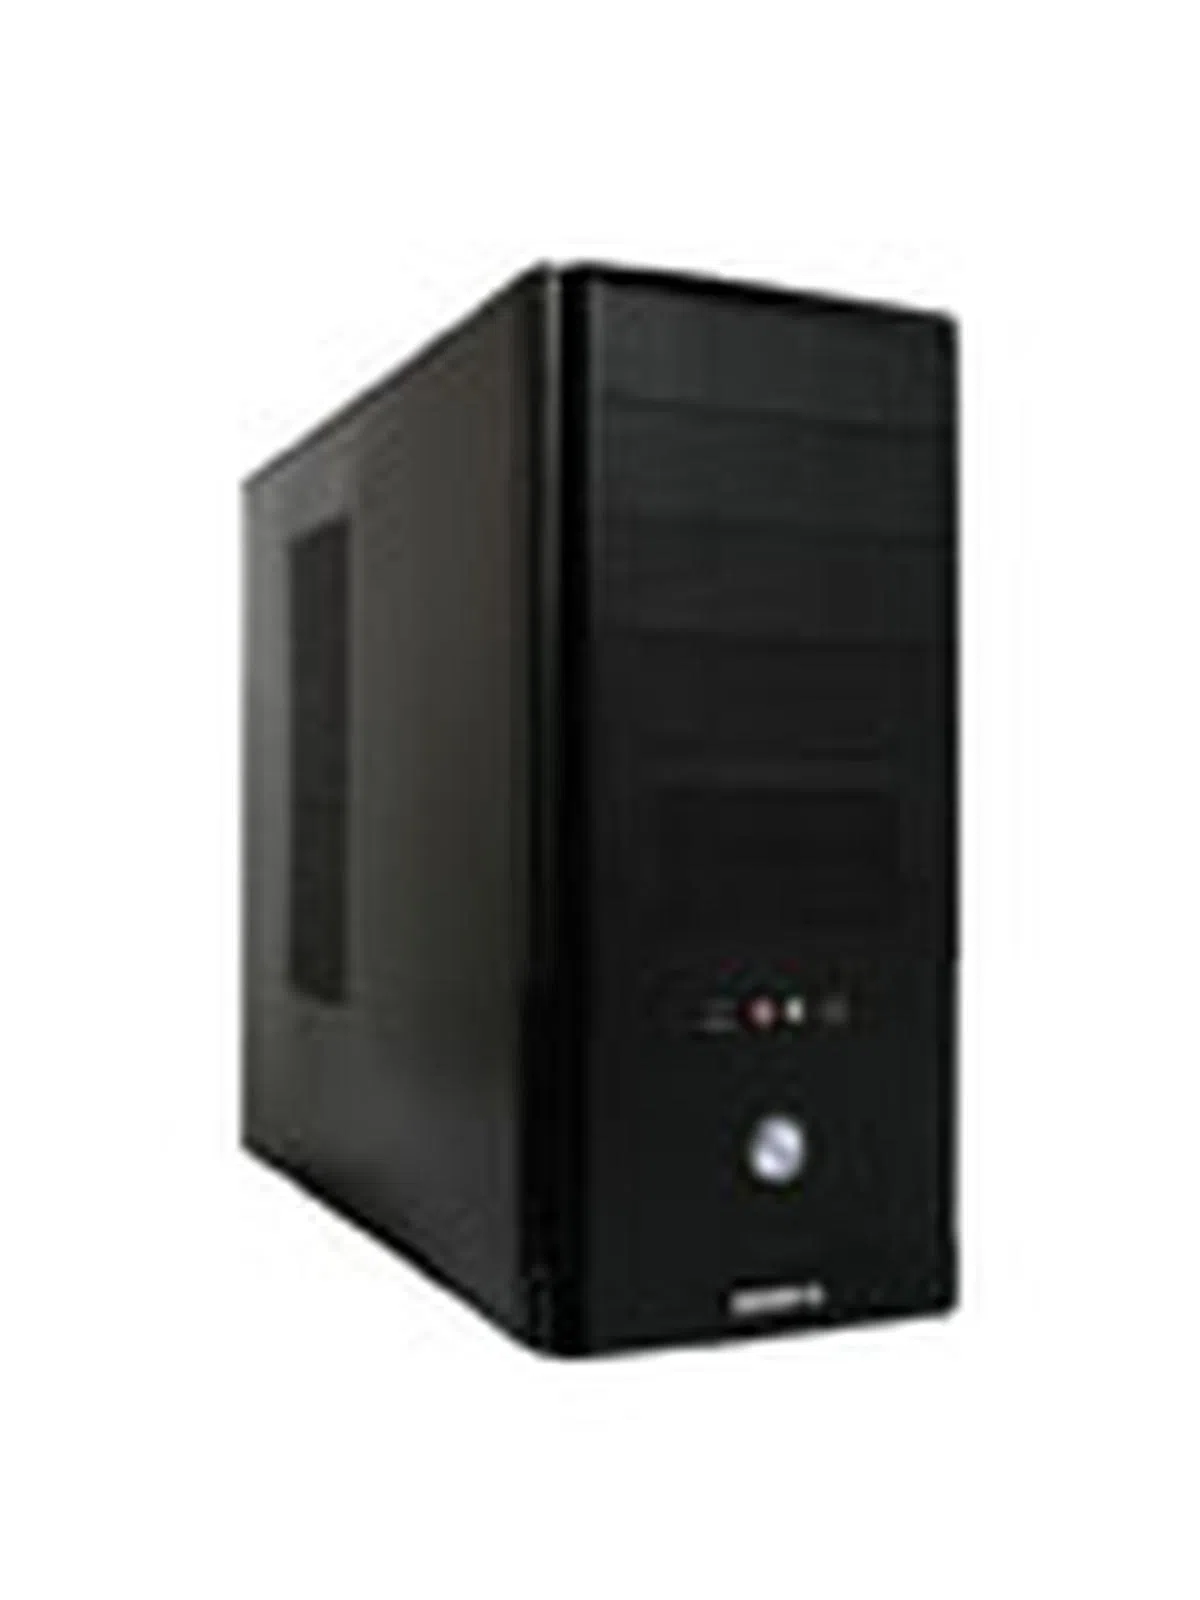
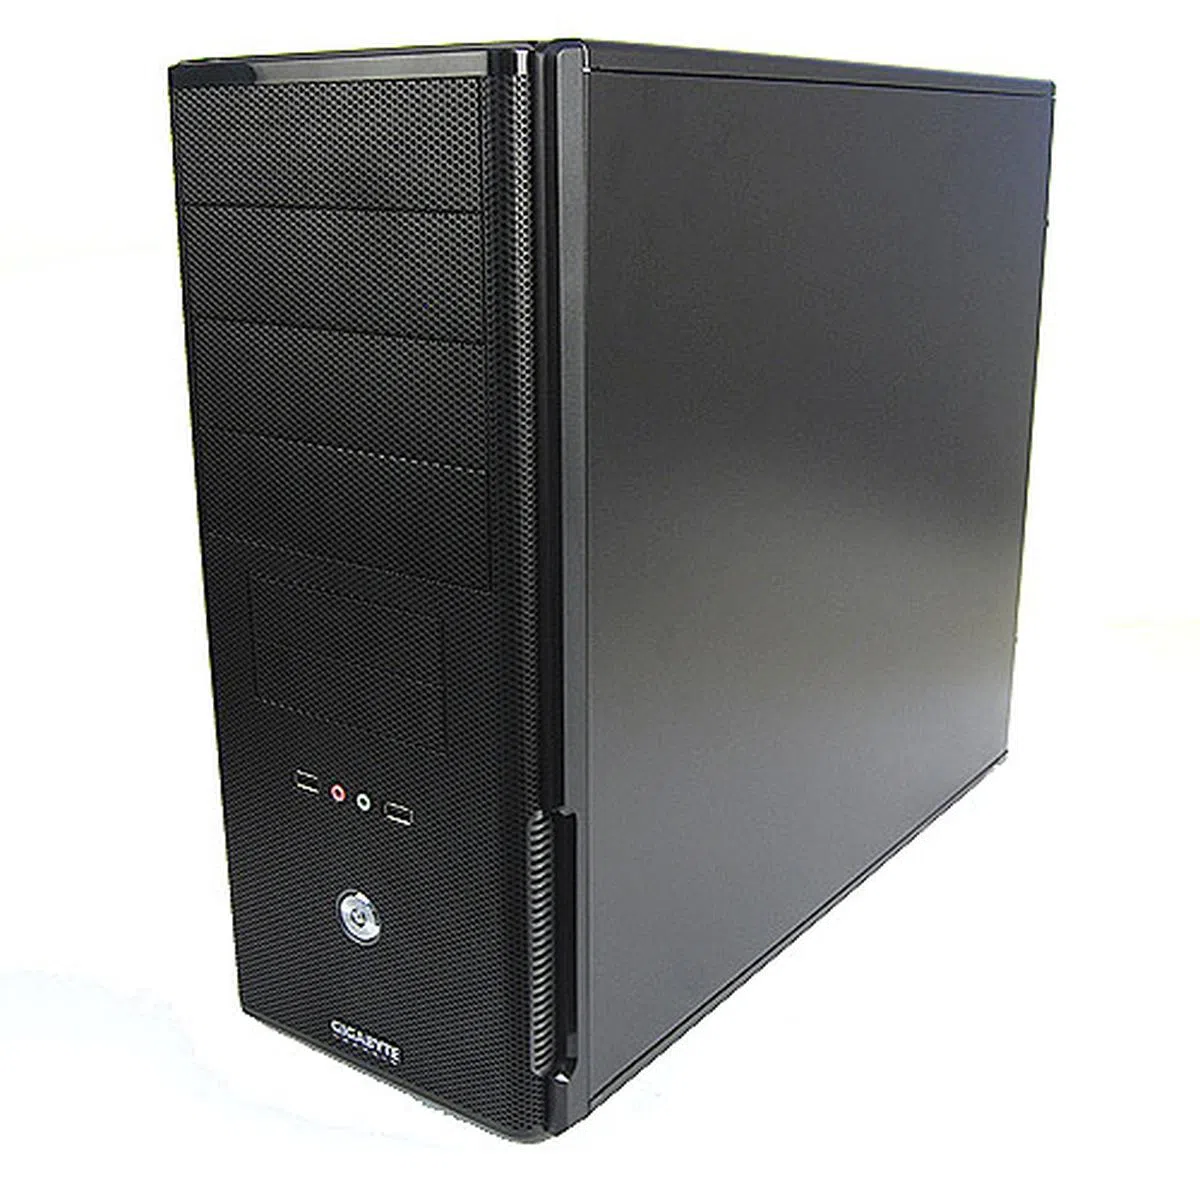
The Gigabyte Luxo M1000

The Gigabyte Luxo M1000 is an uninspired piece of design. It is so plain and simple that we think it is just plain dull and uninteresting. That said, the Gigabyte Luxo M1000 is perfect for those who don't like flashy stuff. However, its advantage becomes apparent once you peer inside and we'll get to that soon.
More famous for its motherboards and graphics cards, Taiwanese hardware giant Gigabyte also offers a wide selection of computer chassis as well. The Luxo series is just one of their many line-ups of casings and despite the upmarket sounding name, Luxo is really Gigabyte's line of affordable, budget casings.
When it comes to looks, the Gigabyte Luxo M1000 is desperately plain and basic. Gigabyte clearly designed this casing for one single purpose, and that is to house your PC components comfortably, nothing more. Also, we must say that the casing is very light, but that comes at the expense of sturdiness, as it feels much flimsier compared to its competitors.
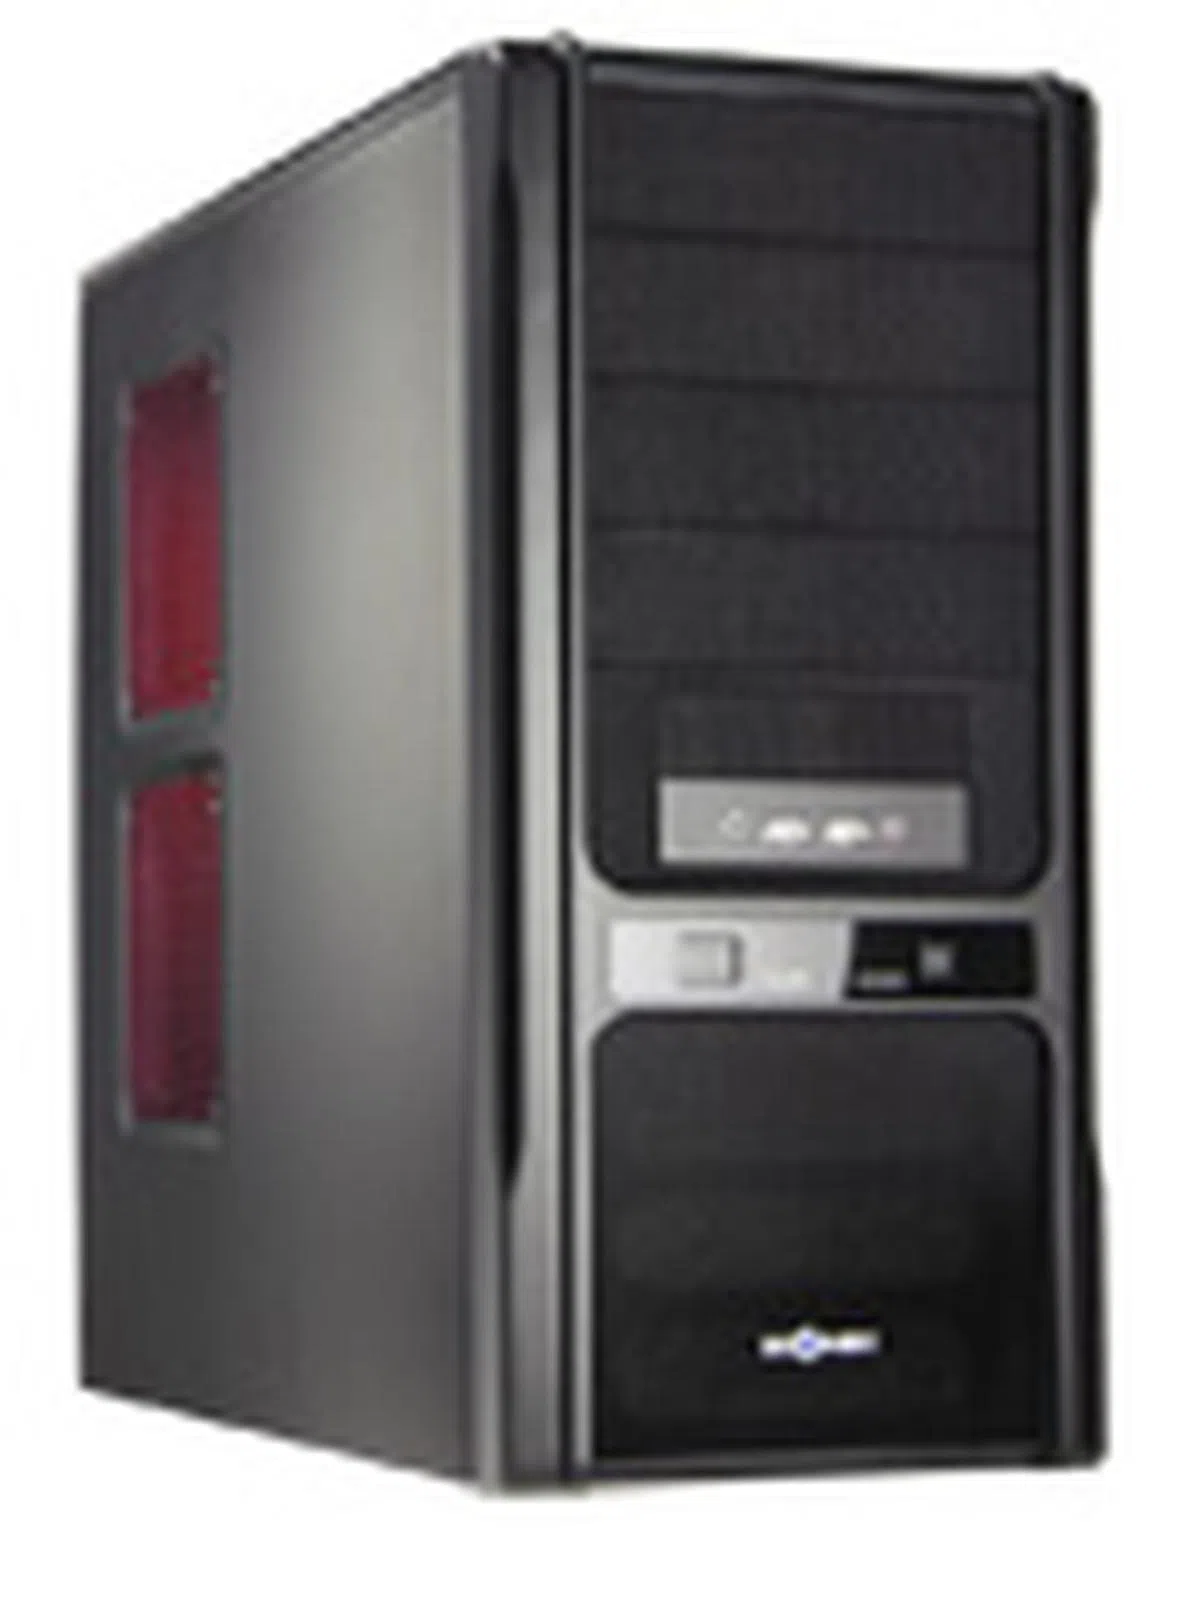
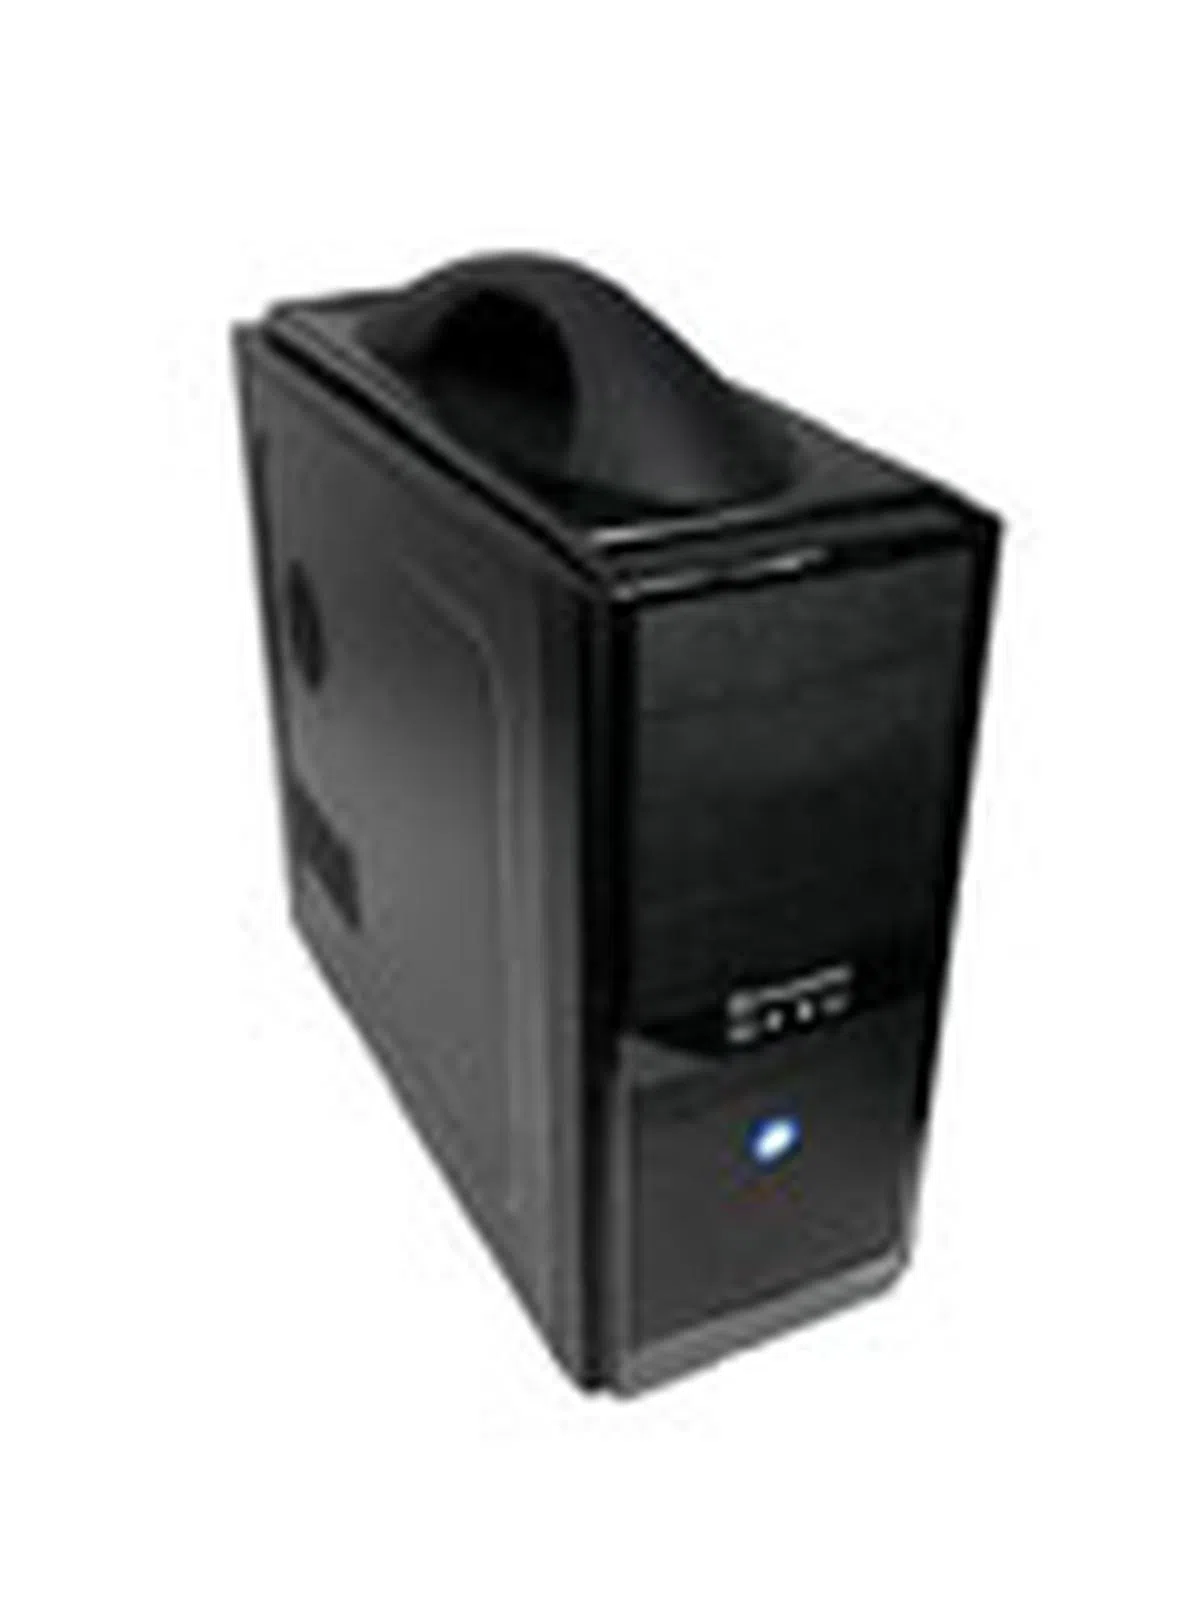
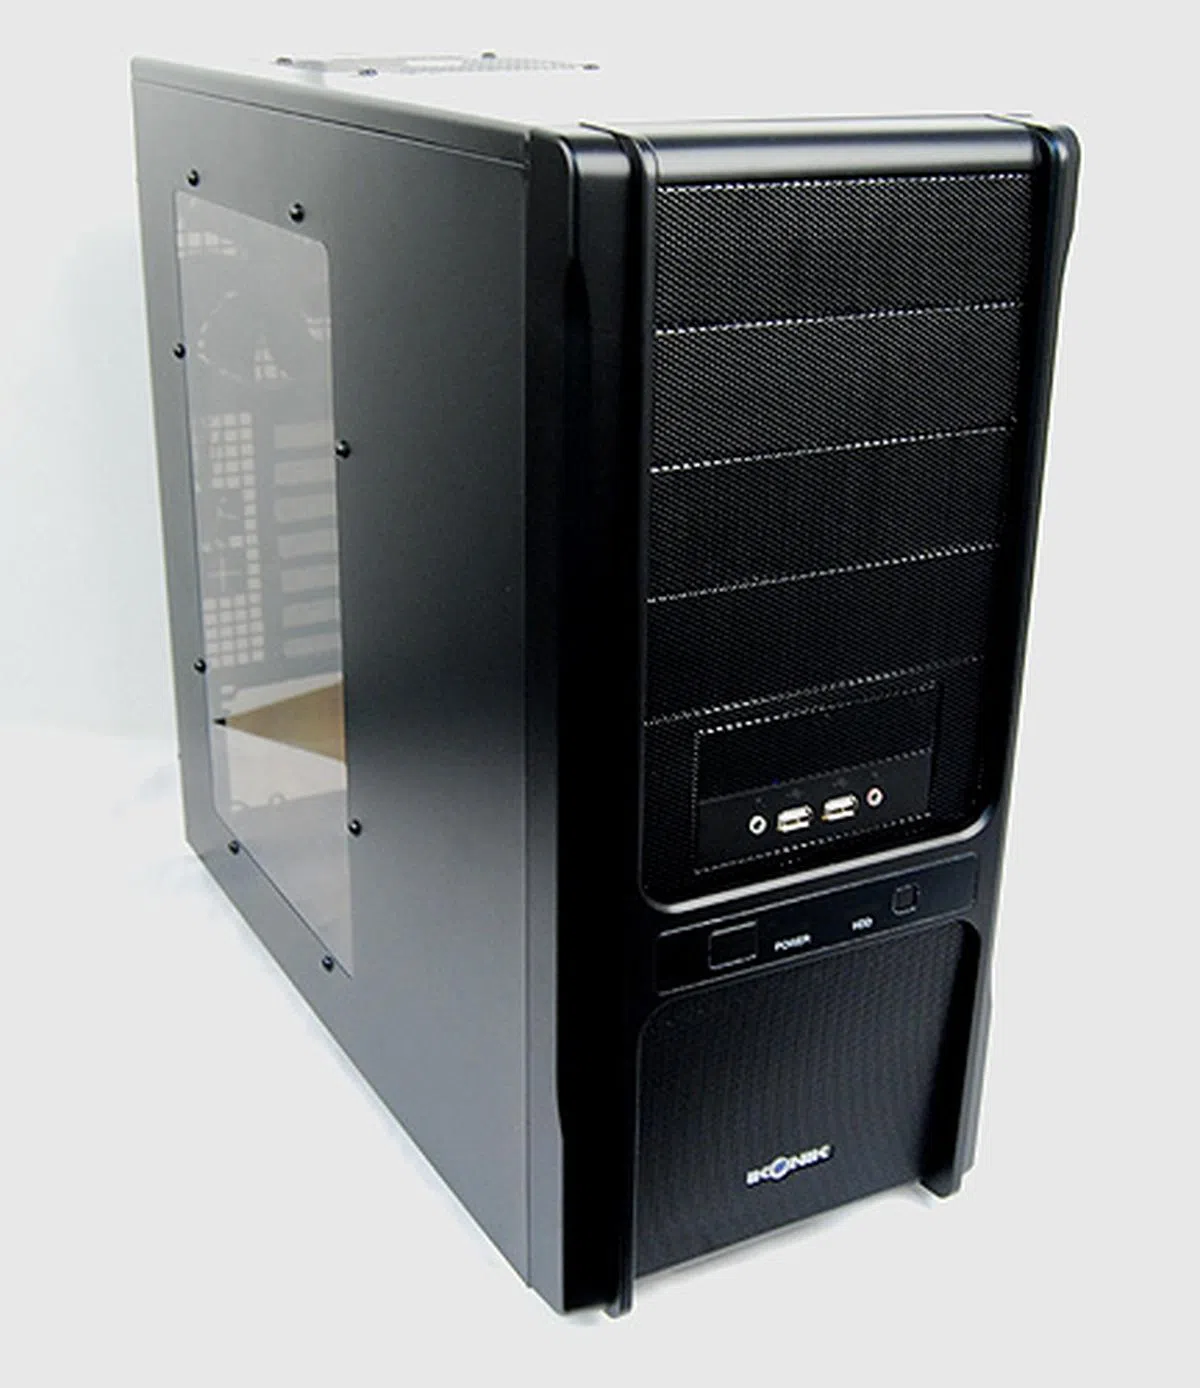
The Ikonik EN2-WB

he Ikonik EN2-WB looks nothing like the awesome Ra X10 Liquid we reviewed early last year. It's much more basic and humble in appearance. In fact, it looks a lot like the Gigabyte Luxo M1000.
Compared to the other five brands, Ikonik is perhaps the newest to the PC hardware components scene. And word on the street is that the company was founded by one of the senior computer casing and power supply engineers at Gigabyte. Yet despite being new, we were completely bowled over by their awesome Ra X10 Liquid casing, which we awarded a full score, a first for any casing in our 12-year history if we might add.
The Ikonik EN2 we have here is a much simpler affair, which is a nondescript and unoffensive looking casing. Positioned as Ikonik's entry-level offering, it looks much plainer than the futuristic and handsome Ra X10 Liquid - but then again the Ra X10 Liquid is 10 times as costly.
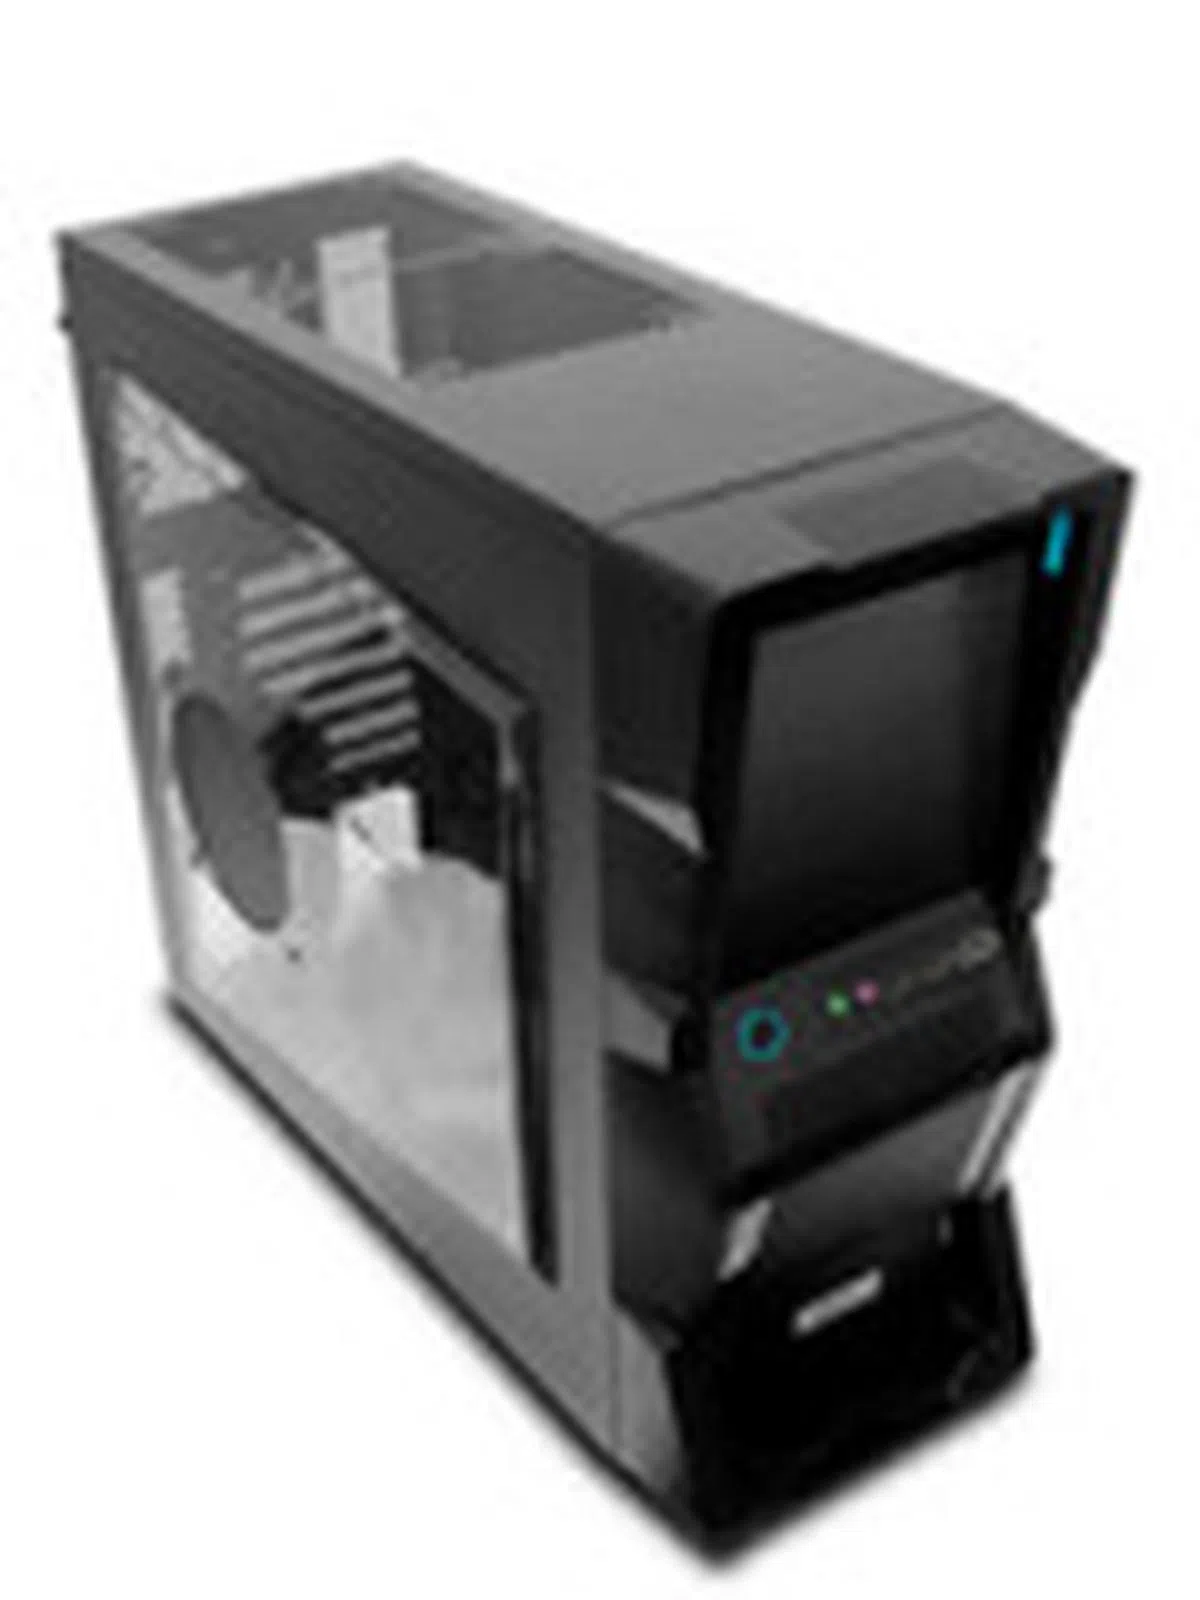
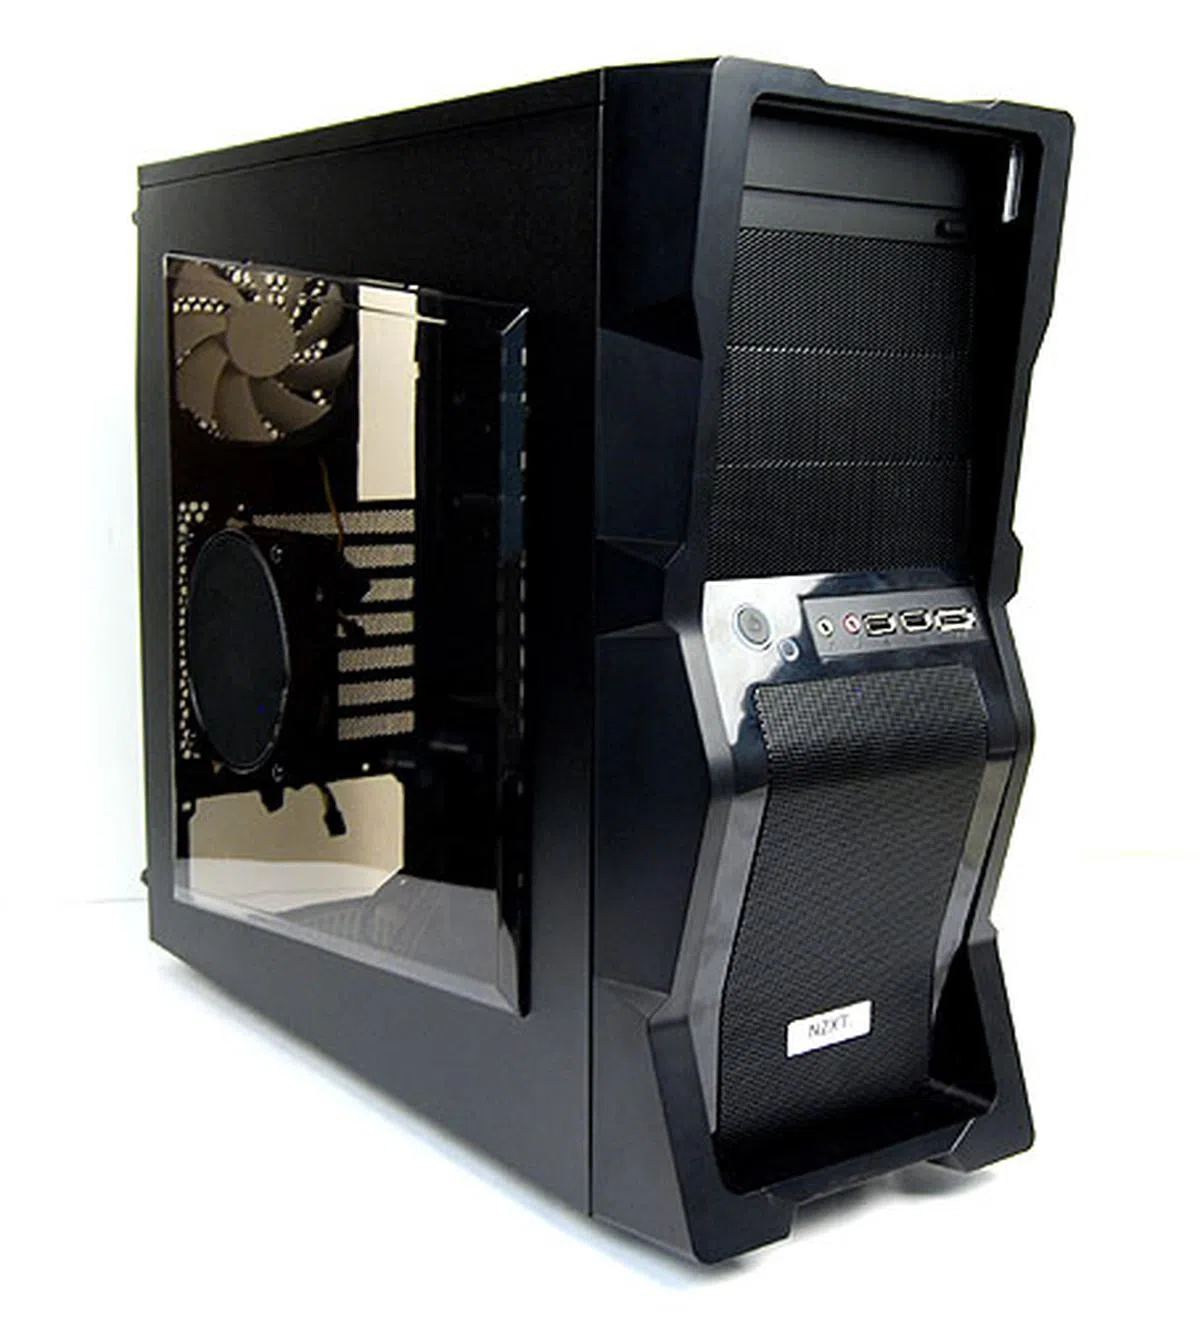
The NZXT M59

Love it or hate it, you can't deny that the NXZT M59 has a very distinctive look.
Established about six years ago, NZXT hails from Los Angeles, USA, and is a relative newcomer in the business of computer accessories. Apart from chassis, the company also carries case fans, notebook coolers, PSUs and even gaming mice.
The mid-tower NZXT M59 stands out from our group of budget casings thanks to its funky looks. With most budget casings looking no more than bare boxes, the aggressively-styled M59 stands out like a red rose in a sea of white lilies. However, as with most case designs this bold, the M59 is a love-hate affair. While some might absolutely adore it, others will loathe it. We are more of the former, since its styling makes it unique.
The casing is mostly made up of SECC steel, of course, but NZXT doesn't specify its exactness thickness. However, we must say that the M59 feels sturdy - much more so than some other casings here.
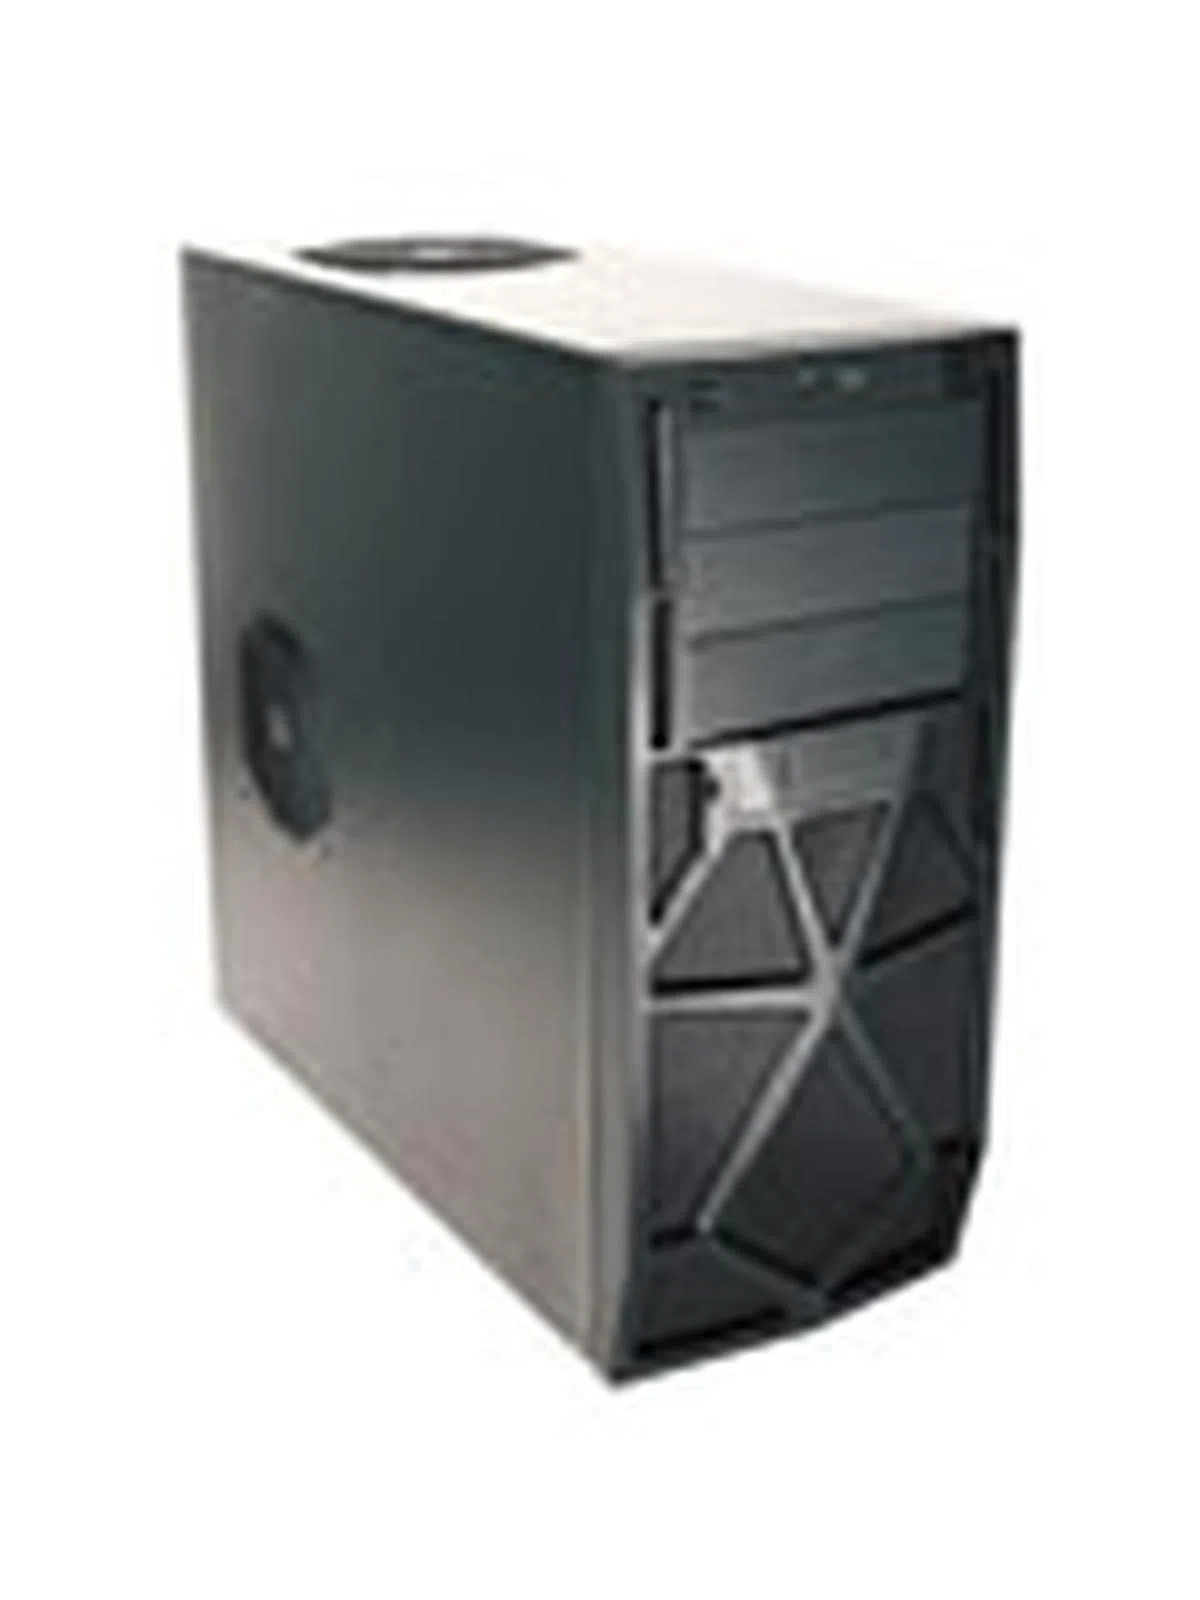
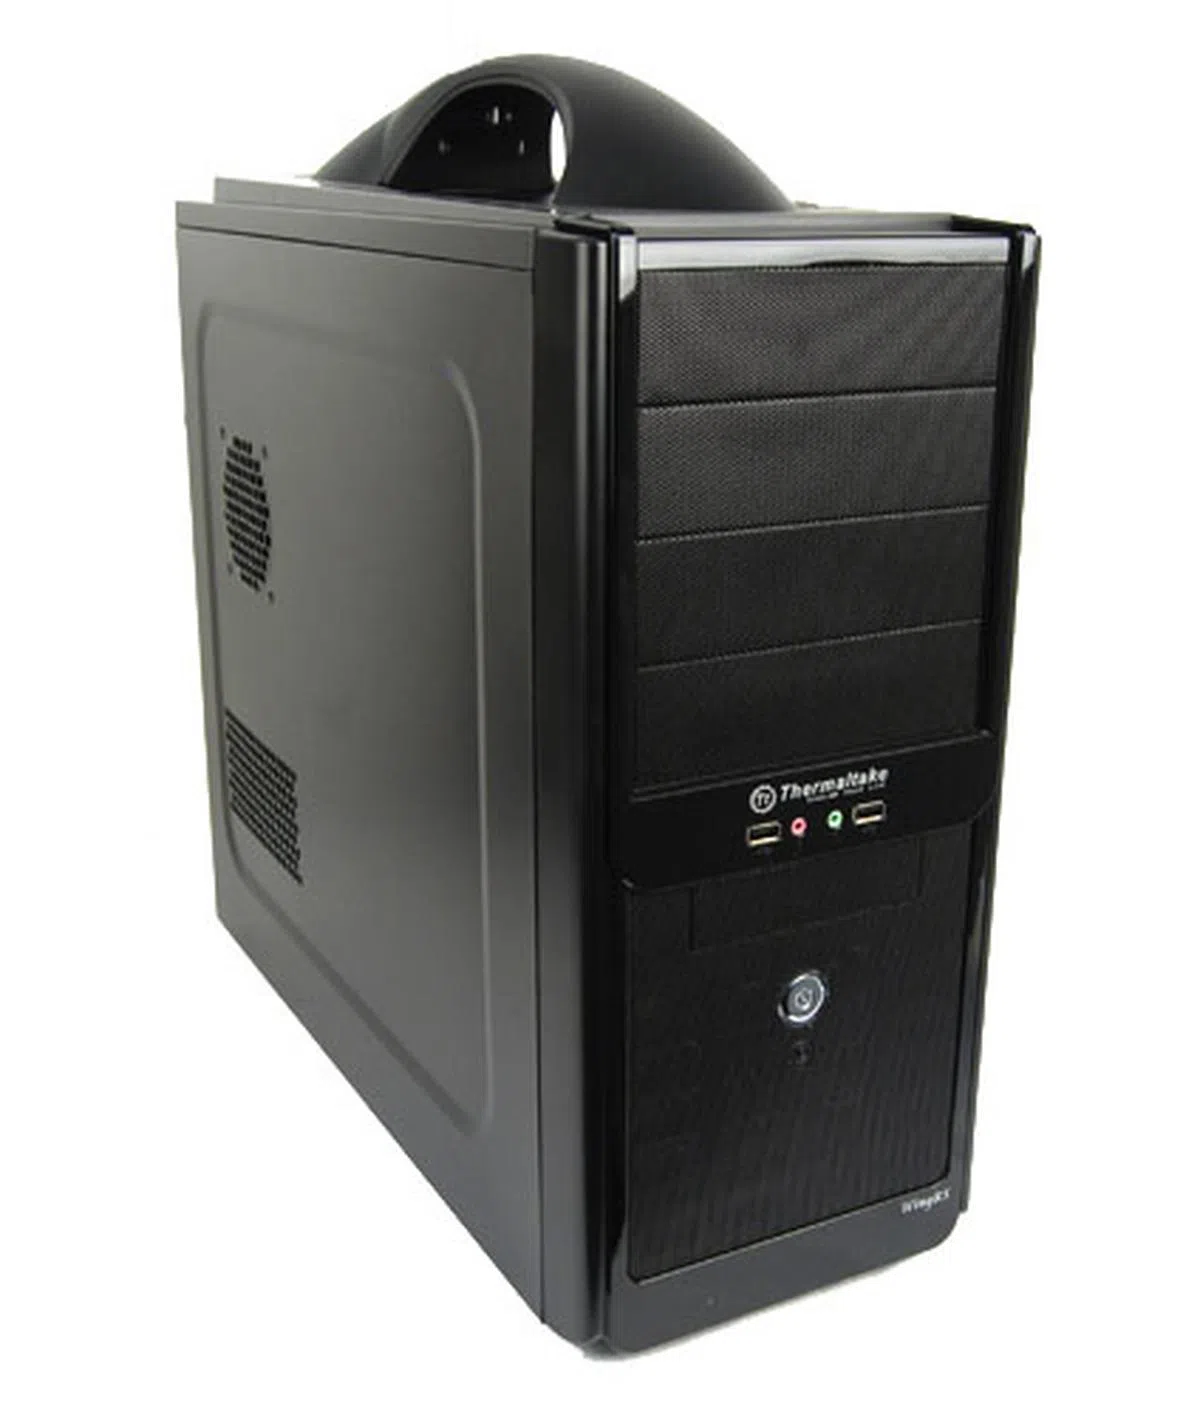
The Thermaltake WingRS 301

The Thermaltake WingRS 301 bares a striking resemblance to the earlier seen Cooler Master Centurion 5 II, with the exception of the carrying handle on the top panel.
Founded in Taiwan in 1999, Thermaltake has been a prominent player in the computer hardware industry, manufacturing all manners of casings, computer fans, heatsinks, coolers and power supplies.
The WingRS 301 is Thermaltake's entry-level mid tower casings and it distinguishes itself from its competitors by having a special carrying handle. To be honest, the casing isn't the lightest we've encountered and we can't help but think that the carrying handle is more of a gimmick that anything else. Still, we are sure there are users out there who would find the casing handy, be it just to transport around the house, or for the occasional LAN party.
Elsewhere, the Thermaltake WingRS 301 looks unassuming. With a plain-looking front panel and nothing else that is of particular note.
Front I/O & Rear Panels
When purchasing a new casing, it is important to consider the options offered by the front I/O panel, as well as the expandability options offered by the rear. Increasingly, more and more casings are offering eSATA ports on the front panel, while grommets for water-cooling solutions are also becoming more common-place. However, since these are entry-level casings targeted at budget-conscious buyers, we weren't expecting such features to be present. However, we were pleasantly surprised that some casings reviewed here do feature them and can come in really handy.
The Antec Two Hundred

Here we find two USB 2.0 ports along with the usual headphones and microphone jacks. The USB ports and jacks are flanked by the power and reset button. Antec should have labelled these to make identifying easier.

The rear is mostly standard fare, except for the fan speed controllers located at the top.

Using these, you can control the speed of the casing's twin exhaust fans.
The Cooler Master Centurion 5 II

Neatly labeled, the front I/O panel consists of two USB 2.0 ports, an eSATA port, headphones and microphone jacks. An additional FireWire port is offered on other variants of this casing.

The Power and Reset buttons are located further down. The left most button allow users to turn on and off the LED lights on the front intake fan.

The basics are all accounted for here; nothing more, nothing less.
The Gigabyte Luxo M1000

The front I/O panel consists of only two USB 2.0 ports, headphones and microphone jacks, as well as the mandatory power button. No reset button is to be found.

The Gigabyte Luxo M1000 sports cut outs in the rear panel for liquid cooling setups. Rubber grommets to protect the hoses from the sharp metal edges of the casing would have been much welcomed.
Front I/O & Rear Panels (continued)
The Ikonik EN2-WB

The usual suspects here – two USB 2.0 ports flanked by headphones and microphone jacks.

Apart from the two rubber grommets for liquid cooling solutions, the rear of the Ikonik EN2-WB is pretty much standard fare.
The NZXT M-59

The NZXT M-59 is one of the few casings here to offer an eSATA port on their front I/O panel, apart from the usual twin USB 2.0 ports and headphones and microphone jacks.

The rear panel of the M59 has all the stuff you'd expect from a decent casing. It even has rubber grommets for liquid cooling.
The Thermaltake WingRS 301

Thermaltake keeps it simple with only two USB 2.0 ports, headphones and microphones jacks.

The oddball of the lot, the Thermaltake WingRS 301 is the only casing with the PSU bay located at the top.
Analysis
In this segment, the NZXT M-59 was the comfortable winner. Where front I/O ports are concerned, it is one of only two casings to offer an additional eSATA port apart from the usual two USB 2.0 ports and jacks for headphones and a microphone. Admittedly, not many devices make use of an eSATA port, but increasingly some portable hard drives are offering eSATA as a connectivity option for greater data transfer speeds.
Round the back, the NZXT's rear panel also has everything we'd expect a decent casing to have - sufficient expansion bays, a PSU bay at the bottom and rubber grommets for liquid cooling setups. Our only complaint is that the liquid cooling grommets are located too far to the top of the casing, which might make routing tricky if you intend to liquid cool your graphics card.
Internal Matters
Moving on, it's time to now take a look at the casing innards. What good is a casing if it cannot accommodate that spanking new graphics card you just bought? Therefore, space is of paramount importance, since it will directly affect the type of components it can take in. With high-end graphics card getting larger and larger, it is important to ensure that the casing has enough space for future expansion. With that in mind, we will be trying to install a Radeon HD 5870 (one of the largest graphics card available today) into the casing. While there are larger, we think this card is representative enough of a typical high-end card.
Space and layout aside, we must also consider the number of intake and exhaust fans the casing can accommodate, because this will affect the casing's ventilation. Most entry-level casings only come with a single exhaust fan, but offer the option for additional fans.
We'll also be looking at other special features of the casings, if any.
The Antec Two Hundred

The insides of the Antec 200 is rather spacious. Note that the motherboard tray has a cut out around the CPU area to make it easy to install aftermarket CPU coolers.

The Antec gets a 140mm exhaust fan at the top and a smaller 120mm one at the rear. The casing offers additional support for up to three extra fans – two at the front and one at the side.

The one unique thing about the Antec 200 casing is the inclusion of a single front-loading 3.5-inch hot swappable bay.

The internals of the Antec 200 will easily accommodate a Radeon HD 5870 with space to spare, making it one of the most spacious casings in our roundup.
The Cooler Master Centurion 5 II

The insides of the Centurion 5 II looks a little cramped as the motherboard tray area is not as large as its competitors because of the large ODD bays and the imposing HDD cage.

In addition to the 120mm rear exhaust fan, the Cooler Master Centurion 5 II also has a 140mm front intake fan that comes with LED lights, which adds some pizzazz to an otherwise bland-looking casing.

As you can see, the Centurion 5 II isn't the most spacious of casings. Getting the Radeon HD 5870 to fit was a bit of a challenge and would also mean giving up another optical drive bay.
The Gigabyte Luxo M1000

Peering inside, we can see that it is sparse but spacious. We are also pleasantly surprised to find that the motherboard tray has an opening for user's to swap their CPU coolers. We noticed also that the casing only has a single 120mm rear exhaust fan installed by default. There are other vents, but you'll have to supply your own fans.

With all the main components installed, one can see that the internals of the Gigabyte Luxo M1000 is indeed cavernous. Despite its humble billings, the casing will easily swallow a Radeon HD 5870 with room left to spare.
Internal Matters (continued)
The Ikonik EN2-WB

Removing the side panel of the Ikonik EN2-WB, we can see that the internals are fairly large and should be able to accommodate most setups with ease.

A single 120mm exhaust fan at the rear performs cooling duties for the Ikonik EN2-WB. Users can choose to supplement it with additional fans at the front and side.

A Radeon HD 5870 will fit into the Ikonik EN2-WB quite easily.
The NZXT M-59

The insides of the NZXT M-59 looks a tad cramp and we wonder if it'll able to accommodate some of the larger modern day graphics cards such as the Radeon HD 5870. Rear and side exhaust fans come as standard, but the casing can accommodate an additional front intake fan, and two more top side exhaust fans.

The NZXT M-59 has a 120mm exhaust fan located on the side panel that gives off a soft blue glow.

As you can see, it is a little tight in there, having barely managed to squeeze in a Radeon HD 5870.
The Thermaltake WingRS 301

The internals of the WingRS 301 is one of the largest of the lot. It comes with a lone 120mm exhaust fan at the rear. Note also that it is the only casing in our roundup that still positions the PSU bay at the top.

There's a removable air guide on the side panel that helps guide cool air to the CPU cooler.

Because of the alignment of the HDD cage, fitting a large graphics card like the Radeon HD 5870 would mean sacrificing one or two HDD bays.
Analysis
If sheer size is what you're after, the Gigabyte Luxo M1000 will not disappoint, because despite being positioned as Gigabyte's entry-level mid tower casing, it is surprisingly spacious. The only downer is that it comes equipped with only one rear exhaust fan - an additional intake fan can be added at the front.
The Antec Two Hundred is yet another fairly spacious casing and it stands out from the competition thanks to its hot swappable drive day. And if ventilation is your concern is your concern, you'll be happy to learn that the Antec Two Hundred can be installed with up to five fans in total - rear and top side exhaust fans come as standard. Thus, it is the most balanced of the six casings in this segment.
Having said that, another 'cool' casing is the NZXT M-59. Granted, it's not the most spacious of casings, a little cramp even, but it comes with both rear and side exhausts fans, and you can add on another two top side exhaust fans and a front intake fan for up to five fans in total.
Ease of Installation
Having a big casing is all well and good, but what about ease of installation? A good casing has to be one that users can readily install their motherboards and system components with as little hassle as possible. Therefore, a sound and user-friendly design is required. In this segment, we see which is easiest to install.
The Antec Two Hundred

The PSU bay is located at the bottom, and the odd thing is that there's no mesh for exhaust air from the PSU to escape.

The drive bays are desperately standard, you'll need to bring out your trusty screwdriver to install your optical drives and hard drives.

The seven expansion slots are old school stuff, and once you remove the back plate, there's no way of covering them up. The worst thing, however, is that the slots themselves didn't line up properly with our graphics card, making it a real chore trying to screw the graphics card in place.
The Cooler Master Centurion 5 II

We found the PSU bay to be slightly larger than normal. The standard PSU which we use for evaluating casings felt slightly loose after installation.

The Centurion 5 II's tool-less design made installing optical drives a cinch. Note that although there are five bays, only four can be used since one is taken up by the front I/O panel.

The HDD cage sits directly behind the 140mm front intake fan, which is a good thing since it'll cool your hard drives down.

Installing hard drives was a breeze. All you need to do is latch on these racks and slide the drive into the HDD cage.

Cooler Master has also provided adapters to accommodate floppy disk drives and smaller 2.5-inch solid-state drives.

The seven expansion bays make use of a simple latch design to secure devices in place. It's much more convenient than using screws.
The Gigabyte Luxo M1000

As is the case these days, the PSU bay is located at the bottom. And being an entry-level, no frills casing, there's no rubber feet here to isolate the vibration.

Tool-free installation racks are an optional extra, so it's back to good old screws and screwdrivers for installing optical drives.

The Luxo M1000 has enough room for two floppy drives and four 3.5-inch hard drives. The drive cage is non-removable and installation is done via traditional screws. Tool-less installation racks are optional items that are sold separately.

The Luxo M1000 has seven expansion bay slots and it employs a unique tool-less design. A single latch at the top releases and locks all equipment in place. The thing we didn't like, however, was that the metal back plates had to be twisted out to 'free' the slots and they cannot be reused.
Ease of Installation (continued)
The Ikonik EN2-WB

The PSU bay has a removable filter and four rubber feet to help isolate vibrations. Impressive for the most affordable case of the lot.

Installing optical drives is a tool-free affair, simply detach the securing clips at the sides, slide the drive in and reattach the clips to secure.
Floppy drives and hard drives are installed in the same way too.

Instead for opting for a poor clamping tool-free design, Ikonik sticks with trusted screws for the expansion bay. It isn't the most convenient way to add on additional devices, but at least it works. Note also the grommets for liquid cooling solutions.
The NZXT M-59

The PSU bay is located at the bottom of the casing, and NZXT has even conveniently provided rubber feet to isolate the PSU's vibration. There's also a removable filter underneath that can be easily taken out for cleaning.

Installing hard drives was a cinch. Just hook the special latches onto the drives and slide them into the drive cage, and voila, it's done.

Installing optical drives was a little more cumbersome. No special slide-in racks here as users are required to secure their optical drives in the bay by means of thumb screws.

The NZXT M-59 has seven expansion bays and is of the traditional design, requiring users to screw and unscrew back plates to fit on new devices.
The Thermaltake WingRS 301

The PSU bay of the Thermaltake WingRS 301 is located on the top side. A small patch of foam is all there is to help cushion vibrations from the PSU.

To install optical drives, simply slide the drive into the bay and turn the mechanism at the side to lock the drive in place. Convenient and elegant.

Hard drives and floppy drives are installed in the same way too.

The seven expansion bays are of the tool-free variety, but the implementation isn't the most elegant, requiring users to first undo a thumbscrew and then remove a mounting bracket that secures all devices in place.

Worst of all, the expansion bay slots were poorly aligned. Seen here, the slots don't sit flush with our graphics card. Since the card wasn't flush with the slots, we experienced great difficulty in securing the card since the mounting bracket won't sit properly on the card's back plate.
Analysis
For outright ease of installation, the Cooler Master Centurion II is the clear victor. Mostly tool-free, practical and easy, the Cooler Master Centurion 5 II is a well-designed casing as far as ease of use is concerned. Build quality is also top notch, as the casing felt sturdy and the edges seemed to have been blunted a little to prevent cuts.
The NZXT M-59 also deserves special mention, because aside from the traditional screw-on expansion bays, it was right up there with the Centurion 5 II. Build quality is also commendable as the casing had a good solid feel.
The Gigabyte Luxo M1000 and Antec Two Hundred, though big, fall short in this category. You'll need a screwdriver with you at times to install components on both casings, and worst of all, both of them felt exceptionally flimsy and the edges were really sharp to touch. Users could easily get cut if they aren''t careful.
Deciding a Winner
Before declaring a victor, let's summarize our findings thus far.
The subject of looks is subjective - as they say, "beauty is in the eyes of the beholder". However, kudos must be given to NZXT for making the M-59 look the way it is. Its radical exterior design is a breath of fresh air amongst the other casings, most of which are plain, squarish and dull. But the real deal-breaker for us is that the NZXT M-59 looks and feels more expensive than the S$109 asking price that it commands, and that's something that is not easy to achieve in this price bracket.
When it comes to internal layout and ventilation matters, the NZXT M-59 is our pick. Admittedly, it's not the biggest of casings, seeing that it is a little cramped after fitting in a Radeon HD 5870 graphics card - the Gigabyte Luxo M1000 and Antec Two Hundred are much more spacious in that aspect - but doing so only sacrifices a FDD bay as opposed to a HDD bay on other casings. And if you ask us, most users would gladly lose a FDD bay than a HDD bay.
Taking a step back and looking at the big picture, and to be honest, the mid tower casings here are all a tad too small to accommodate a graphics card as large as the Radeon HD 5870. Let's not also forget the older generation cards, most of which have their power connectors positioned at the sides, as this effectively increases the length of the card. What we are saying is that large graphics cards will fit these casings, but you'll have to work your way around or at least sacrifice some drive bays.
That aside, the NZXT M-59 also comes with rear and side exhaust fans and can even accommodate up to another three fans. This should be sufficient for keeping most setups cool.
As for ease of installation, the Cooler Master Centurion 5 II was clearly the easiest to work with. Most installations can be done without the need of any tools, and the implementation of the tool-free design is practical and works as it should. The NZXT M-59 and Ikonik EN2-WB come in a close second.
Ratings / Casings | Antec Two Hundred | Cooler Master Centurion 5 II | Gigabyte Luxo M1000 | Ikonik EN2-WB | NZXTM-59 | Thermaltake WingRS301 |
Aesthetics | 8.5 | 8.0 | 7.5 | 7.5 | 9.0 | 7.5 |
Functionality
(Front IO, Rear Panel &Internal Layout) | 8.0 | 8.0 | 7.5 | 8.5 | 9.0 | 7.0 |
Usability
(Ease of Installation) | 7.0 | 9.0 | 7.0 | 8.5 | 8.5 | 7.5 |
Value | 7.5 | 9.0 | 6.5 | 9.5 | 9.0 | 7.0 |
Price | S$99 | S$95 | S$79 | S$79 | S$109 | ~S$100 (US$60) |
Overall | 7.5 | 8.0 | 7.0 | 8.5 | 9.0 | 7.0 |
Final Thoughts
It's not the most 'affordable' casing, but its SRP of $109 is a real steal for a casing of this calibre.
Overall, our pick of the lot is the NZXT M-59. Not only does it look special, it is also an easy to use casing with sufficient space for today's high-end components (if you squeeze a little). Build quality is commendable; and the option to add on additional cooling fans or even take the liquid cooling route shows that NZXT designed the M-59 with enthusiasts in mind. Sure, the M-59 might be the most expensive casing here, but its features and its outstanding build quality makes it feel as if it costs more than its S$109 asking price.
The Ikonik EN2-WB is the best value buy of the group and comes in at a close second in overall standings. The model we have here is the EN2-WB variant, which comes with a window pane at the side panel and is slightly more expensive at S$79. The standard model, which does away with the window pane can be had for a mere S$69. Despite the affordable price, the Ikonik EN2 displayed good build quality, was adequately large, and easy to install. Our only gripe is that it comes with only a single rear exhaust fan.
The Cooler Master Centurion 5 II was tops for ease of use and ventilation options are also decent. And with a suggested retail price of S$95, it is also reasonably priced and good value for money. Unfortunately, it falls short due to lack of space - the insides were really cramped with a large Radeon HD 5870 in place. If the casing were a little deeper, it could have easily snatched back second place from the Ikonik EN2.
The Antec Two Hundred is one of the larger casings in our roundup and its motherboard tray area was large enough to easily fit a Radeon HD 5870 without any issues. It also gains points for its ventilation system - it comes pre-fitted with two exhaust fans that can be adjusted for speed, and users have the option to add another three more. However, it lets us down for installation aspects as every component had to be screwed in place. It's not going to kill you, but considering the tool-free designs implemented by NZXT, Cooler Master, Ikonik and Thermaltake, it does make the Antec look shabby.
At S$79, the Gigabyte Luxo M1000 might be cheap, but you also don't get much for your money. For one, the panels are very thin, making the casing feel noticeably flimsier than the competition. It also doesn't look very special, and inside, you'll find yourself having to screw on every component just like the Antec Two Hundred. Its saving grace is that it is the largest casing internally, so you'll be able to fit large graphics cards with ease.
We had mixed reactions about the Thermaltake WingRS 301. While its tool-free design made it extremely easy to install optical drives and hard drives, we didn't like that the PSU bay was located at the top. Having the PSU installed at the top of the casing raises a system's center of gravity and amplifies vibrations made from the PSU. That aside, we were also not too pleased about its build quality, seeing how the expansion slots isn't flush with our graphics card.
In closing, we must also say that we're pleasantly surprised at how far budget, entry-level casings have come. In the past, features like cut outs for easy CPU cooler installation and tool-less HDD installation racks could only be found on the high tier casings, but this is no longer the case. All of the casings here had cut outs in their motherboard trays and more than half had some form of a tool-less installation design, which is really quite impressive given their humble price tags.
| |
| 
|
|  |
 |  |
 |  |
 | |

Our articles may contain affiliate links. If you buy through these links, we may earn a small commission.