

Projecting the Slim Deal
The Epson EB-1775W was announced in January 2011 and sits at the top of the company’s EB-1700 series of corporate portable multimedia projectors. There are three more models in the same series: EB-1750, EB-1760W, and EB-1770W. Visually, all four models look the same; though expectedly, the higher-end models have a few more tricks up their sleeves to justify their higher price tags.
All four projectors use the 3LCD technology. Compared to those that use the DLP (Digital Light Processing) technology, 3LCD projectors are typically brighter, and offer more accurate color reproduction. However, they’re also bigger in size, thus making them less attractive for executives looking for a projector to bring out and about.
However, the above does not apply to these new projectors from Epson. All four projectors in the EB-1700 series have a footprint no larger than an HWM magazine, and a thickness of just 44mm. At weight of 1.66 to 1.71kg, they’re also lighter than many 13-inch notebooks. Beyond these vital statistics, the projectors share plenty of similarities: 1.2x zoom lens, 1-Watt monaural audio output, USB Display, and Slideshow functions. With the exception of the EB-1750 that has a native resolution of 1024 x 768 (XGA), the others sport a widescreen, 1280 x 800 (WXGA) resolution. (This is the reason for the “W” at the end of their model numbers.) In addition, the widescreen models support the use of the ELPAP07 wireless LAN module and the ELPAP08 Quick Wireless Connection USB Key. These optional accessories can be had for S$130 and S$180 respectively. The bonus for getting the EB-1775W is that both come as standard.

The EB-1775W is the thinnest 3000-lumen 3LCD projector in the world.
Feature/Model | EB-1775W | EB-1770W | EB-1760W | EB-1750 |
Brightness (Normal/Eco) | 3000 lm / 1700 lm | 2600 lm / 1700 lm | 2600 lm / 1400 lm | |
Lamp Type | 230W UHE | 205W UHE | 230W UHE | |
Resolution | 1280 x 800 (WXGA) | 1024 x 768 (XGA) | ||
Focus Adjustment | Electric/Auto | Manual | ||
HDMI Input | Yes | No | ||
Wireless LAN Module | Yes (bundled) | Optional purchase | No | |
Screen Fit Function | Yes | No | ||
Auto H/V Keystone Correction | Yes | Vertical only | ||
Quick Wireless Connection USB Key | Yes (bundled) | Optional purchase | No | |
Power Consumption | 304W | 278W | 304W | |
Price | S$2,149 | S$1,949 | S$1,749 | S$1,599 |
The Design Bits
As mentioned earlier, the headline feature of the new projectors in the EB-1700 series is their incredibly small size. While the footprint is arguably about the same as most business-oriented projectors, the height of the chassis is dramatically shorter (44mm). So instead of having two bags (laptop and projector), a slightly wider laptop case may just suffice to fit both items. More importantly, the projector is of a rectangular shape and has no weird protrusions to create unsightly bulges once it’s in a bag.

The equally low profile bundled soft carrying case holds the projector and its assortment of accessories very snugly.
A Matter of Lens
The lens resides behind a plastic sliding door and is revealed by sliding the A/V mute slide knob at the top of the projector. If you wish to temporarily hide the computer's image and sound from your audience, the quickest way is to close the lens door, which in turn activates A/V mute - very handy. Alternatively, you can press the A/V Mute button on the remote control.
The lens used in the EB-1775W has an F-number range of 1.58 - 1.7, and a focal length range of 13.52 - 16.22 mm (i.e. 1.2x zoom). While focus adjustment is automatic, zooming is not. At its widest end, you can achieve an 80-inch (measured diagonally) projection from a distance of about 1.8 meters away.
On the left of the projector's front face, you can see the air exhaust vent. Having it pointed to the front means that people sitting directly behind or at the side of the projector wouldn't be subjected to hot air blowing in their faces.

The 1.2x optical zoom lens resides behind the A/V Mute door.

Press the lever at the front to release or retract the front adjustable foot.
Top Panel Controls
The manual zoom ring resides in a cavity at the top of the projector. For the EB-1770W, EB-1760W, and EB-1750, the same area also houses a manual focus ring. The EB-1775W doesn't have a focus ring; it has a powered Focus button instead.
Controls offered here are pretty standard: besides the power button, you've the Menu and Source Search buttons. It's worth pointing out that most projectors in this class offer automatic correction for vertical keystoning distortion, but not for horizontal keystoning distortion. The EB-1775W is one of the very few that provides automatic correction for both. Of course, if you're not happy with the results, there are always buttons for manually correcting such distortions.
If you're projecting onto a screen that has black borders, press the Screen Fit button and the projector will attempt to fit and maximize the image within the borders. That's yet another handy function to get you up and running quickly.

A close-up of the top panel controls. If you were to look closer, you can also see the fine, dotted texture on the projector.

The wireless LAN module plugs into a USB port that's hidden under a screwed down cover.
Inputs/Outputs
In order to make the slimmest projector possible, something has to give. In this case, Epson has done away with a few A/V inputs/outputs (I/Os). Going from left to right, we have the following:-
- Power inlet (yes, power supply is integrated; so there's no need for an external power brick)
- 1 x composite video input (RCA)
- 1 x analog RGB/VGA port (using 15-pin D-Sub connector)
- 1 x USB Type B port (for connecting the projector to a computer to project images from the latter)
- 1 x USB Type A port (for connecting to a USB storage device for PC-free projection using the slideshow function)
- 1 x HDMI port
- 1 x 3.5mm audio input jack (for audio output using the projector's single-watt, monaural speaker)
Missing here, and which are common in most business projectors are component inputs, RJ45 port (for wired LAN connection), and RS-232C serial port (typically used for PC control).
For the most part, we can understand the logic behind Epson's choice of I/Os. In fact, for PC presentation, a VGA connection is probably all you need. Removing component video connections that use RCA plugs is understandable - it takes up too much space. Furthermore, if you really need to send component video signals from video sources such as a DVD player to the projector, you can use a component-to-VGA adapter. The inclusion of HDMI is an interesting move, and one which we certainly do not object to. We can only assume that it's an attempt to future-proof the projector. Our only gripe is that wired networking is now impossible due to the lack of RJ45. This may be a concern for IT administrators who prefer to manage their peripherals over a wired LAN or WAN. Of course, the counter argument is that if the projector is going to be on the road most of the time, wireless connectivity for hooking up the presenter's computer to the projector is all you need.
Regarding compatibility, the EB-1775W accepts 480i/480p and 576i/576p standard-definition signals. Both the component and HDMI inputs accepts high-definition signals of up to 1080p. The computer input accepts widescreen resolutions of up to 1680 x 1050 (WSXGA), and 4:3 aspect ratio resolutions of up to 1600 x 1200. Naturally, resolutions higher than the projector's 1280 x 800 pixels native resolution are given the scale-to-fit treatment. For the sharpest image possible, we recommend setting your computer to output a resolution of 1280 x 800 pixels to the projector.

From left to right (excluding power inlet): ports for composite video, analog RGB/VGA, USB (Type B), USB (Type A), HDMI, and 3.5mm audio input.
Remote Control
After seeing how thin the EB-1775W was, we were half expecting to see a very small and thin remote control. Alas, what greeted us was a regular-sized remote that's about 14 cm long. That being said, we rather have a bigger remote as this means that it has the real estate to incorporate more dedicated buttons for accessing frequently used functions.
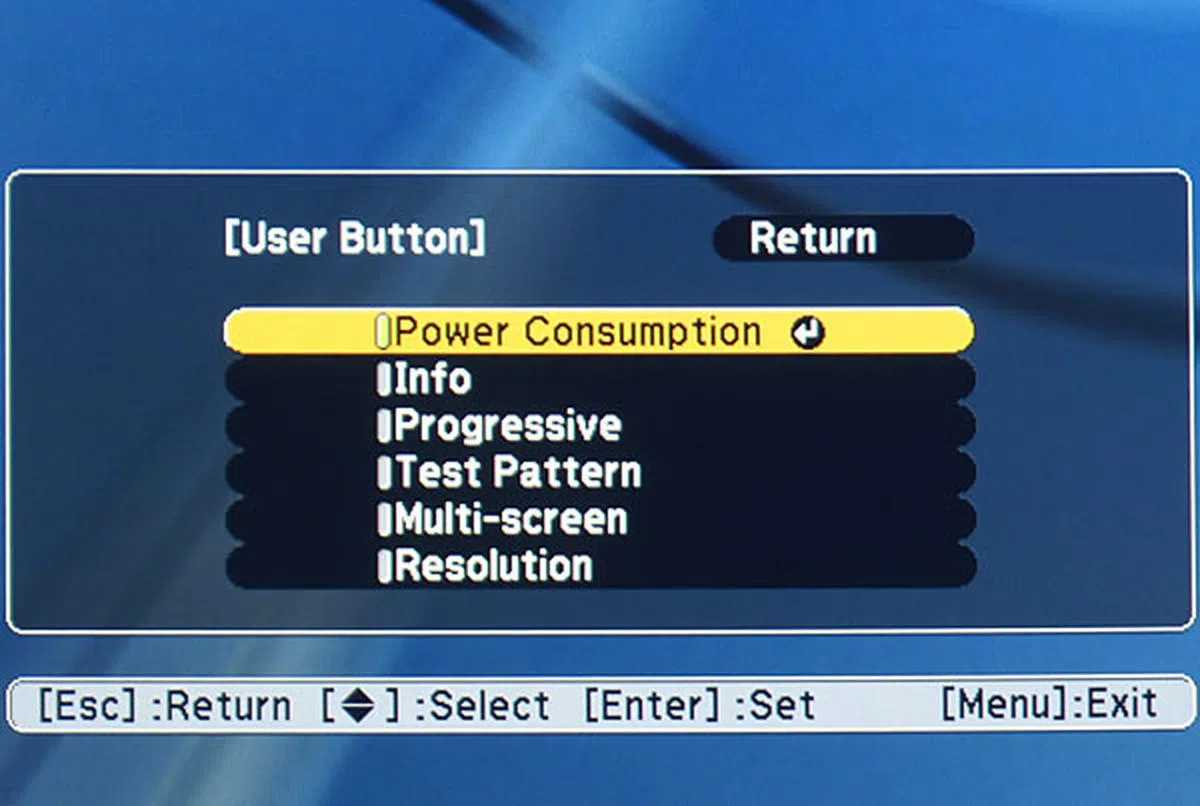
In this case, the remote control has somewhat dedicated buttons for each of the different inputs. There's no dedicated button for HDMI; to get to it, you need to press the Video button to toggle between composite video and HDMI. Each time you press the USB button, it cycles between the USB Display function and the USB (Type A) port. The LAN button is used to switch the projected image to the one used by the supplied EasyMP Network Projection software, or when doing a wireless presentation. Controls on the projector's top panel are mostly replicated here: Menu, Screen Fit, A/V Mute, Focus, and Source Search. There's no dedicated Eco mode button on either the top panel of the projector or the remote control. However, there's a user-customizable button on the remote. You can assign one of six functions to it; and one of them is to call up the Power Consumption submenu where you can select Eco mode.
If you don't have a laser pointer, but wish to draw attention to certain parts of the image, you can press the Pointer button to bring up an on-screen pointer. You can move the pointer using the arrow keys on the remote. If you've connected the computer to the projector via the latter's USB (Type B) port, you can also use the remote control to control the computer's mouse pointer. You can then move the mouse pointer using the arrow keys, and perform left and right clicks using the Enter and Esc buttons respectively. You can also change pages of your PowerPoint presentation using the Page Up and Page Down buttons.
One notable downside is that the buttons on the remote are not back-lit, so discerning them in a darkened room may be a challenge. Other aspects which we would very much love to see is the incorporation of a laser pointer within the remote and it being able to control the computer's mouse control without using the navigation buttons. Of course, these will add to the cost significantly, so it's just a wish list of sorts.

The remote control provides direct access to many essential functions. But the buttons are fairly small, and are not back-lit.
Speed Test
Criteria | Timing (in seconds) |
First Image Appears[2] | 6.4 |
Desktop Appears[3] | 14.4 |
Projector Fully Ready[4] | 43.7 |
Full Shutdown[5] | 4.4 |
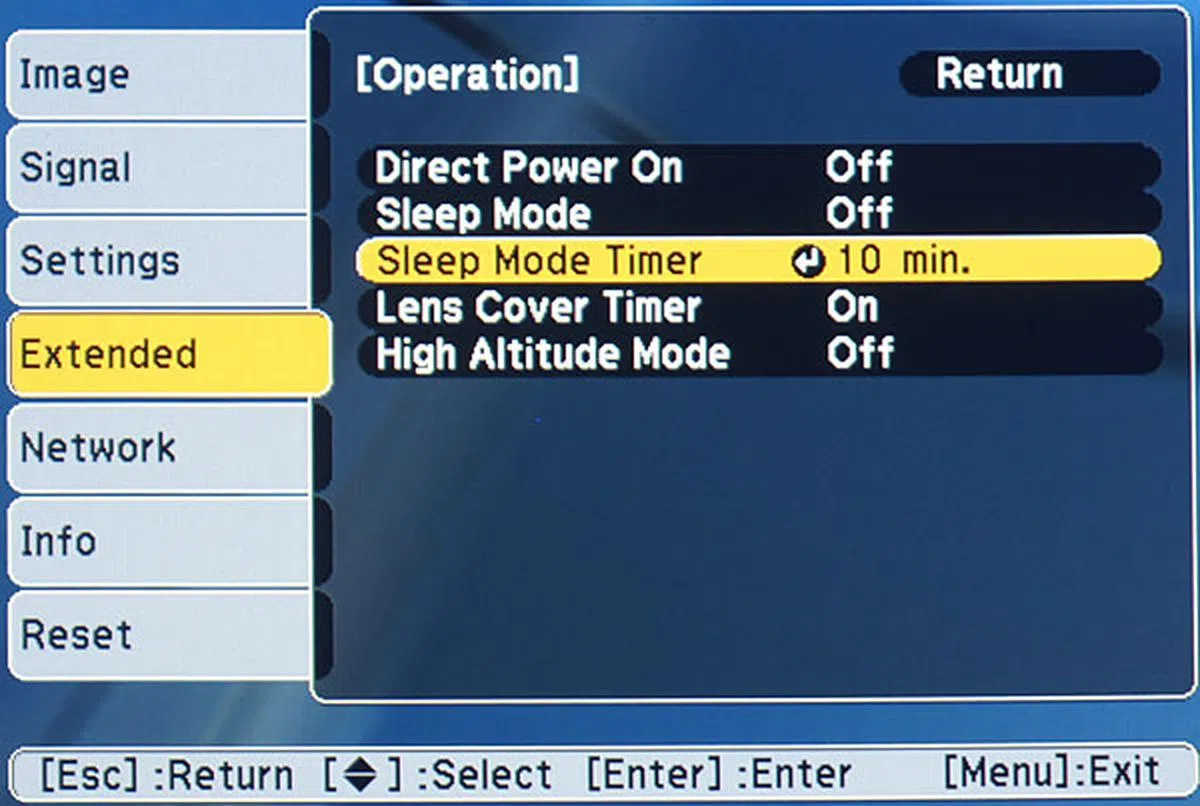
According to Epson, the EB-1775W's start-up time should take less than 7.2 seconds (yes, they're that specific). We did get the first image in about 6.4 seconds, which is a tad faster than the claim. However, that's not the entire story. At this 6-second mark, what we got was an image of the Epson logo. The first glimpse of the computer's screen was about eight seconds later. In essence, the audience can only see your screen about 14 seconds after you hit the projector's power button. To put things into perspective, we consider 14 seconds to be an above average speed. We've came across business projectors that took about ten seconds to show the computer's screen. But there were also a few who took close to half a minute. Note that you can also configure the projector to turn on automatically when the power cable is plugged in (Extended Menu -> Operation -> Direct Power On).
It's important to note that the timings we've just mentioned are usually achievable if you're powering up the projector from a "cold" state. For example, turning the projector on for the first time after taking it out from your carrying case. If you've already turned on the projector and need to turn it off and back on again (maybe you need to vacate the room and switch to another location), the time needed now to get a projected image may be different. In the case of the EB-1775W, during restarts, it took 42 seconds on average for the computer's screen to be projected. This longer timing is not exclusive to the EB-1775W. It happens on all projectors. The delay in an on/off/on situation is largely due to the projector taking precautions to ensure that a suitable temperature is reached.
A full shutdown (with fans off) can be achieved in as quick as 4.4 seconds. Of course, it might take longer if the projector has been used for a prolonged period of time; though we've not seen it gone past the 5-second mark during our time with it.
1. The time it took to power up the projector for first use. Timing started the moment we hit the power button. Each timing shown here is the average of three attempts; and each attempt was spaced at least 30 minutes apart from the other to ensure proper cool down. [<-]
2. The time it took to project the first image. Out of the box, this is usually the manufacturer's logo. [<-]
3. The time it took for the desktop to show up. [<-]
4. The time it took the projector to reach set brightness, or when the projector has completed its warmup process, and the power indicator has stopped flashing. [<-]
5. The time it took the projector to shut down completely (i.e., the power indicator must not be flashing, and the fan must not be spinning). [<-]
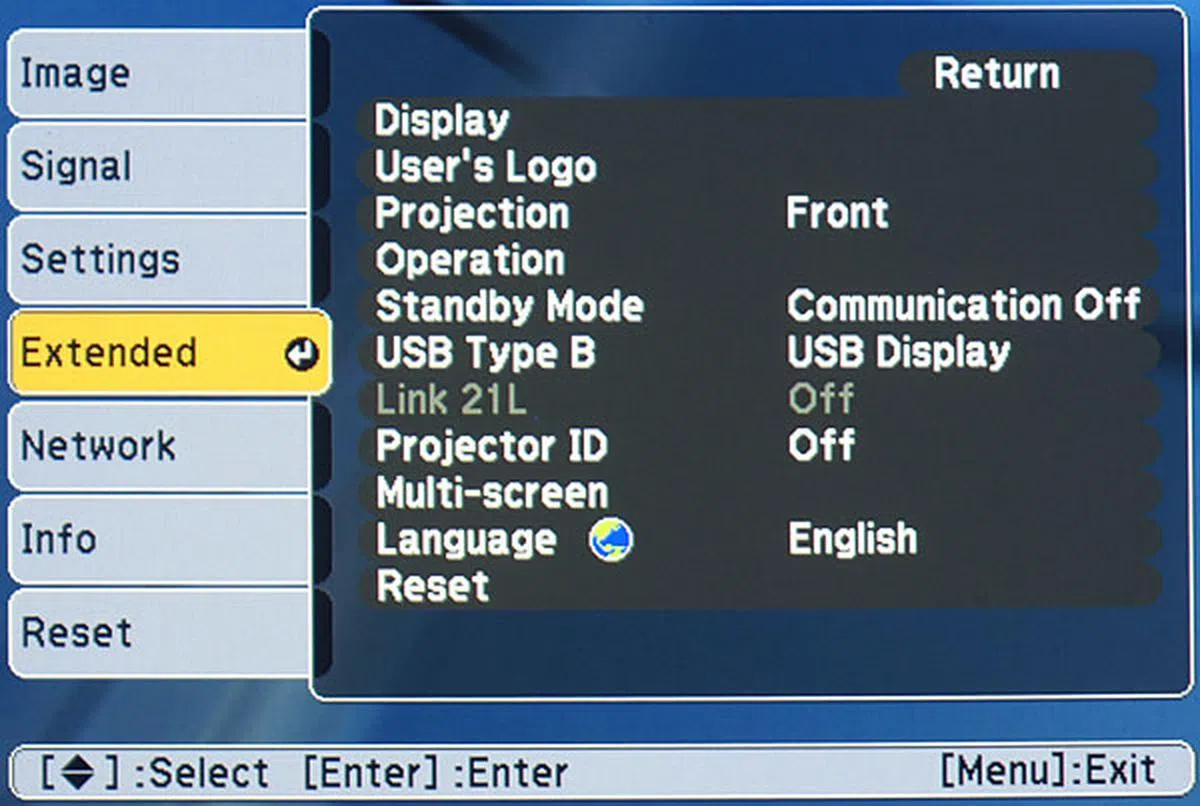
Menus
In the main menu, settings and information about the projector are grouped into seven main categories, and are listed on the left. Navigation is a simple left to right approach: scroll to a menu item on this list on the left; press the Enter or the right arrow button to enter the list of submenu items that now appears on the right; pick a submenu item and hit the Enter button again to reach the next level, and so on and so forth. You could always use the Esc button to go back to the previous menu. To sum up, despite the large number of functions, we found the menu system comprehensible and very navigable.

The menu system isn't fanciful, but does the job well. We found it very easy to navigate; and we hardly hit a wrong button.
 |  |
 |  |
 |  |
Wireless Projection
Wireless LAN Module
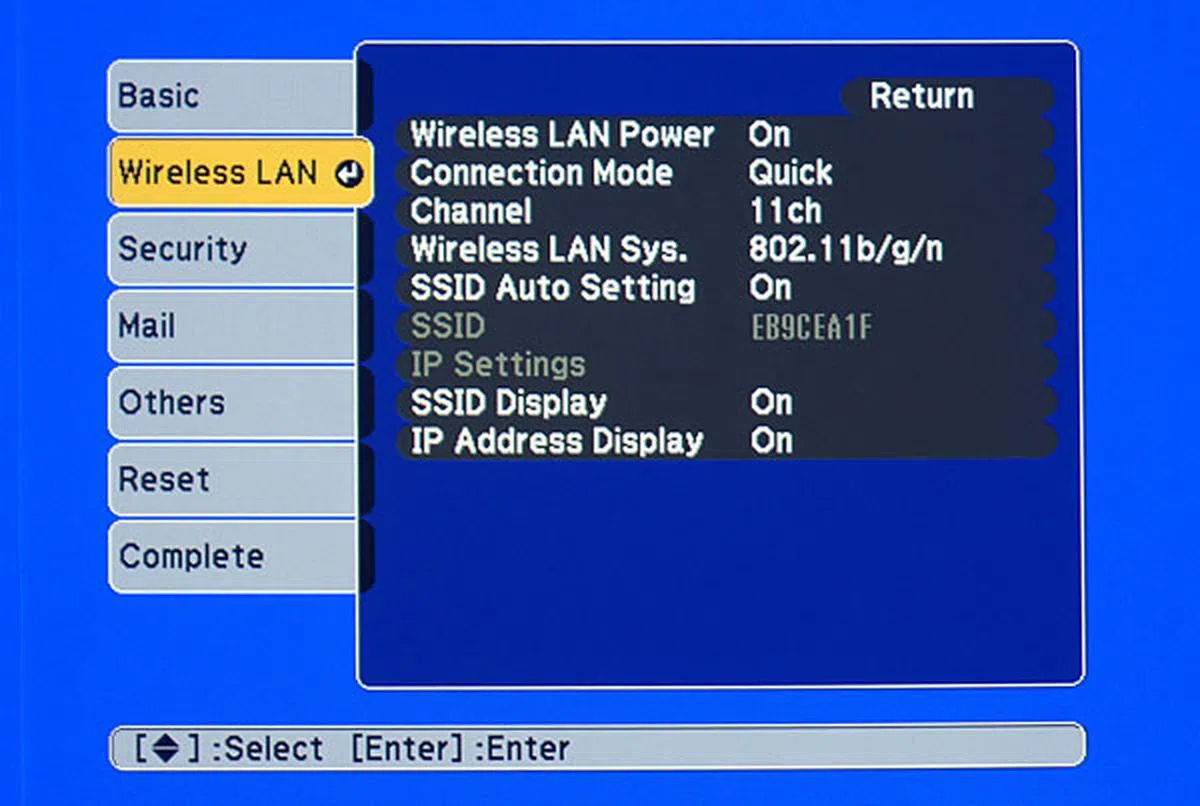
As we mentioned earlier in the article, since the EB-1775W comes preinstalled with a Wi-Fi 802.11b/g/n module (S$130 if you were to buy it separately), so there's an incentive to go cable-less for your presentation. In fact, if you wish to project from different computers to the same projector via the network, you need to go the wireless route, as the projector does not have an Ethernet port. By default, 802.11b/g is selected in the menu. If you're in a 802.11n environment, we recommend enabling the 802.11b/g/n option.
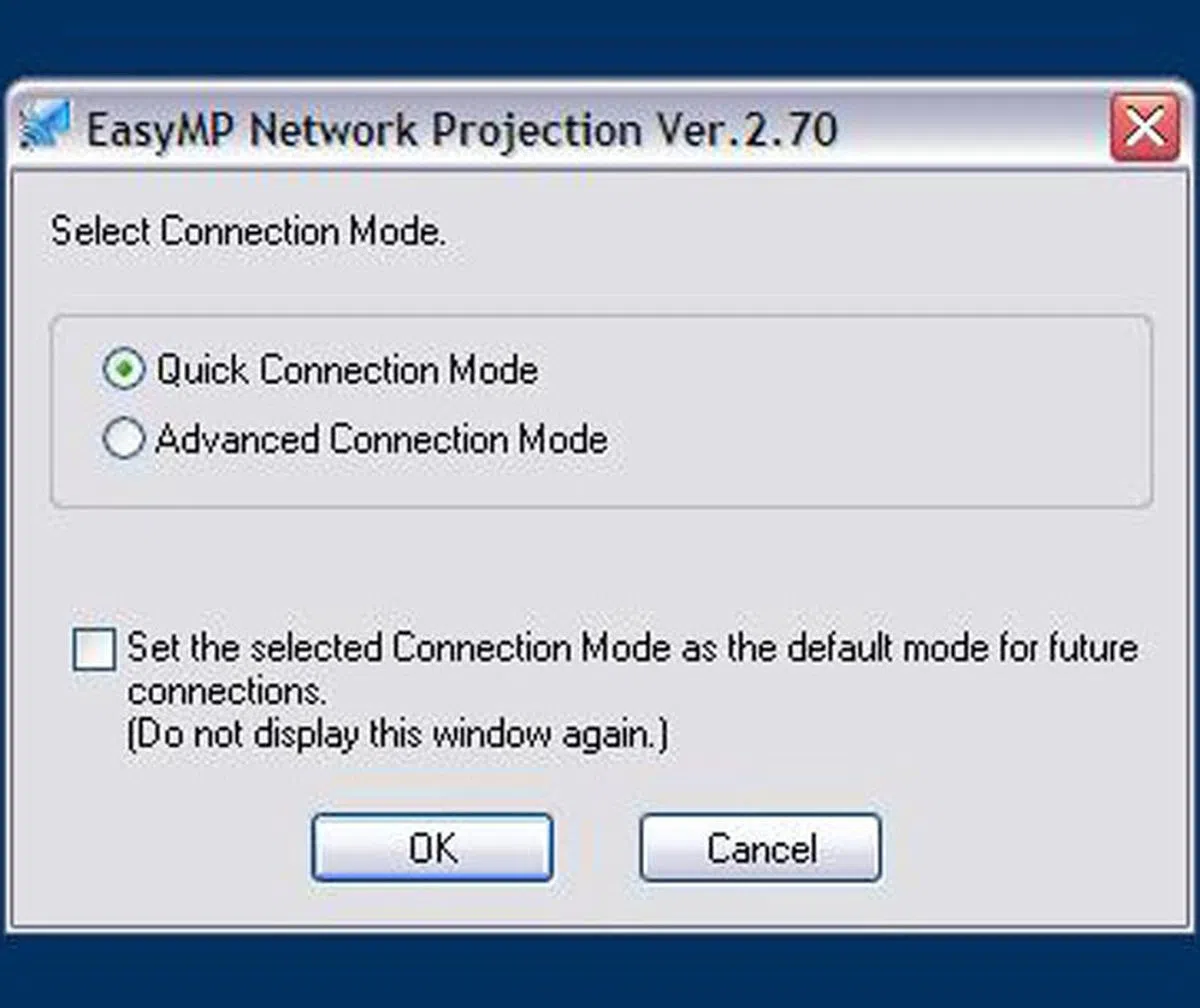
In order to project your screen wirelessly, you'd need Epson's EasyMP Network Projection software that comes together with the projector. There are basically two modes which you can use to project your data over Wi-Fi: Quick Connection and Advanced Connection. In Quick Connection mode, you can do a peer-to-peer connection between the projector and the computer. A wireless access point (AP) isn't required. On the other hand, Advanced Connection mode (infrastructure mode in wireless networking terms) requires an AP as it needs to connect to an existing network. By default, the projector has been set to use Quick Connection mode.
In our experience, both modes worked really well. The EasyMP Network Projection software took about two minutes to install. The same disc also lets you install the EasyMP Slide Converter software which allows you to convert your PowerPoint presentations into "scenarios" (FSE and SIT files). You can then put them into a USB storage device and plug it into the projector for playback. The projector supports a multi-screen display feature where different images on the same computer can be projected to different projectors. For example, you may have two files (one PowerPoint and one Excel) you want to show. If you've two projectors, you could project one file to each projector. In a single-projector scenario, you could have the projector show the slides, but your computer screen the presenter tools. To get multi-screen working on a Windows PC, virtual display drivers are required (a step not required for Macs). You can choose the number of virtual displays (up to four) to use during the EasyMP Network Projection software installation, or from the Programs folder after installation.
When you fire up EasyMP Network Projection, you're given the option to choose between Quick or Advanced Connection mode (there's an option to save your selection, and use it for subsequent start-ups). From then on, It's mostly a matter of selecting the correct projector, and clicking the Connect button. To prevent someone from "hijacking" the projector while you're using it, it'd be a good idea to tick the "Disable interrupt connection" checkbox. During testing, It took about 10 seconds to find the projector, and another five seconds to connect to it and project the screen. For mobile executives, Quick Connection mode is definitely the way to go. In fact, we wouldn't hesitate ditching that VGA cable.
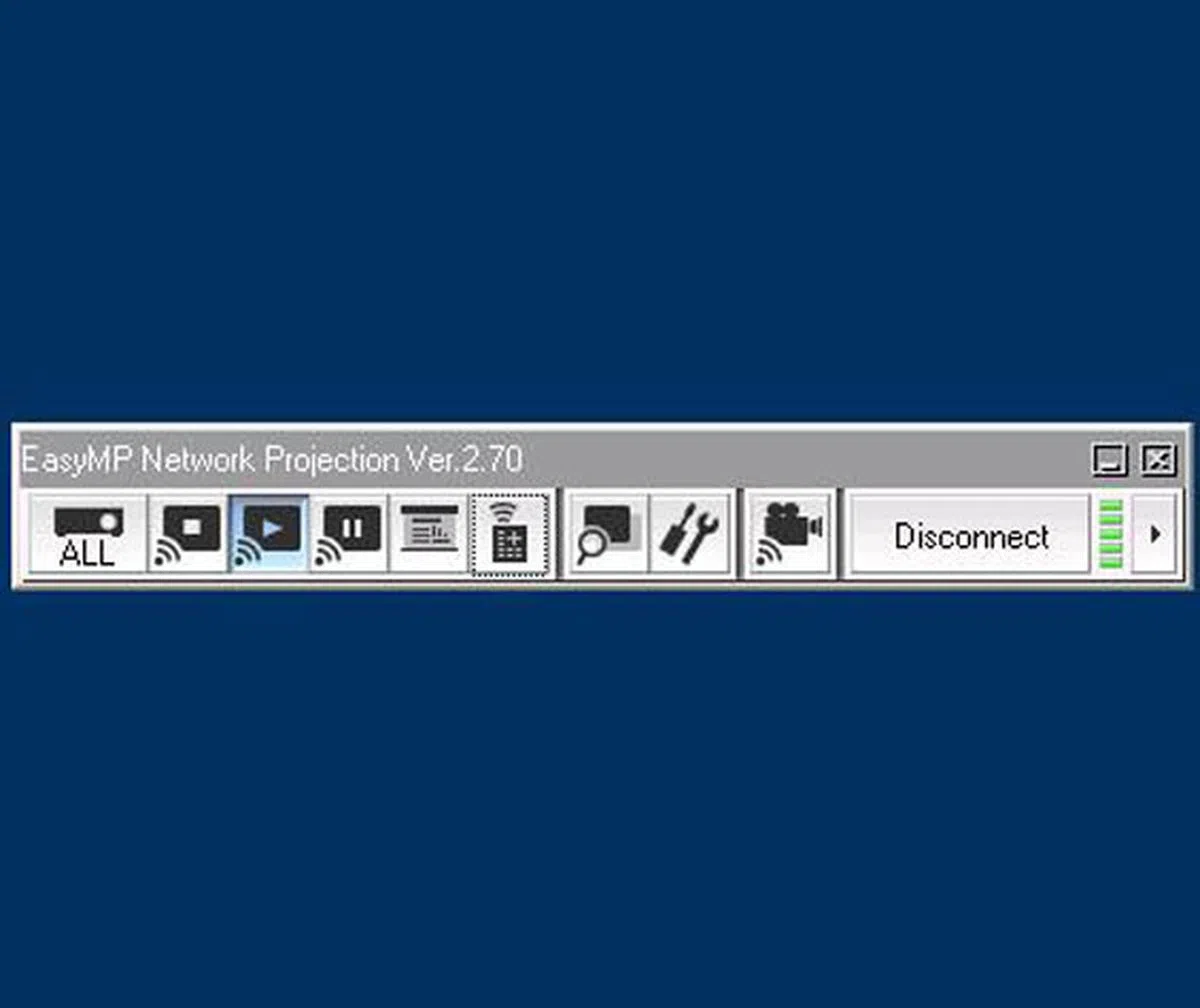
When a connection is established, a toolbar would also appear on your computer's screen. It wouldn't be projected because this toolbar is meant for your eyes only. It provides for functions such as selecting target projector, switching video sources, and pausing the transmission.

Here's the interface of EasyMP Network Projection when using Quick Connection mode. Connection is fast, as long as the projector is detected.
 |  |
Quick Wireless Connection USB Key
By now, you may have the following questions: What if there are more than two presenters? Do all of them need to install the EasyMP Network Projection software in order to do a wireless projection?
The short answer is no. It turns out that Epson has a nifty accessory called the Quick Wireless Connection USB Key. This device comes with the EB-1775W, but is an optional purchase (S$180) for the other models in the series. It's about the size of a USB flash drive. The steps to get it working are straightforward enough: plug the USB key into the projector so that necessary network information is saved onto it; then, plug the key into the computer, and run the Quick Wireless Connection software. The projector and computer should now “see” each other, and the former would proceed to project the latter’s screen. If more people need to project their screens, it’s only a matter of passing along the USB key.

The Quick Wireless Connection USB Key is also a 1 GB flash drive.
In our tests, it took about 10 seconds for the network information to be downloaded to the USB key. If you're using the key for the first time, it took about two and a half minutes to install the software and project the image. In subsequent tries, the image was projected in only about 15 seconds. This isn't significantly longer than using a VGA cable and waiting for the image to appear. Note that the USB key is not a wireless adapter, so you still need to turn on Wi-Fi on your computer.
Interestingly, our PC recognized the USB key as a USB mass storage device. More specifically, a 1 GB SanDisk Cruzer flash drive. We've no issues copying files to and from it.
Some simple settings can be done with Quick Wireless Connection software, such as whether or not to encrypt the data during transmission, and whether or not to allow interruptions from another computer. There are also options for adjusting performance and audio output. All in all, we found the implementation well though out. Our only complaint? While EasyMP Network Projection works on both Windows and Mac OSes, the USB key only works on Windows.
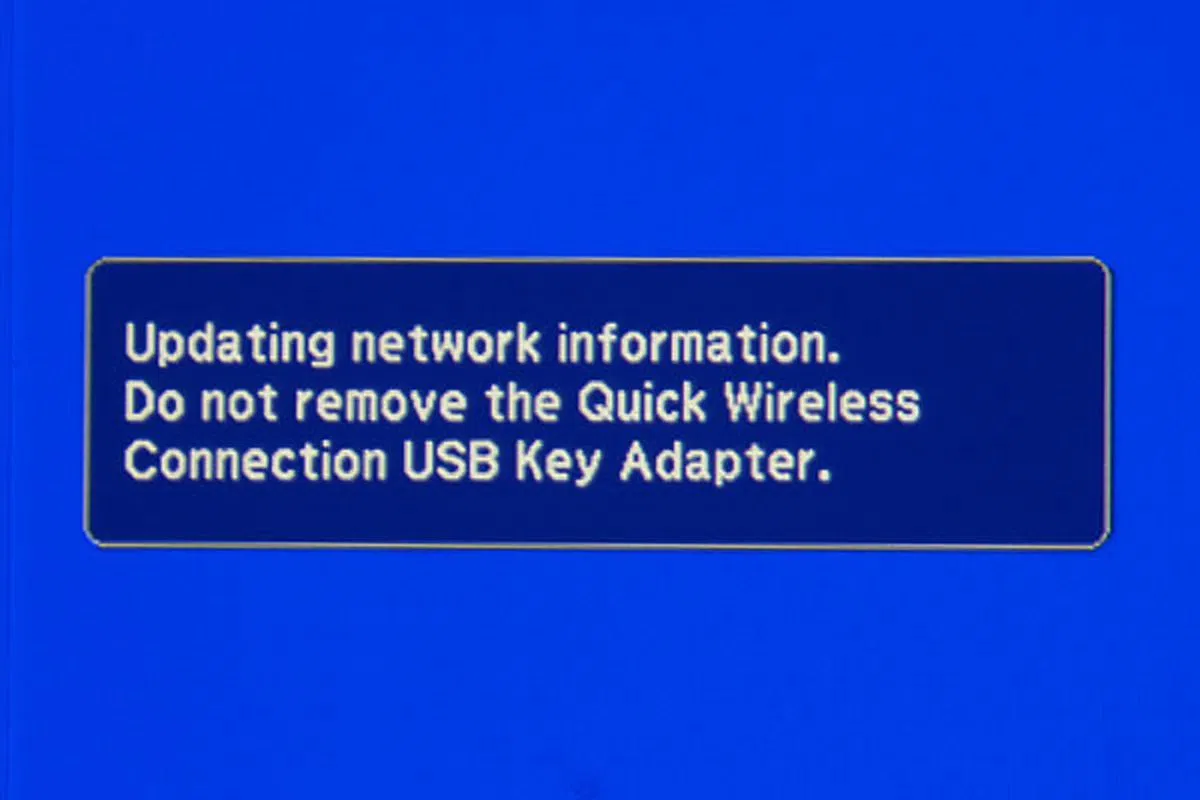 | 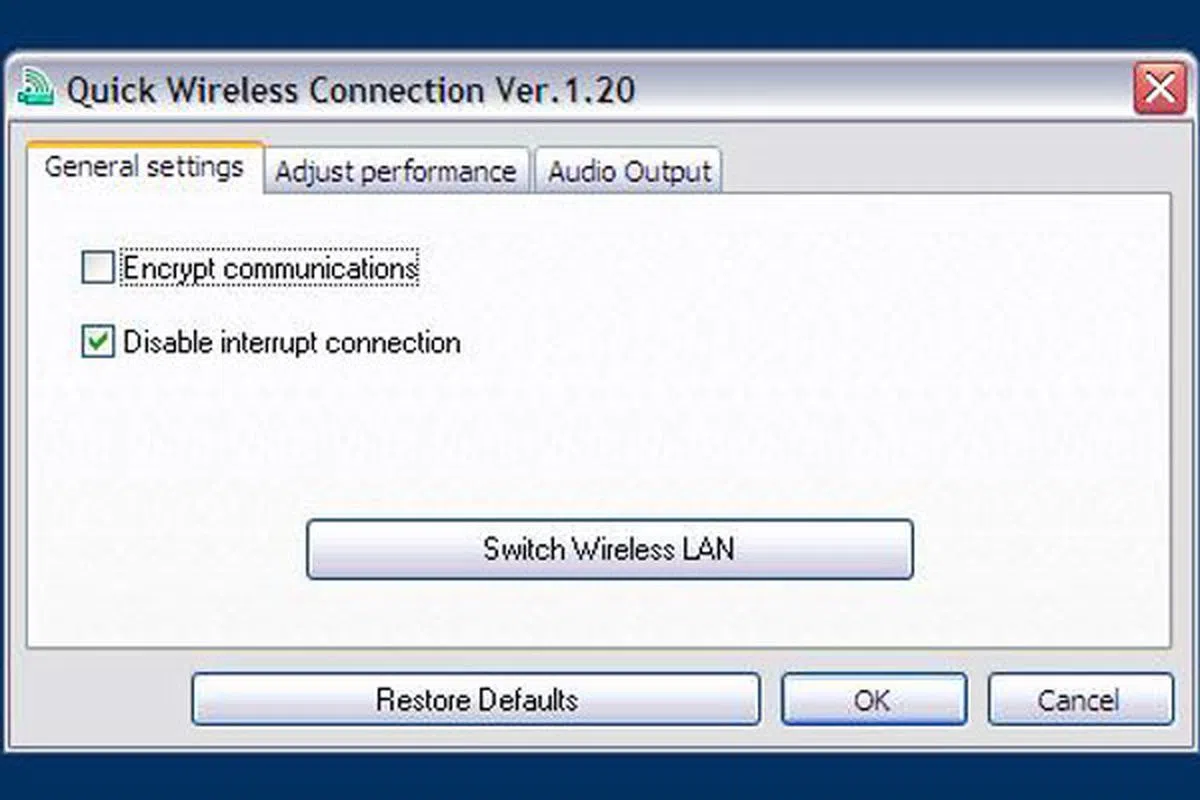 |
Image Performance
Projector Capability
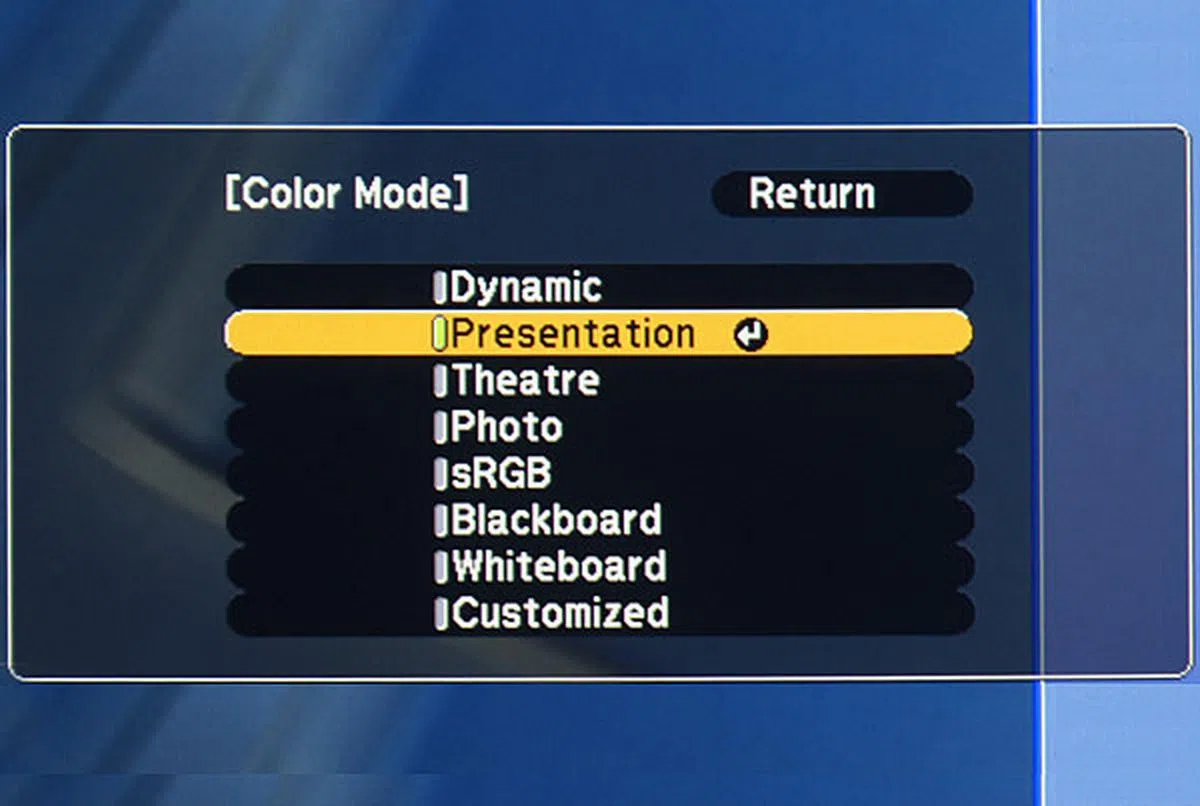
Out of the box, the EB-1775W uses the Presentation color mode, which has the color temperature set to 7500K. The Absolute Color Temperature control allows settings from provides settings between 5000K and 10000K. Under Presentation mode, we measured gamma to be 2.2, which was what we wanted[1]. In fact, almost all the color modes gave an overall gamma of 2.2. The exceptions were the sRGB and Dynamic modes, which gave us 2.1 (but that's still good).

Color gamut of the Epson EB-1775W (red triangle) mapped against the sRGB space (green triangle) on a CIE xy graph.
The EB-1775W is advertised as a 3000-lumen projector. This is based on the color mode at Dynamic, lens at the widest end, lamp brightness at Normal, and Auto Iris turned on. Contrast ratio at these settings can reach as high as 2000:1. The 230W lamp is rated at 4,000 hours; a replacement lamp (ELPLP65) can be bought for S$160. When Eco mode is engaged, light output would drop to 1700 lumens. There are two advantages of using Eco mode. Firstly, electrical consumption drops about 27%. Secondly, fan noise drops about 25%, from 40dB to 30dB. If you're seated near to the projector, this 10dB reduction can be very significant.
In our tests, we observed a 44% drop in brightness on average whenever Eco mode was used, and this was regardless of the color mode we were using. With lamp brightness at Normal, the Dynamic color mode projected the brightest image, and this was followed by Presentation mode. Theater, Photo, and sRGB modes all gave roughly the same light output. The brightness difference between Presentation mode and Theater mode was about 14%. In other words, you could lower the brightness even further simply by using a combination of Theater color mode and Eco mode.
Text & Photo Performance
For data projection evaluation, we used a mixture of test patterns from DisplayMate and in-house tools. We focused on text sharpness at the projector's native resolution of 1280 x 800 pixels. We also used a variety of typefaces at different sizes. In addition, we observed how the projector handled non-native resolutions. Naturally, we paid attention to color performance as presentations these days involve a mixture of text and photos. VGA input was used.
To sum up, we found text to be crisp, and highly legible, even at 7.5-point types. Not surprisingly, anything lower and it'd struggle. It handled resolutions higher than its native 1280 x 800 reasonably; but don't expect to get pin-sharp text at 8 points since the output is scaled to the projector's capability. We also hardly noticed any screendoor effect. Colors looked great too - bright, vibrant, and accurate. We did detect a very slight hint of red and green displacement; but unless you know what to look out for, and sitting extremely near the projector, this is in our opinion a non-issue.
 |  |
 |  |
 |  |
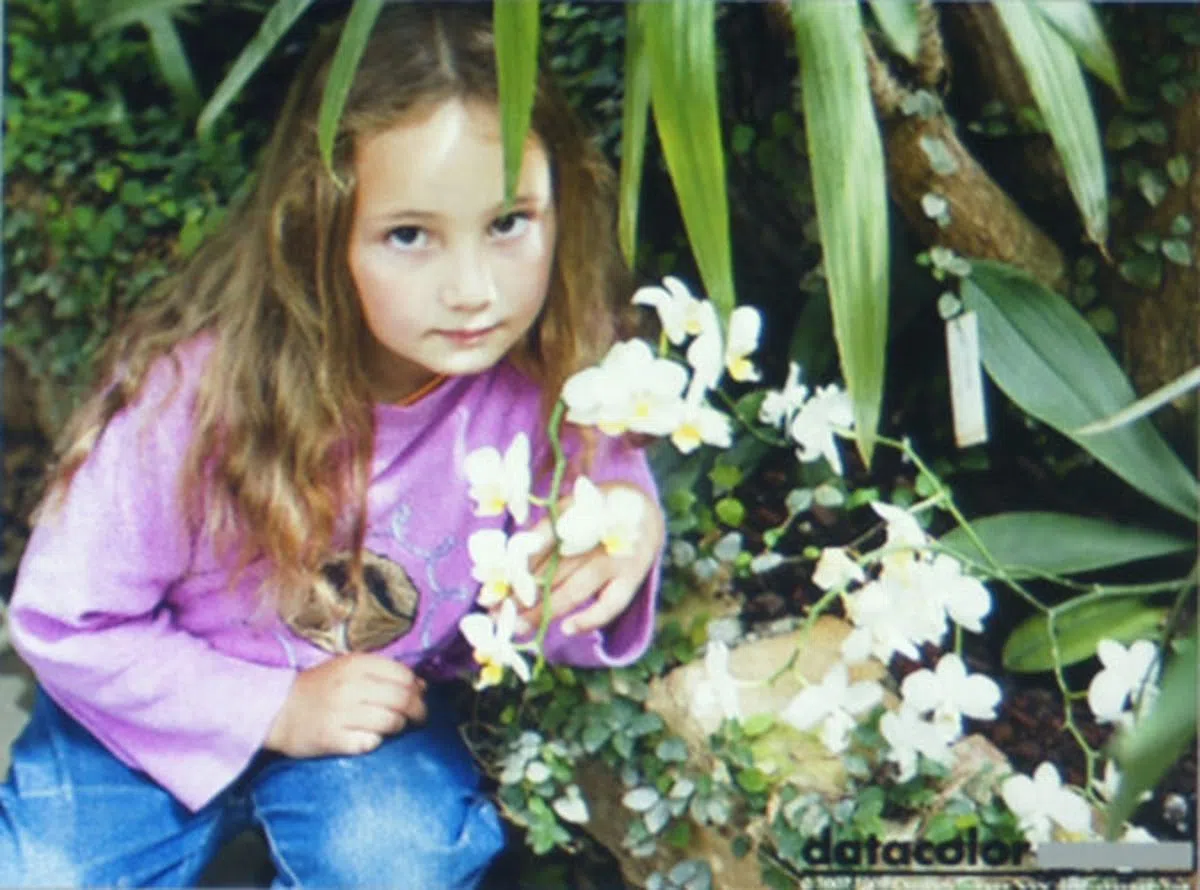
* Images copyright Datacolor. |
Video Performance
Among the presets, we found that Theater color mode gave us the deepest blacks without compromising the light output during bright scenes. Contrast was good too. We attributed this to the projector's Auto Iris feature, which dynamically adjusts the iris and sets the luminance based on the content being displayed. Auto Iris can be set only if the color mode is set to Dynamic, Theater, or Customized. If you're doing any calibration, we suggest turning Auto Iris off in order to get stable results; and turn it back on after calibration is done. That being said, when watching movies, we didn't notice any signs of "pumping", where light output increased or decreased in a way it became noticeable and distracting. If you don't have the tools to do a proper calibration, but are able to dim the room lights, we recommend using the Theater mode and dial in more blue by increasing color temperature to 7000K. The result shouldn't be far off from a proper calibration. Since Auto Iris did a pretty good job for us, we recommend leaving it on.
When HDMI or composite video input is used, an additional Sports color mode would be available. It gave us a fairly bright image with stronger emphasis on green. When interlaced signals were sent, there was an option to convert them into progressive. We left the setting at Film/Auto for movies so that the projector can determine automatically if the input signal is a film source. There are two settings for noise reduction: NR1 and NR2. We didn't notice much difference between the two; and since we're not fans of making our image looks "softer", we turned this setting off. HDMI Video Range should be set to match the video equipment being connected. For home theater enthusiasts who want to see information below video black, this can be set to Expanded.
Using these simple tweaks, we were able to get a very pleasing picture, with a good balance of details on both the bright and dark portions of a scene, as well as natural-looking skin-tones and green foliage. In fact, we found ourselves enjoying the videos that we've already watched countless of times. And jaggies (which we noticed when running the HQV Benchmark DVD) were hardly show-stopping during real-world movie-watching. The EB-1775W isn't targeted at the home theater market, and it certainly doesn't come with any home theater-related bells and whistles. So keeping in mind that it's a business-oriented projector, we were actually quite happy with its video projection capabilities.

The EB-1775W did a pretty good job handling movie contents. Of course, we spotted some jaggies and judder, but that didn't stop us from enjoying the big-screen experience. (Image from a scene in Vantage Point (2008).)
1. For the very basic reason that it's the standard today on computers (both PC and Mac), televisions, and the sRGB-based Internet. [<-]
Conclusion
Typically, business projectors are connected to desktop or laptop computers. For desktops (especially those that the IT department likes to buy), most of them are using a 1024 x 768 (XGA) resolution. That’s why you see so many projectors aimed for office use in the market having that resolution. But the situation is quite the opposite when it comes to laptops. Most of them now come with a widescreen display, and 1280 x 800 (WXGA) is a common resolution. The Epson EB-1775W, with its native 1280 x 800 pixels resolution, is the best fit for such laptops. When fed with a 1280 x 800 pixels signal, the EB-1775W is capable of some very stellar results. Text was sharp from corner to corner with fonts at 10 to 12 points (common sizes used in Microsoft PowerPoint and Word). Readability did not suffer much even when we moved to 8 points. Naturally, quality took a hit (loss in sharpness and details) when non-native resolutions were fed. Colors also turned out well for the most part: bright and vibrant, albeit a tiny bit over-saturated for the reds. Oh, and the auto horizontal/vertical keystone correction feature worked a treat.
In terms of light output, the EB-1775W is rated at 3000 lumens. This is achievable when Dynamic mode is used. However, Presentation mode is set by default out of the box. We found this mode very suitable for presentations that involve both text and graphics, as it provided a good balance of brightness and details. The projector also has an Eco mode that, in our tests, dropped light output by about 44% regardless of the mode we were in. To prevent washed-out images, make sure you’re in a dark or dimly lit room. On the other hand, you do get a much quieter projector (and also prolongs the lifespan of the bulb).
Business projectors are usually not known for their video projection performance; and expectedly so, since manufacturers tend to focus more on the data projection aspects. While we wouldn’t go as far as saying that the EB-1775W is of home theater caliber, we’re confident that in the market of business projectors, it’s one of the better performing ones if you need to rely on it. Should you be able to rid the room of ambient light, and follow the setting suggestions we noted in the previous page, you should get a very decent, cinema-like picture from it.

The Epson EB-1775W is so slim, it'd probably cause some laptops to develop an inferiority complex.
If you’ve come this far, the question in your mind now would be: Is the Epson EB-1775W worth buying then? The final answer might depend on how important you consider what we see as its two greatest propositions: ease of portability and ease of cable-free projection.
At 44mm thin and 1.7kg light, the EB-1775W fits the definition of an ultra-portable projector. The possibility of carrying both the laptop and projector in a single bag is now very real. Your audience would probably not benefit anything out of these dimensions; but trust us, your shoulders would thank you at the end of a long day. In other words, the appeal of the EB-1775W is very strong if you’re someone who is often out and about doing presentations, such as a traveling salesman. Portability is a moot point if you’re looking for a projector that’s going to sit in the boardroom for the rest of its 4000 hours of life.
In the attempt to create such as svelte beamer, Epson has dropped a few connections. You’re not going to find YPbPr component video, RJ45, and RS-232C. As we noted earlier in this review, the lack of an Ethernet port might draw a frown from some IT administrators. On the upside, you do get HDMI and 802.11b/g/n Wi-Fi. The EB-1775W also comes standard with a Quick Wireless Connection USB key for a quick connection between the computer and the projector without needing to install the full software suite. In practice, both wireless methods worked superbly well. So good that we think the VGA cable can be left at home. But if a cable-free operation isn’t your priority, the EB-1770W can be had for S$1,949. But take note that besides not having the Wi-Fi module and the USB key, models other than the EB-1775W also lose certain features such as auto focus adjustment and auto horizontal keystone correction.
In summary, we really like the Epson EB-1775W. Image quality-wise, it performed well right out of the box. We were initially skeptical about its wireless features - but in the end, they worked well and without fuss. The super slim design is just icing on the cake.
Criteria | Score (out of 10) |
Design | 9.5 |
User-friendliness | 9.0 |
Data Performance | 8.5 |
Video Performance | 8.0 |
Features | 8.5 |
Value | 8.5 |
Overall | 9.0 |
Our articles may contain affiliate links. If you buy through these links, we may earn a small commission.