
Watching a livestream, be it YouTube Live or Twitch, has become an entertainment staple in this day and age. This is especially true for youths who are used to on-demand content, ones with a more personal touch. Although streaming may not be for everyone, here are some tips to get you on the right track.
Do note that we will be looking specifically at streaming on PC as it continues to be the preferred platform. For reference, we used the ASUS ROG G21 Huracan, the ASUS ROG Strix Fusion 700 and the ASUS ROG SWIFT PG248Q gaming monitor in this guide to piece our experience and relaying the basics.
What’s the deal with streaming?
When you think about it, watching someone playing games isn’t all that strange. Many older players grew up in a time where consoles and computers were a rare luxury, so taking turns at the controller wasn’t all that unusual. It is this idea -- of friends gathered together and watching someone play -- that makes livestreaming so appealing.
Meanwhile, today’s younger audience have ready access to technology, with many consuming YouTube more than they do traditional TV. Most YouTube content revolve around personalities and small groups, who also spend time personally engaging with their audiences through comments, social media, and even meet-up events. Active participation is something they’ve grown used to, and it translates well to live streaming platforms such as Twitch.
Mix those reasons together, plus a booming esports scene, and you’ve got an audience large enough to birth a new industry.
Why Fortnite?

Now that we have a better idea of why livestreaming is popular, let's look at how you can get started. In this particular instance, a Fortnite streamer, as Epic Games’ online survival-shooter is incredibly popular and home to a massive fanbase, spread across all major gaming platforms. The game itself lends well to reactions and commentary too, so you get to use this large test audience to find your style.

A great game to start building your fanbase.
Have the right equipment
Anyone can start streaming these days, but to be a proper streamer you first need to invest in the right hardware. Your broadcast quality plays a huge role in first impressions, and it’s only basic that the stream looks and plays right for both you and your audience. Here’s a look at all the necessary components.
CPU

One of the most important pieces needed for a PC is a CPU, and a good CPU is required to run games while recording and processing video and audio.
A good multi-core CPU is more important to a streamer than a regular gamer. With so many high-intensity programs like the game, the streaming software and even the video and audio encoding running simultaneously, a streamer needs a robust chip that can handle this large volume of processing concurrently.
Therefore, multi-core chips with high clock speeds are preferable for a streaming set-up. Choose one that is within your budget, but we wouldn’t recommend skimming on a CPU. The latest Intel Core i9-9900K is definitely a top of the line processor that is a great fit for both gaming and content creators alike. Other options are available such as the rest of the new Intel 9th generation processors or AMD's higher tier Ryzen 7 and Ryzen 5 processors.
RAM

With so many programs running when live-streaming a game, it is only natural that you would need a healthy amount of RAM. If you run out of RAM, it can cause the PC to slow down notably as it starts relying on your storage drive, which is usually several magnitudes slower in access than RAM. This is particularly bad when streaming as it causes stutter and ruins stream quality (and experience).
Therefore it is recommended to have a minimum of 16GB DDR4 RAM. You can opt for a 32GB RAM if you want absolutely no slowdowns or plan on streaming higher-end games but for Fortnite, 16GB is plenty.
Storage

Now that we have the RAM sorted out, we need to think about storage. If you hadn’t already noticed, the theme for hardware is all about speed and avoiding slowdowns during a stream.
The type of storage you choose is important because having a fast read/write speed translates to better quality and a smoother experience. Having important programs stored on the SSD will help reduce load and startup times for your games while also ensuring your streaming software encodes the video without stutters. Due to the limited capacity of a typical SSD, you will probably have to pair it with a more capacious HDD for a balanced storage ecosystem.
Our recommendation would be to have your OS, key games and streaming software stored on an SSD while having the recordings (if any) stored on a fast HDD. A PCle-based SSD is also preferable over a SATA-based SSD due to their vastly superior transfer speeds.
For SSDs, we would recommend the ADATA XPG SX8200 480GB if cost is a key factor. But if top-drawer performance is what you seek, look out for Samsung's 970 Pro or 970 SSDs. As for HDDs, you can’t go wrong with a Seagate or WD hard drive. 2TB is usually more than enough storage even if you are saving your streams locally, but if you intend to do some intensive editing, than 4TB would be a safer bet.
Graphics Card

Lastly, we have the graphics card. Although GPUs do not directly affect the streaming quality, having a low-end GPU means you have to play on lower settings for a smooth experience. What's captured on-screen wil, therefore, be of a lower quality.
This isn't so much of a concern if you are planning to stream games with low graphical requirements like FTL (Faster Than Light). For Fortnite, it is still recommended to have at least a mid-range GPU. If you are on a budget, an NVIDIA GeForce GTX 1060. If not, an NVIDIA GTX 1070 or higher would be the better investment to anticipate changing tastes and growing game requirements.
Our Rig

The ASUS ROG G21 Huracan we used for this feature fits all the criteria we've put across on the earlier page. This machine packs a hex-core Intel Core i7-8700K processor, one of the more powerful processors on the market before the just-released Core i9 series was announced.
The Huracan also comes with an NVIDIA GeForce GTX 1070 GPU, 16GB DDR4 RAM as well as a 256GB SSD along with a 2TB HDD. All in all, the Huracan makes a great machine to game and stream on, comfortably hitting all our recommendations. You can find out more about our experience with this gaming machine in this review.
Monitors
Monitors, plural, it makes your life as a streamer so much easier if you are doing it on two monitors. One monitor is for gaming while the other helps you keep track and interact with your stream and audience. So that means you need a gaming monitor and another as a stream monitor.
For the gaming monitor, it is recommended to have one that is at least FHD and has a refresh rate of 60Hz. If you are planning on streaming an FPS title like we are, you might want a higher refresh rate depending on your budget. That said, unless you have a PC that can fully utilize the high refresh rate, it is perfectly fine to use a 60Hz monitor.
The streaming monitor has no real requirements. In fact, most run of the mill monitors would work, but maybe avoid CRTs.
Jokes aside, on our end, we were using an ASUS ROG SWIFT PG248Q as our gaming monitor. This FHD monitor comes with a refresh rate of 144Hz and can be overclocked to 180Hz. This works well for us when streaming Fortnite as we need every little edge and response time, so we don’t embarrass ourselves live. To get even more insights, we have a quick review of this monitor.
Microphones

It is very much possible to stream by opting to type on the stream chat as a form of audience interaction. However, it is easier to respond by speaking as it is faster and does not require you to switch over from the game to the stream just to reply.
The type of microphone you choose will depend on the sound card on your PC. If you wish to save on that aspect, a USB microphone works much better as it acts like its own 'sound card' with a direct digital conversion. This means the quality will remain the same regardless of your PC specs.
A conventional mic (those that have an audio jack), works better if you have a high-end sound card as it will assist in capturing higher quality inputs compared to that of USB mics. These conventional mics can also take advantage of the audio feature optimizations built into said high-end sound cards.
For the best quality, an audio mixer and a mic with XLR interface is your best bet. This will, however, mean that you will be using a desk-bound microphone and setup that occupies more space.
A desk microphone is generally preferred for YouTubers, but a downside of desk mics is that you require sufficient space to mount or place it. Depending on the quality, they also tend to pick up keyboard typing sounds, especially if you use mechanical keyboards. This would be unpleasant for live-streaming if you are constantly bashing away at your keys.
Headset mics, on the other hand, are generally of lower audio quality when compared to dedicated desk mics. They are however much more space efficient and are usually better at picking up just your voice as most are unidirectional and are located much more closer to your mouth.

That said, we went with the recently launched ASUS ROG Strix Fusion 700 headset. The main reason why we went for the Strix Fusion 700 was not for recording quality. It was primarily chosen because of its excellent sound output on the headphones as it comes with DTS Surround Sound 7.1 processing. This gives us an edge when figuring out where the gunfire came from and hopefully hear people trying to sneak up on us. You can read more about our experience here.
That said, we went with the recently launched ASUS ROG Strix Fusion 700 headset. The main reason why we went for the Strix Fusion 700 was not for recording quality. It was primarily chosen because of its excellent sound output on the headphones as it comes with DTS Surround Sound 7.1 processing. This gives us an edge when figuring out where the gunfire came from and hopefully hear people trying to sneak up on us. You can read more about our experience here.
However, the Strix Fusion 700’s mic is nothing to scoff at either. The mic can output clear and crisp audio, great for answering questions but as it is a USB microphone, it does not come with a jack and can’t benefit from high-end sound cards.
Twitch-ing
There are many live-streaming platforms, but most of them are regional like Japan’s NicoNico or China’s Douyu. Twitch is one of the most popular streaming platform globally and the reason why it will be our platform of choice for an English speaking audience.
Making a Twitch account is a simple process. Once you are done, you should head over to your Twitch Dashboard and go to Channel under the Settings Tab. Once in it, enable the Store Past Broadcast option. What this does is pretty self-explanatory but extremely useful.

Click to view a larger image.
Every time you go live on Twitch, Twitch will automatically record and save your streams on your channel. This will allow your viewers to watch your past streams but do note that these recordings will be automatically deleted after 14 days (60 days if you are a Twitch Prime user or Twitch Partner).
You can, however, download those recordings from Twitch and even export them directly to YouTube to ensure they are not lost. You can also choose to forego this option and simply record and upload your streams directly to Twitch.
Streaming Applications
Once your Twitch account is up, you need to find a suitable application to broadcast your games on Twitch.
Twitch has a great list of free broadcasting applications listed on their Streaming Tools tab which you should take a look. These applications also come with handy setup guides that would give you a better idea of how to use each application.
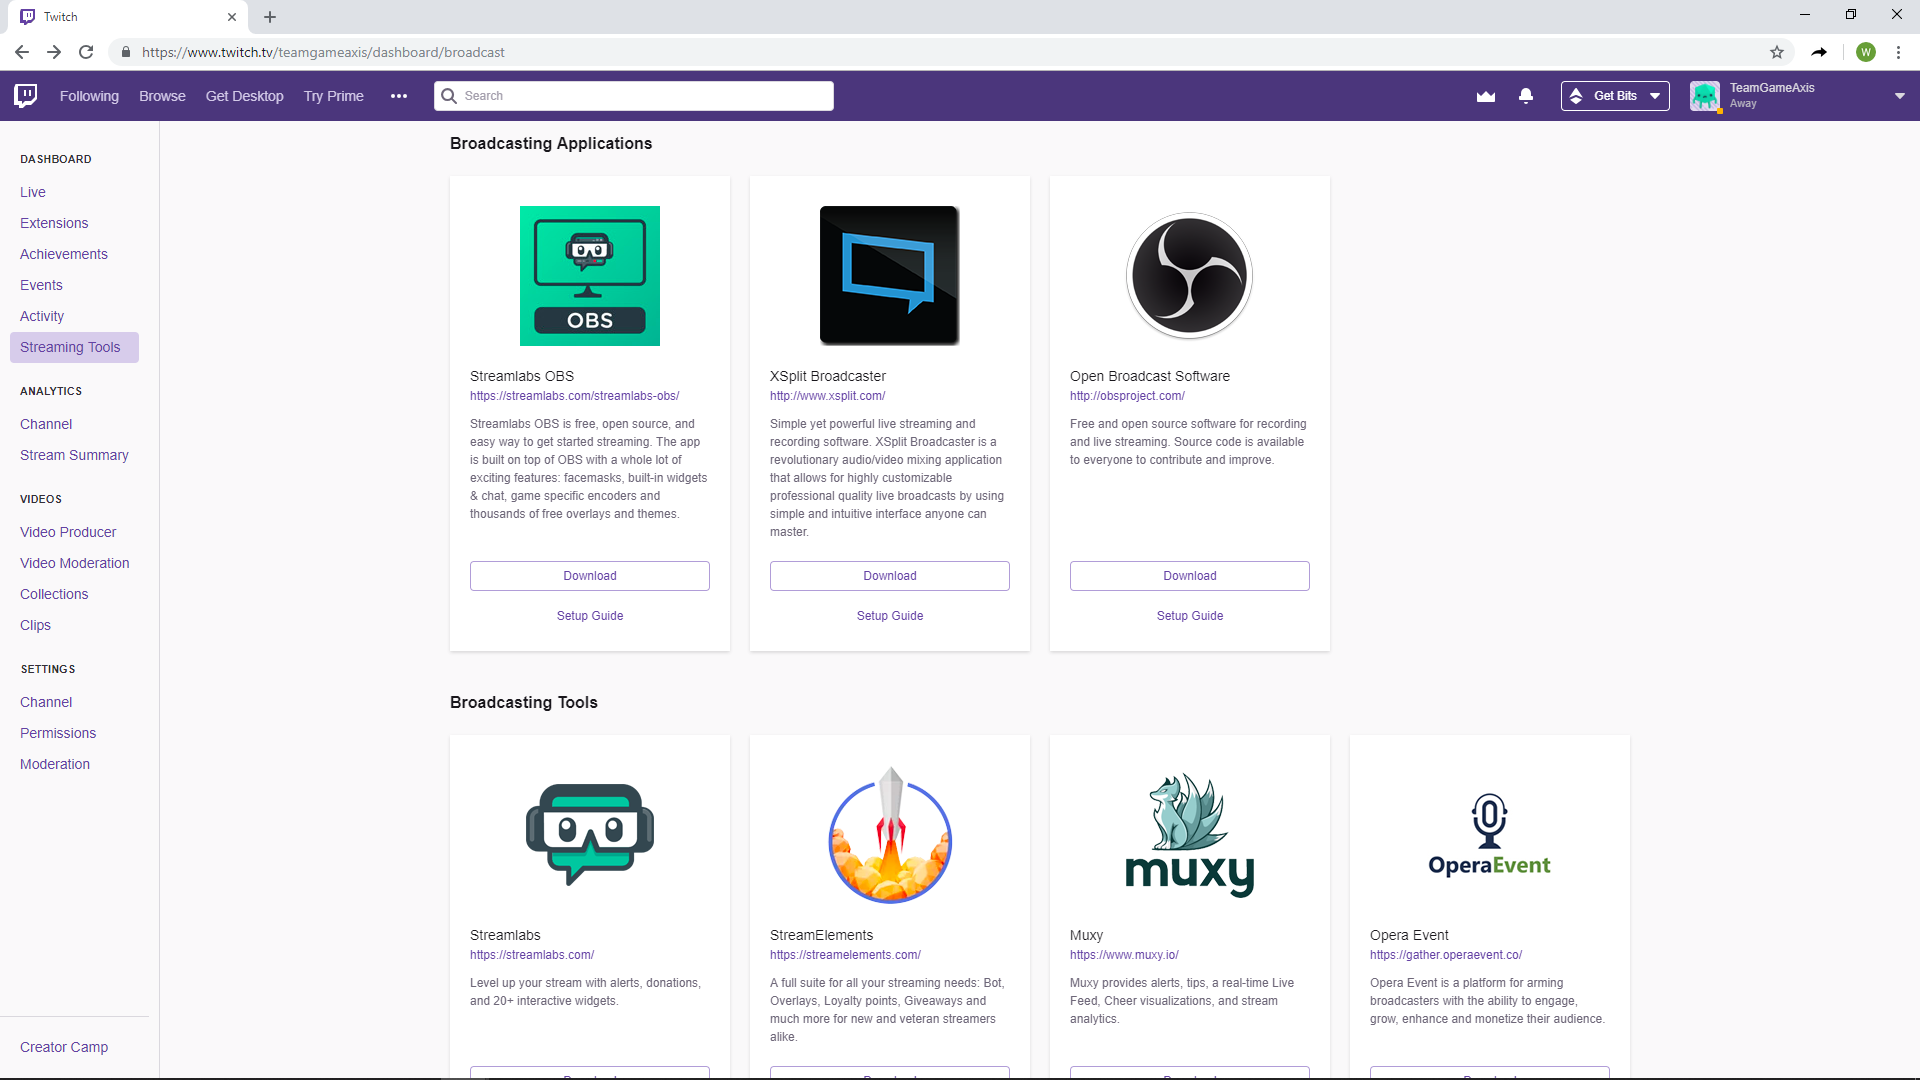
Click to view a larger image.
We used the StreamLabs OBS application for our streams. StreamLabs OBS is a great tool because it lets you broadcast using the OBS Studio framework while giving additional streaming tools like overlays and alerts. It can however be a bit overwhelming with all the options available.
Having used both StreamLabs OBS and OBS Studio itself, we would recommend you start with OBS Studio first to get the hang of how to do video capture and the basics of setting up a stream on Twitch. Once you are comfortable, you can switch over to StreamLabs and tinker with overlays and alerts to give your stream a bit more zest. Alternatively, just jump straight into StreamLabs as the basic broadcasting function is that of OBS Studio.
Most importantly, get to know your broadcasting application of choice. Read up on it and learn what they can do for you.
What’s next?

With the right streaming rig and your broadcasting software up and ready to go. One question remains. How does one be a Fortnite streamer?
Simple, you should stream once every two weeks.
All joking aside, consistency is extremely important. If you wish to build an audience, you need consistency. People need to know where and when they can find you.
So before you start, come up with a schedule and stick to it. Try to stream at least two to four hours when you do stream. This allows people to stumble onto the stream and hopefully stay as your audience.
There is a lot more to streaming than what we have covered. What we’ve put together are all the basic considerations to help you get started. Live-streaming is a journey where you can make friends, run a community and possibly make a living but that all depends on you.
With what we’ve talked about, you will at least have a good head start with the right tools for the job.
Read Next: Livestreaming for box One consoles
Our articles may contain affiliate links. If you buy through these links, we may earn a small commission.